Ryobi makes some of the best tools that you can possibly get your hands on, and with all that in perspective, their tools are also highly efficient and great in making things work for you.
So, if you don’t have much experience with power tools and need something robust, then Ryobi is for you.
There is not much that you will need to be careful about while you are choosing any of these tools to get some job done for you.
Ryobi also makes airstrike nailers that are cordless and work on the battery to help you strike any nails that you might be wanting to.
However, even the most phenomenal systems on the market can malfunction from time to time. You will have to look at a ton of pointers to make sure that the unit is working perfectly.
Ryobi Airstrike Nailer Not Working
There is no such thing as a quick adjustment here. So, be mindful of the maintenance cycles.
Similarly, you will need to be careful about a few things, and if the Ryobi Airstrike nailer is not working, here are a few things that you will need to fix.
- Charge the Battery
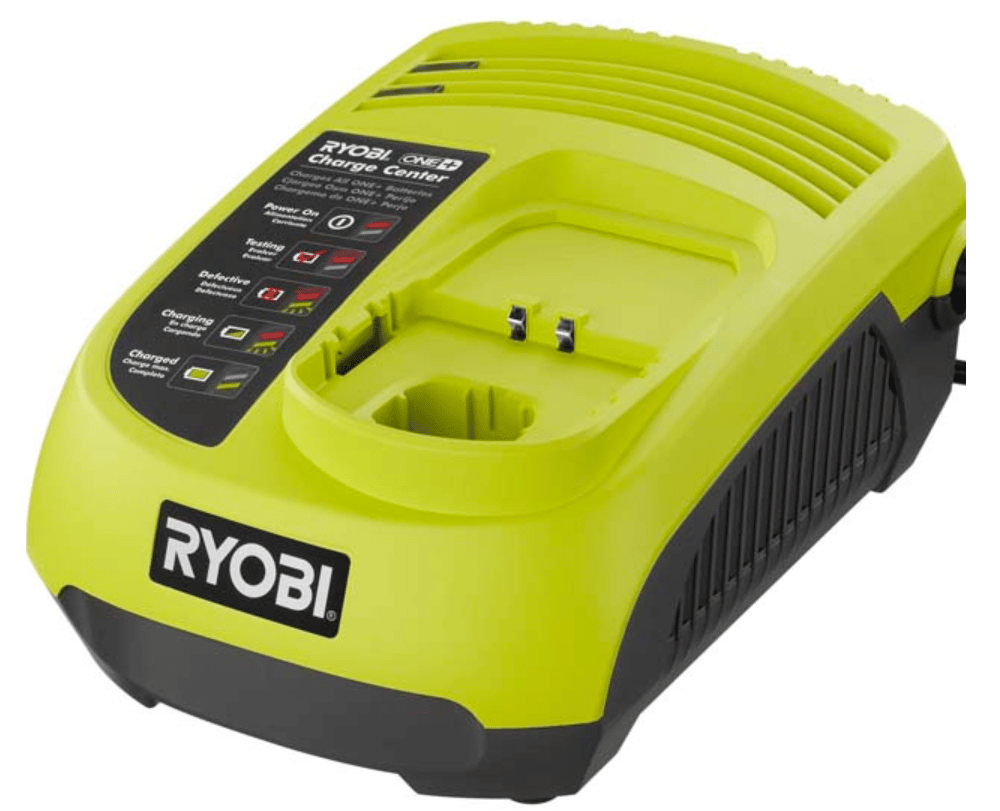
The first thing that you will need to do is to ensure that you are charging the battery, and that should be the best thing for you to help you out in the right manner.
There is not much that you have to worry about, and you will have to check on the charging if your battery is not properly charged, getting it charged should get the job done for you perfectly.
In addition to that, you will also need to ensure that you are checking on the battery condition and battery health.
You have to make sure that you are getting the battery replaced if the battery health is below a certain level since that can be the reason for your nailer not working.
- Align the Nails
There are nailers in the magazine that you will need to align properly in order to make the nailer work properly.
So, you will have to ensure that you are checking on the magazine properly and ensure that there is no such issue with the nails getting here and there in your Ryobi Airstrike Nailer magazine.
Aligning the nails right should help you out in an optimal manner, and you will be able to make the Ryobi Airstrike nailer work again without having to face any such problems on the nailer.
- Clean the Barrel

Some of the fasteners on the barrel might have gone loose, or some nails can be stuck inside that will cause your Ryobi Airstrike nailer to cease working.
So, you will need to ensure that you are getting that fixed and cleaning the barrel of your Ryobi Airstrike Nailer, and that should be helping you out for sure in making the nailer work.
- Let The Unit Cool Down
Sometimes, the issue is not that serious, and you need to focus more on letting the system cool down.
Excessive use can lead to issues with the unit, and you might be struggling with the same situation. So, if you’re in the same boat, try to leave the device isolated for a few hours.
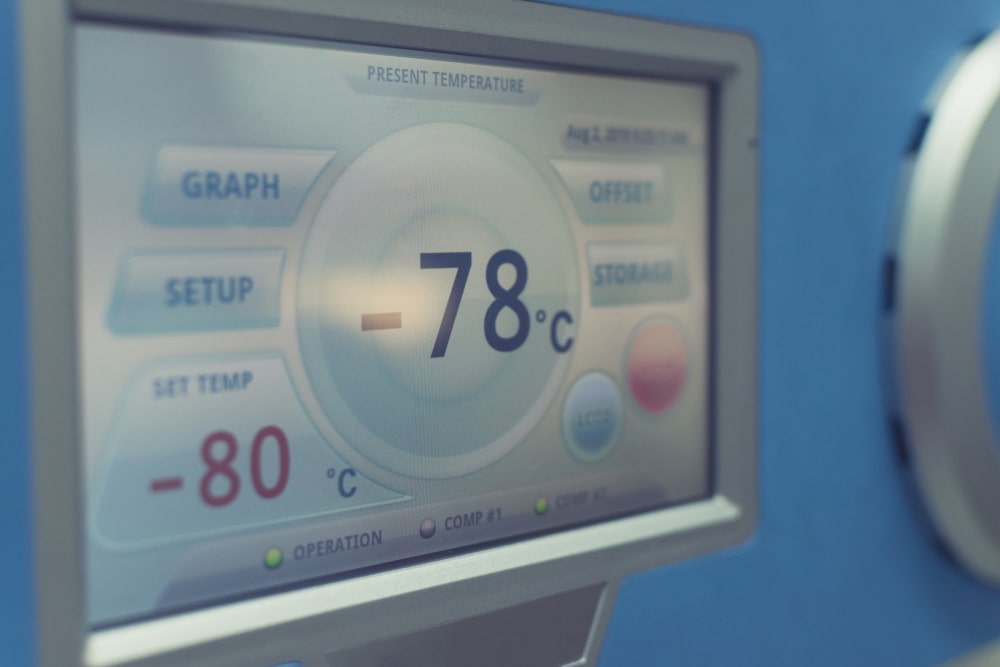
This will be more than enough to let the device cool down as you fix the system. Over time, you’ll have more of an idea of how long you can use the device before it should be allowed to cool down.
So, if you’re in the same situation and the device seems to be a bit cold to the touch, just leave it isolated.
From there, you can test out the unit after a few hours, and then it will work perfectly. So, be mindful of the temperature, especially if you live in a hotter region.
You can also inquire about this issue from the local experts, and they will help you with useful tips that will optimize the unit’s performance.
- Clean Up The Magazine
Ignoring the service requirements is never a good idea. Even when you’re short on time, you need to keep track of the unit’s maintenance.
Otherwise, you will struggle to get a response from the system. So, if you’ve not serviced the system in a while, then that might be why the nailer is not working.
The first thing that should be done in this situation is to clean up the magazine.
You need to further make sure that there are no foreign objects in the magazine, isolating the nails from entering the chamber. It might seem like an extensive task, but it will barely take you a few minutes.
Nine times out of ten, the issue will be fixed right here, and you won’t have to rely on any other option to get through the usage. From there, you can move forward with the project.
- Tighten Screws
Next, you need to look at the screws to further isolate the issue. The problem will be that the screws can be harder to manage when you’re not able to position the magazine correctly.
So, if you’re in the same boat, just try to adjust the screws. It will only take a bit of effort on your end.
However, don’t put too much force here, and tighten the screws past their breaking point. That will only harm the unit, and you won’t be able to adjust the magazine ever again.
A bit of adjustment is all that you’re looking for. From there, you can proceed with the usage without worrying about more errors.
The situation here is not that complex, and you need to focus on making sure that the chamber has access to nails from the magazine.
That will fix the majority of issues with the nailer not working, and you will be able to get through the project. Hopefully, that will be it, and you won’t have to worry about hardware damage to the tool itself.
- Adjust Air Pressure
Sometimes, all that you need to do is to adjust the air pressure. You have to find the perfect adjustment here to make sure that the pressure is not too high or too low.
Skewness in either direction will result in issues with the nailer not working, and you might just be in the same boat.
So, play around with the pressure adjustment a bit and find the right spot. It will take a while, but you’re not left with many options. All you’re trying to do
- Check Nail Size

Next, you need to also check the compatibility of the nails, and it can be hard to manage the system when you’re running into these issues.
Luckily, a quick trip to your local hardware store will be more than enough to help you address these errors. All that you’re trying to do is to figure out the best nail size.
It will be mentioned in the manual, but if you’re not sure, the dealer working the store is always ready to help.
You just have to show him your nailer, and he will point you in the right direction. From there, you can install the new nails, and that will be it.
- Contact Support

If nothing has worked out for you, you will need to ensure that you are contacting the support department and getting the Ryobi Airstrike nailer checked with the technician
They can efficiently diagnose any such problems that might be there and fix them as well at the same time to get you the right experience as you might have been seeking to make it work.
Wrapping Up
Can’t seem to get your Ryobi nailer to work? Try out the fixes mentioned here. It will become much easier to manage the system as you test out the different solutions offered above.
However, if you’re still confused, be sure to ask the dealer for help. He will help guide you through the fix with ease.