When working on a DIY project, I am very sure I am not the only one who needs to spend a lot of time looking for the appropriate equipment. While my storage system is decent enough, it can take a while to scour through all the wrenches, screwdrivers, and accessories to find the right one.
I am all about tool organization, but there weren’t any bright ideas coming to mind until I found my local experts using a pegboard pliers holder. While the idea of these plier holders seemed simple enough, I was surprised about how much time it saved when working on a project.
Needless to say, I put the DIY pegboard pliers holder project on the top of my agenda. It took a while to understand the basics around pegboard, but I developed a decent setup on my end. So, I would also encourage you to experiment with this method.
It doesn’t require any niche or specific skills to work with pegboard. If you have basic woodworking knowledge and work on DIY projects every now and then, a DIY pegboard pliers holder won’t be that hard to make. Let’s get through a few details about this organization method.
DIY Pegboard Plier Holder
First, you can just head over to retail stores like Walmart or Target to get some compact sheets. If you’re on a budget and don’t want to go all out on the purchase, getting some smaller sheets should have you sorted out. Just make sure to have the measurements handy before you make the purchase.
Materials Required
- Wood Sheet
- Screws
- Screwdriver
- Level
- Tablesaw
- Hammer
- Nails
- Hammer Drill (optional)
Safety
Now, you’ll think that basic DIY projects are easy to get through and you won’t need to worry about any safety issues. Well, you’re wrong! When you’re working with power tools, I will always recommend that you get a face shield, hand protection, and feet protection.
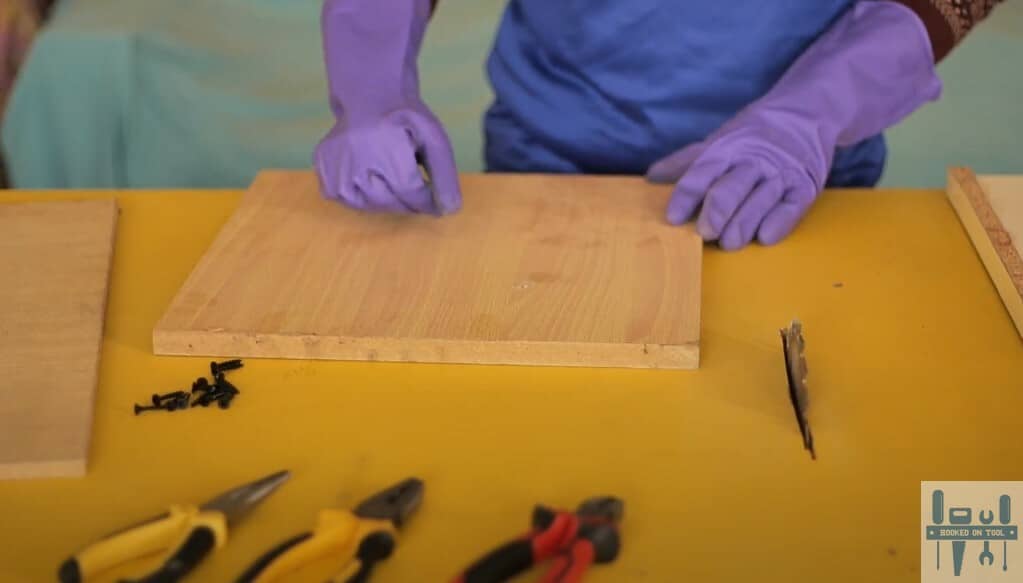
Step 1 — Take Measurements
Just like every other project, start out with the measurements. You can use a stud finder to figure out the framing points. From there, just measure out the pegboard along with the framing timber. Keep in mind that you’ll need the framing timber to be shorter than the pegboard.
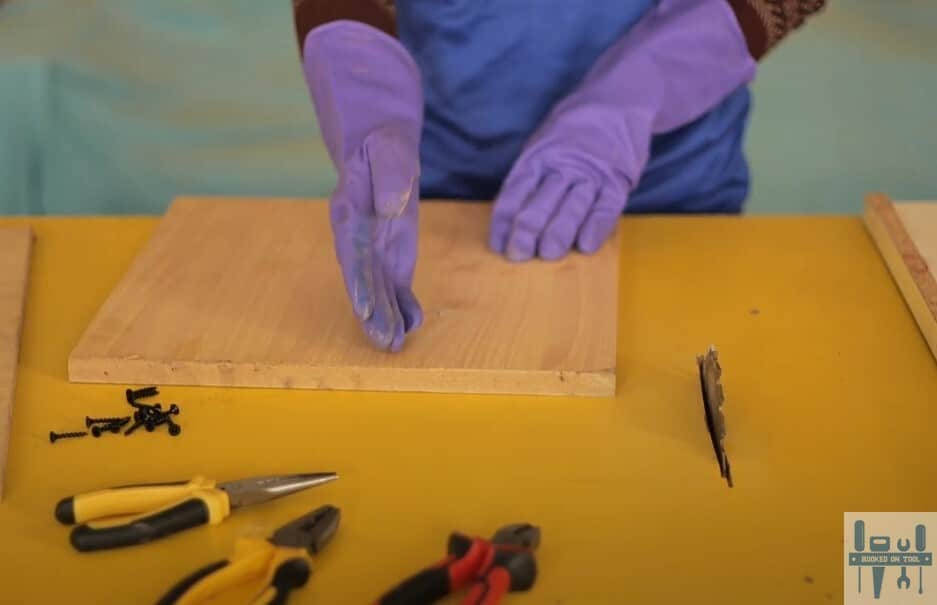
You can make some temporary markings with a pencil and use them as reference points when cutting the pegboard along with the frame. There is no harm in double-checking your markings, and you can also predrill holes for the framing if you have a drill handy.
One more thing that I’ll recommend here is that you use a level to mark out the insertion points on the wall. Otherwise, you will just be disappointed with the final placement, and you will have to patch up the holes afterward because of the alignment issues.
Step 2 — Cut The Sheet & Frame
When cutting the pegboard and the framing timber, you just gotta be mindful of your fingers. Even if you have the saw-stop safety feature on your saw, it is not a good idea to be careless. Depending upon the integrity of the saw, you might still slice your fingers.
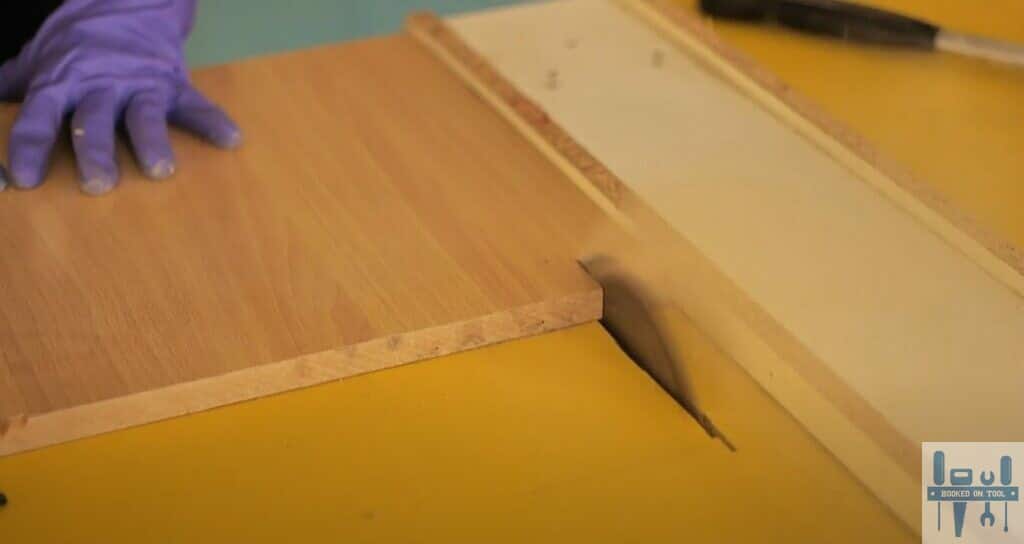
Now, you just have to align the markings on the pegboard with the saw blade and slide the board through the saw blade. The same goes for framing timber, and there is no rocket science behind this step. Just be mindful of the safety side of things, and you’ll be sorted out.
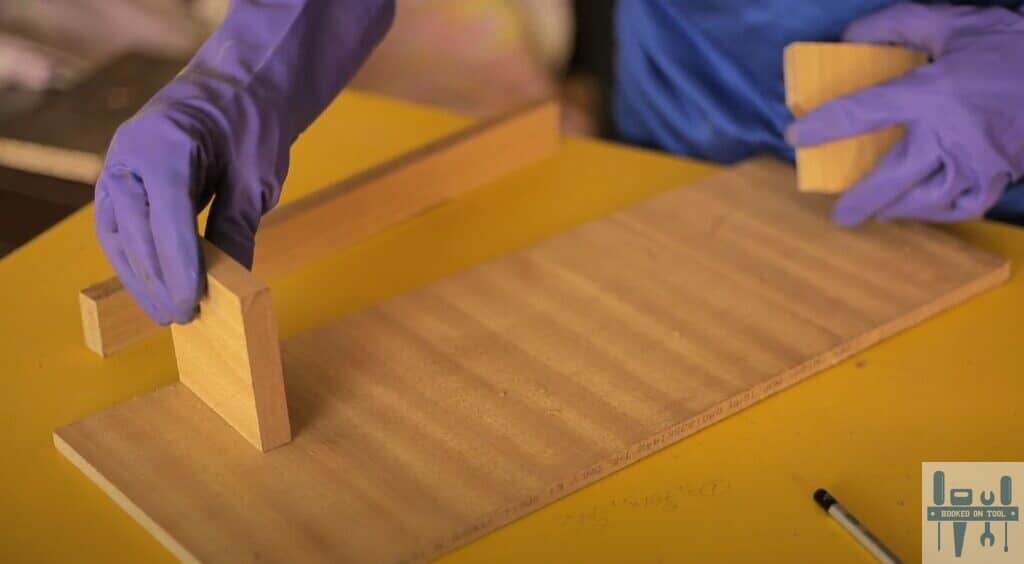
You can then move forward to assembling everything together and pairing up the pegboard with the frame to attach it to the wall. One thing that you gotta keep in mind here is that the distance between the holding arm and the frame shouldn’t be too large, especially when you’re working with small pliers.
Otherwise, the pliers will just slip out if they’re skewed at an angle. So, try to keep the space between the holding arm and the frame tight. That way, it will be a snug fit, and the pliers will remain secure on the holding arm instead of slipping out with every minor adjustment.
Step 3 — Attach Sheet With Frame
Now, for the easier part, you can just use wood screws to attach the sheet to the frame before you mount the DIY pegboard pliers holder. Most experts will recommend that you pre-drill the screw holes to avoid cracking the sheet or the frame.
So, if you have a drill lying around, be sure to use that before you jam in the screws. On the other side of things, I have also seen people just hammering in the screws and then using a screwdriver to lodge them properly.
It will not be too much of a hassle to figure out how to attach the frame to the wood sheet either way. Just focus on limiting damage to the sheet. If you’re too harsh with the hammer, then you’ll only be complicating the situation for yourself further.
The cracked wooden sheet will only look ugly in your workshop, and you might have to go through the whole project from scratch. However, if you’re not too bothered or concerned about the idea of a cracked pliers holder, then by all means, hammer away at the frame.
Step 4 — Mount The DIY Pegboard Pliers Holder
I used nails to attach the frame to the wall, but you can rely on the screwdriver and a hammer drill to create a solid foundation. However, the weight of the pliers is usually not that much, and a few nails will do just as good a job.
On the other side of things, if you have a ton of pliers and need some robust options for the pliers holders, then you will have to drill in the screws. Just make sure that you’re using a solid foundation for the screws to go into.
Otherwise, you will just damage the drywall without getting any support from it. Just avoid drilling in unnecessary holes and double-check the foundation with the stud finder. Hopefully, that will have you sorted out.
Step 5 — Finishing Up & Testing
Lastly, you just gotta clean up the mess. A bit of color never hurts anybody, and you can go ham with your favorite patterns if you have a bit of pigment or paint lying around in your workshop. You can even color-code different DIY holders for your projects.
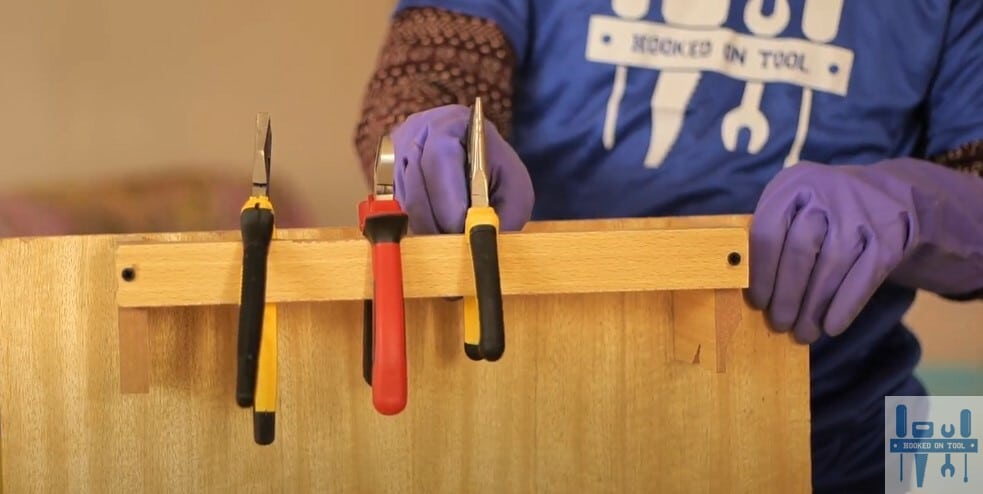
The only limit is your imagination here, and you should also check out the integrity of the plier holder. Make sure that the pliers don’t slip out of the holding arm with a slight touch. Otherwise, you will just be complicating the situation for yourself.
However, I prefer to leave it as it is. All that extra bling doesn’t seem that appealing to me. Moreover, I am just lazy when it comes to improving aesthetics. As long as the holder is functional, it is more than good enough for me. So, it is not mandatory to bling up the holder.
Note: The most common mistake that I find people making is that they will palace the holding arm far from the frame. While gravity does a great job of holding the pliers in place, if you don’t have decent pliers or pliers are placed at an angle, they might just slip out.
This will kill the whole point behind the plier holder, and you will have to start from scratch when it comes to building a DIY pegboard plier holder. So, focus a bit more on your measurements. Believe me, the last thing that you’d want to do is to start from scratch after being through with the project.
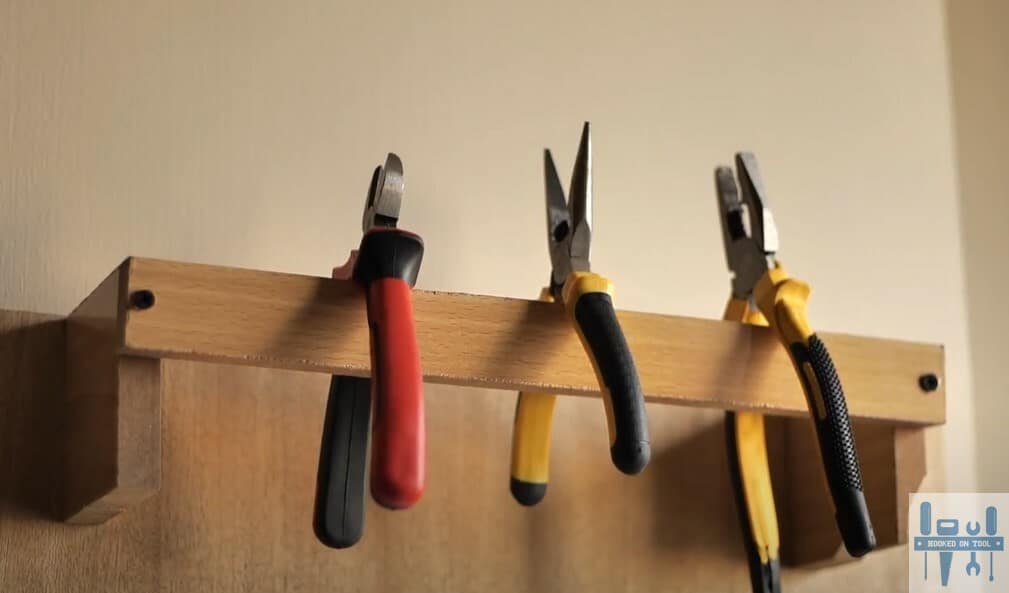
Ideally, you’ll want the plier handles to drive into the frame. That way, they will not slip out, and the handle will get stuck on the board instead of slipping out right away. Everything boils down to how you’re planning on addressing the situation.
However, if you’ve already messed up, then gluing or nailing a small piece of the wooden sheet will help you do the job. Just be a bit creative, and it will not be that hard to figure out viable solutions for keeping the pliers in place after you’re done.
The Takeaway
Creating a DIY pegboard pliers holder is not that hard as long as you’re a bit confident when working with wood sheets. It will not leave a dent in your budget, and you can develop some amazing organization systems when working with wooden sheets.
You just have to attach a holding arm to a wooden frame and then nail that onto the garage wall. Some potential mistakes that you can make here are inaccurate markings, missing the foundation, and having too much space between the holding arm and the wooden frame.
So, have these common mistakes in mind when building DIY pegboard pliers. Yes, attaching a small wooden piece to the frame should fix the issue with pliers slipping out, but it will simply look unattractive on your garage wall.
You can also go to your local workshop and ask the experts working there about DIY holders. You will also be able to get some amazing and cool ideas on how to better organize your tools for the best efficiency.