Developing a tool kit from scratch can be a bit heavy on your budget, and you will need to keep track of a ton of things to get through the project with ease.
You will have to make sure that the unit you purchase offers a decent warranty and are not that expensive.
For this reason, you will find a ton of owners going with brands like DeWalt, Milwaukee, and Bostitch.
All of these brands offer decent value, with Bostitch being one of the more affordable options on the market. It is better for beginners, and putting too much load on it might create some issues.
There is nothing more frustrating than pulling the trigger of the nail guns to complete your woodworking project but the nails won’t come out. In case you are using the Bostitch finish nailer and it’s unable to shoot nails, there are various reasons behind it.
For your assistance, we have mentioned the potential reasons behind the finish nailer not shooting nails along with the solutions.
How To Fix Bostitch Finish Nailer Not Shooting Nails?
- Jammed Nails
The most common reason behind the finish nailer not shooting nails is jammed nails. Honestly, this problem is associated with every nail gun, irrespective of the brand.
To illustrate, the nailer gets jammed nails within the barrel, and it also happens whenever you pull the trigger to install the nail into a hard surface, and it ends up diverting.
However, it’s not a massive issue because you can easily clear out the nails. For this purpose, you’ve to disconnect the finish nailer from its power source and remove the jammed nails by taking out the nail string.
In case you don’t want to clear the jammed nails on your own, you can take the nail to a nearby hardware store.
- Improper Air Pressure Adjustment
In case you are using the pneumatic nailer, it is designed to work with the air pressure range of 70psi to 120psi. When the air pressure is anything high or below this range, the nails won’t be shot well.
In fact, higher air pressure will lead to the over-flushing of nails or under-flushing of nails in case of low air pressure. On the other hand, if the air pressure isn’t set properly, the nails won’t shoot at all.
For this reason, you must set the air pressure on the air compressor of the nailer. If you aren’t sure about the correct air pressure for your nailer, you can also check out the manual to be sure.
Also, before you use the nailer, always double-check the settings. In case you aren’t able to adjust the air pressure, you have to check the air compressor because it might not be working well.
- Drained Battery
It is pretty evident that if your nailer has an old battery, it will drain out pretty quickly as it won’t be able to hold and preserve the charge.
On the other hand, if the nailer is still new, there are chances that you haven’t charged it properly.
In simpler words, a drained battery could be a reason behind the nailer not shooting nails.
For this purpose, you must replace the battery, but if the battery is still new, you have to fully charge it. Once the charging is on point, the nailer will start shooting nails.
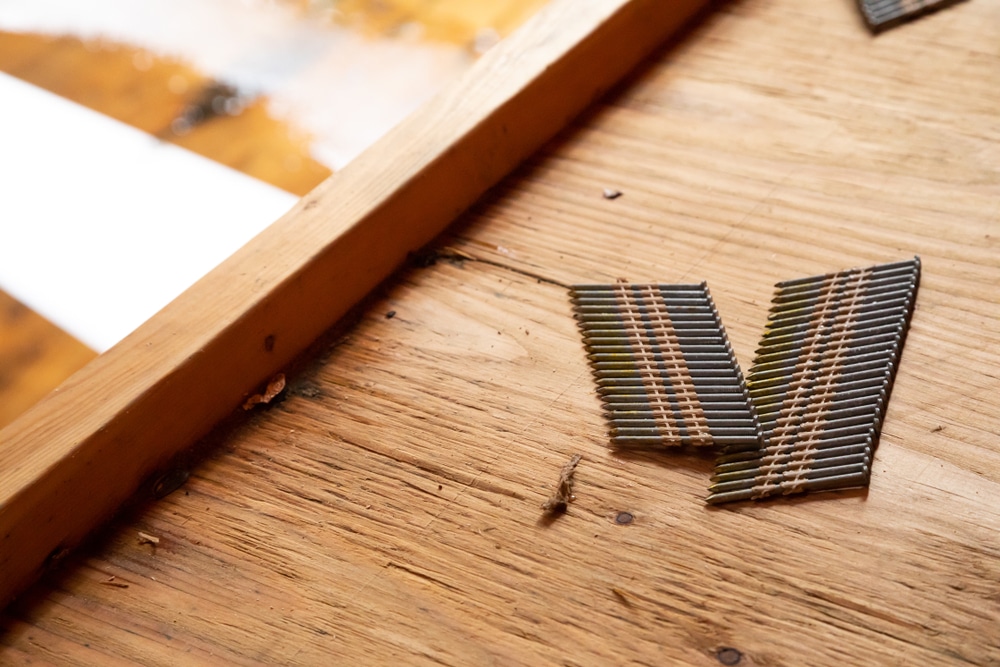
- Wrong Nails
The finish nailers are designed to work with only a specific type of nail, and if you aren’t careful about the type of nail, the nails will be stuck in the gun and won’t shoot.
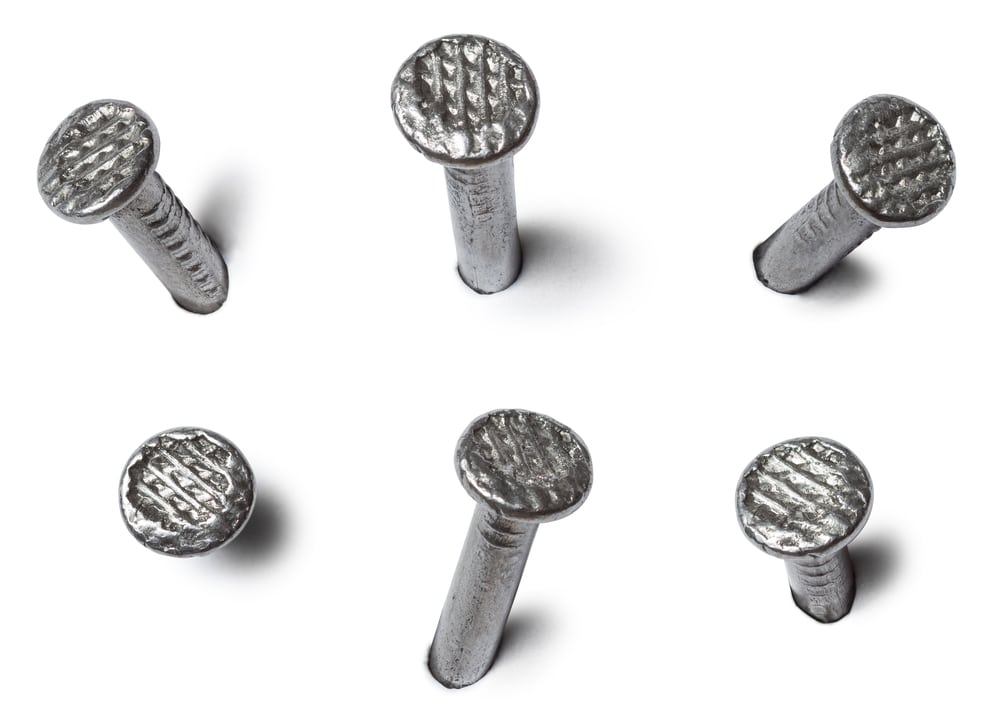
For this reason, you should always purchase the nails according to the nailer, and don’t forget to check out the manual to be sure.
- Clean Up the Chamber
At this stage, you need to check the chamber for clogged particles and foreign objects.
There is a chance that the chamber is lodged with foreign materials, and you will have to check up on the unit properly to avoid more errors down the road.
All that you need to focus on is pointing the unit away from your body and then removing the air supply before you proceed with the cleaning cycle.
If the situation is not that serious, you will be able to just blast some air into the unit to get the debris and the smaller particles out.
However, if you’re not that sure about the issue and there seems to be a bigger object lodged inside, then you will have to pry it out with needle pliers and other tools.
It can be a bit demanding job, and leaving this task to the professional is usually the smarter thing to do.
- Adjust Magazine
Here, you need to make sure that the nails inside the magazine are engaged properly, and that there are no issues with the installation of the magazine with the system.
Sometimes, all that you will have to do is to remove the magazine and install it one more time.
That will be more than enough to help the nails get to the chamber, and you will be able to fire them accordingly without having to worry about more complications down the road.
It is a pretty basic fix that has helped countless owners get through the troubleshooting routine.
If you find the magazine to be damaged, you can order a replacement as well. The replacement will not be that expensive, and installation on your system will make sure that you avoid similar problems in the future.
- Check For Hardware Damage
Next, you need to check up on the hardware itself to make sure that the nailer is not damaged. If you find discolored sections, broken pieces, and frayed wiring, then the unit is damaged.
There is not much that you can do on your end to fix the issue. The only fix here is to take it to a repair center.
While you always have the option of claiming the warranty, getting it fixed from a repair center will be quicker.
It all comes down to how you’re planning on addressing the station. Claiming the warranty will help you get a new unit within a few weeks, and getting it repaired might lead to more issues later.
So, you will have to make the decision depending on the warranty status as well as the urgency of the project at hand.
If you can wait a few weeks, then going with the warranty claim is the only real option. However, you will have to get it repaired if the warranty is no longer valid.
- Ask Official Support
Lastly, you just have to reach out to the official support team. There is no point in going through all of these fixes on your own.
Figuring out the main cause of the issue is not that hard in most situations. However, if you’re not that sure about damaged components, leaving this job to the professional is a better idea.
There is no point in going through all of these fixes on your own. You will have to seek official support, and the dealer will be more than happy to provide you with a new one.
This is especially true if you believe that the unit was defective out of the box.
Meddling with the unit’s internal components will only void the warranty and make it harder for you to get a replacement.
So, be sure to avoid fixing the unit yourself and let the dealer verify the claim. It will take a few days at max, and you will be provided with a fresh piece in no time.
From there, you can proceed with the setup accordingly and keep the new unit clean and stored properly. That will be more than enough to help you get a decent level of performance from this device.
Wrapping Up
Getting through the project can be pretty annoying when the nailer is not shooting any nails.
Luckily, you can avoid that situation pretty easily by keeping track of the system maintenance and other pointers. Most of the time, all that you will need to do is to get rid of the jammed nails.
From there, you can also check on the alignment of the nails and then clean up the chamber.
Be sure to keep the unit pointed away from your body and have the power connections removed. Otherwise, you might end up puncturing your hand with the nail.
A good idea here is to leave the job to the professional. There is no point in going at the fix alone, and seeking help from the experts will save you hours of time.
It might cost you a few bucks to get the system repaired from your local repair center, but that is much better than doing it yourself.
With that said, if you got a damaged unit out of the box, then the warranty will cover all of these damages.
The delivery can be pretty rough on the machines sometimes, and you can get a new unit by reaching out to the dealer or the customer support center maintained by this brand.