I don’t know about you, but I get beyond frustrated when the wire joints fail on me. I mean, they do look fragile, but I expect them to hold a bit of weight before they separate. Sadly, I’ve come to find that my technique is to blame for these weak wire joints.
It took me a fair bit of practice to learn how to connect wires properly so that they don’t give under load. If you’re new to the game and want to improve the integrity of your wire joints, then you’ll also have to learn how to best tie up wire joints.
There is no “quick fix” here, and you gotta put in the time to create a super strong electric wire joint. The technique can vary, depending upon the diameter and type of electric wires you’re working with. However, that doesn’t mean that you should ignore electric wire joints altogether.
How To Create A Super Strong Electric Wire Joint?
The traditional method of just stripping the cables and then twisting them around one another is convenient for sure, but it ain’t all that “practical.” Yes, you can speed through the project with these wire joints, but is it really worth it when the wire joints come apart with minimal load?
Instead, you gotta focus more on interlocking the wire strands and then securing that up with electrical tape. This technique will at least help you get through all of your DIY projects without slowing you down.
Materials Required
- Wire Cutters
- Wires
- Pliers
- Electrical Tape
Safety
For basic DIY projects like these, you don’t need anything more than simply working gloves and boots. However, if you have a face shield lying around and you’re planning on using power tools, don’t be too hesitant to use that, either.
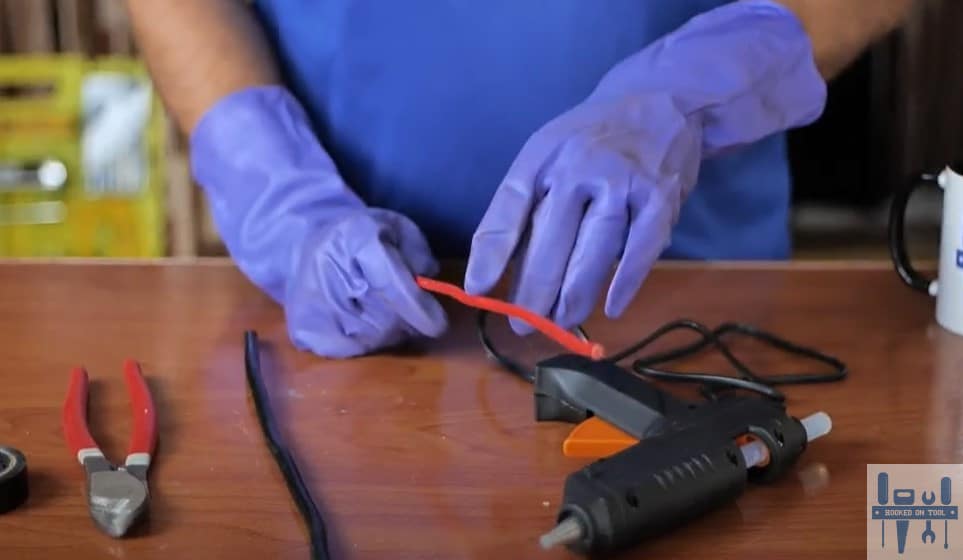
Step 1 — Strip Wires With Wire Cutters
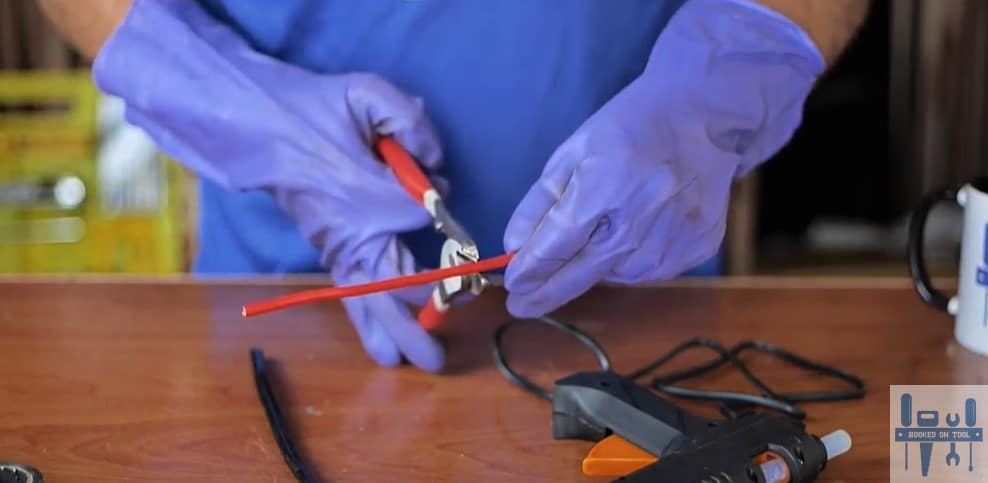
This step is pretty basic, and you can strip the wires with some wire cutters. If you’re not in possession of a wire cutter, just use the back end of the pliers to strip the wires. However, I’ll still recommend that you spend some cash and get a wire cutter.
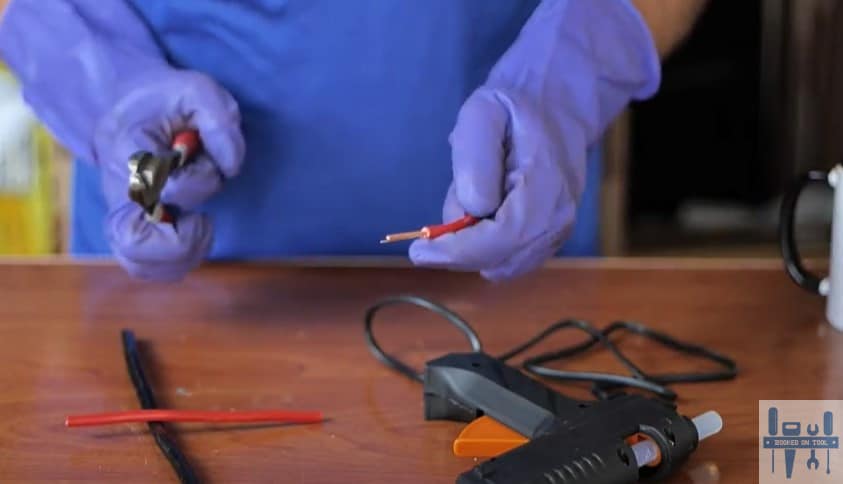
Anyhow, you need a good few inches of exposed wire to secure them properly with each other. Otherwise, you will just be wasting your time, and the same issue of weak joints will persist. So, clear up a good chunk of the coating and expose the wire strands.
Keep in mind that you don’t need to use too much force here. Otherwise, you’ll chop right through the wires. So, just be a bit mindful of the force that you put into stripping the wires, and you’ll be sorted out on this step.
Step 2 — Separate Stands From Each Wire
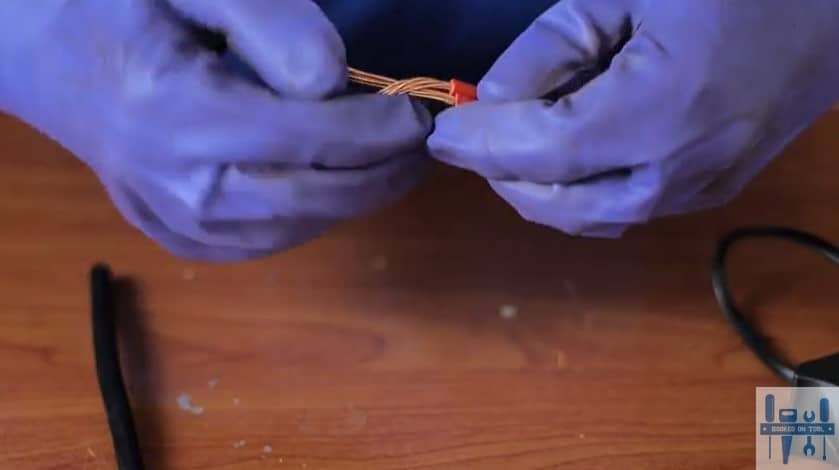
Now, this step might vary for you, but the concept remains the same. You gotta take a few strands or even one if you’re working with a thicker wire with minimal strands and set that aside. Make sure that this strand is perpendicular to the other strands and can be wrapped around the wire.
The length of this strand does not matter, and you can even take two to increase the strength of the connection. So, if you’re looking for some extra hold, just separate a few strands and keep the bulk of the wire straight.
The only complicated thing about this step is deciding how many strands you wish to separate from the main body. Mostly, you can just wing it and add more electrical tape, in the end, to further tighten up the connection. So, don’t worry too much about using too many or too few strands.
Step 3 — Interlock Strands & Wrap The Separated Strands
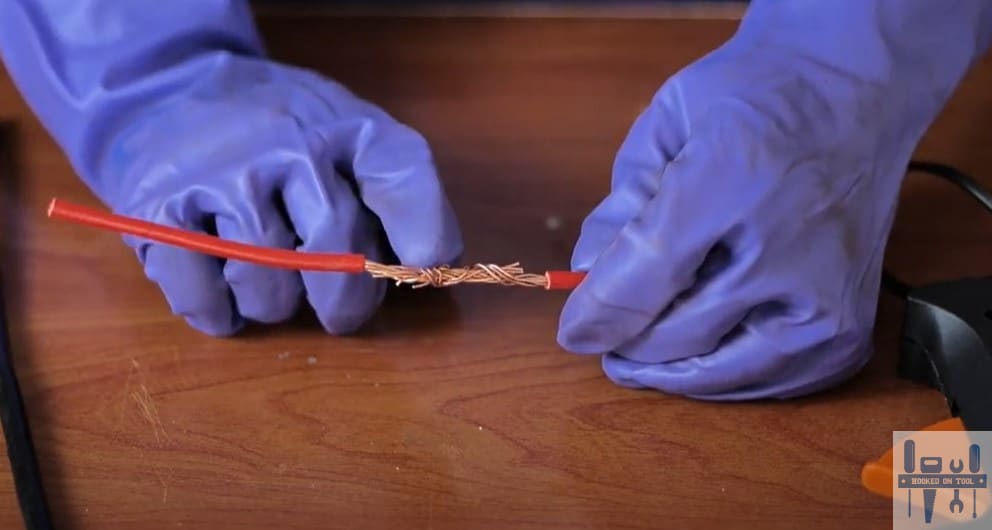
At this point, you can just interlock the strands of the exposed wires with each other and then use the separated strands to wrap around the interlocked strands. It will take a while to get through the whole exposed sections, and you need to use a fair bit of force here.
Be careful not to stab yourself when trying to finish up the wire joints. These strands can be more than just “brittle,” and it is pretty easy to stab yourself with these wires. So, be more careful about how you’re handling the strands.
Similarly, if you have a decent set of working gloves, this will not be too much of a hassle. So, make sure you don’t skip the proper safety equipment before you get to work on your DIY Project. A bit of attention to your safety will be far better in the long run.
Step 4 — Use Pliers To Tighten Up The Connection
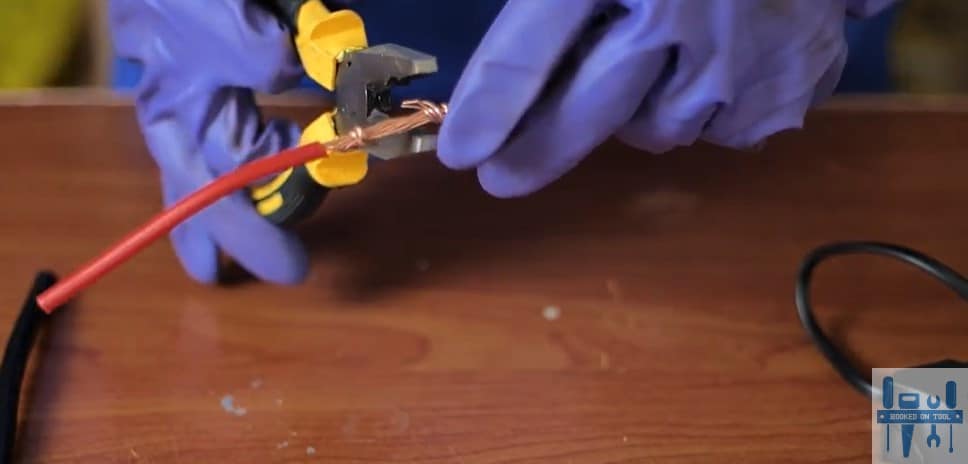
One more thing that you can do here is to use pliers. If you don’t want to stab yourself with the brittle wire strands, just use pliers to tighten up and further wrap the exposed strand around the bulk. That will give it more structure, and it won’t break or come loose.
After that, you can even test the strand by putting some pressure on the joint. If you’ve followed the instructions here correctly, then it will be pretty easy to secure decent strength from the wire. So, don’t worry too much about the exposed sections, and follow through with this tip here.
Everything comes down to how well you wrap the exposed strands around the bulk of the exposed wire. It will take a bit of practice, but you’ll surely be able to get a good enough grip with the strands alone. From there, you can further tighten up the connection for more strength.
Step 5 — Finishing Up
Lastly, you just gotta finish things up by covering up the exposed sections one more time. It is pretty easy to get through this step with some electrical tape. However, if you’re new to the game and don’t know how to cover up the exposed sections, then some hot glue can also help.
Just make sure that you’re using a generous amount of glue to cover up all the exposed sections, and that will make your life much easier. You don’t have to add multiple layers or additional electrical tape if you don’t miss any sections.
Personally, I like to work with electrical tape as the mess is kept to a minimum. So, if you’re also trying to limit the hassle, then there is no need to spend time with a glue gun. The electrical tape will do just as good a job, and you will not get stuck with any exposed sections.
If you’re confused or need more help, I’ll also recommend that you get some help from the local experts. Asking local professionals for pointers will have you sorted out in no time. So, don’t hesitate to reach out if you’re trying to improve your working efficiency as a DIY’er.
Note: The only reason why the traditional approach to wire joints fail is that the strands are not interlinked properly. So, you just have to spend more time trying to secure the strands and making sure that they are correctly entangled.
The dual layer of strands around the bulk of the electrical joint makes it harder for the wires to become untangled, and you can further cinch them down with pliers. Yes, it will take more effort, but there aren’t any other options when trying to secure the wire joints properly.
The Takeaway
Almost every other DIY project relies on wire joints for the integrity of the electrical components. However, you can’t expect these joints to last when you’re using the traditional technique of just twisting the wires together.
Yes, I know that learning new methods can be time-consuming, and you just want to rush through the project. However, there aren’t any quick methods here that can magically improve your wire joints. Instead, you will have to spend time and learn the proper technique.
The method that I personally use is listed above to help you get better structure from your DIY projects. You just have to focus on making sure that the strands are interlocked together, and the rest is simple. So, don’t over complicate the situation for yourself.
Just make sure that the strands are locked in, and then cinch them down with the pliers. Hopefully, you will not have to worry about the wire joints with this super strong connection. Also, make sure to approach other DIY’ers to learn more about wire joints and how they manage their setups.

