Getting into DIY projects as a beginner is easy, but developing your own workshop and toolkit takes a bit of experience under your belt. I personally wasted too much money on random tools when I first started out as a DIY’er. Turns out, I should’ve focused on the storage and sorting system more than my collection.
Yes, I got a ton of plier variants and power tools, but most of them rusted out within the first few months. Apparently, the humidity in my garage was too much, and keeping my tools in a pile on my workbench wasn’t really the “recommended” storage method.
Anyhow, I have learned a lot in the past few years when it comes to sorting and storing my tools. If you’re new to DIY projects, I’ll strongly recommend that you set some time aside to learn about DIY hangers for tools and other stuff. It will save you a fair bit of time and money in the long run.
DIY Hanger For Tools and Other Stuff
Now, I know that DIY projects can be complex, but you don’t need anything fancy to create a hanger. The assembly method is easy enough to help you get through the project with ease, and you just need to make sure that the foundation you choose is robust enough for your tools.
Materials Required
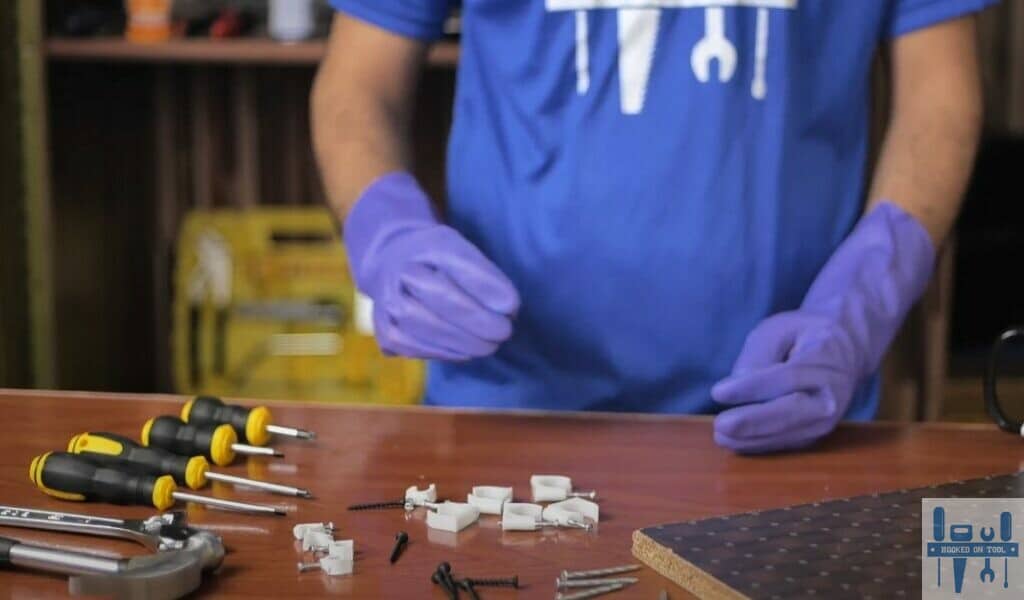
I am pretty sure you’ll have all of these basic items in your workshop already, like
- Wire clips
- Nails
- Screws
- Wooden board
- Hammer
- Level
- Power Drill (optional)
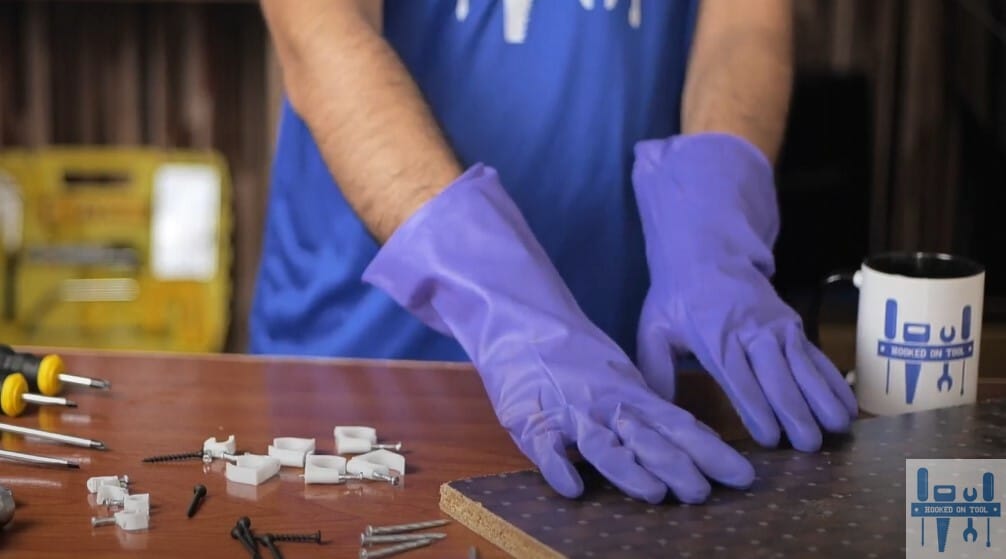
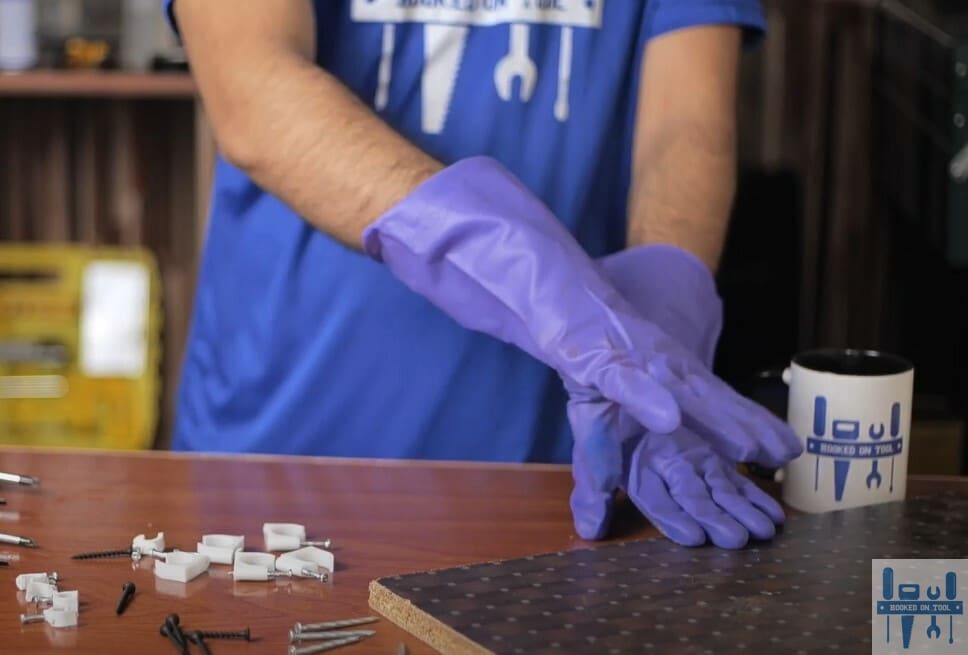
Safety
I’ve seen too many beginners stab themselves with nails, and you should never start any project without proper hand, feet, and face protection. This is especially true if you’re working with power tools, and investing in some decent work boots and gloves along with a face shield is the best idea.
Step 1 — Prep The Foundation
Before you get all quirky and excited, it is best to prepare the foundation. The last thing that you’ll want here is to put the wooden board on the drywall without any foundation behind its back. So, what I’ll recommend here is to rely on a stud finder.
You can use the stud finder to directly drive the nails into the wooden frame without worrying about the drywall. Also, be sure to remove any rough patches and smoothen up the foundation. That way, you will not have to deal with a slanted placement of the wooden board.
Too many beginners skip this step, and it is just a waste of time when you have to go through the whole project from scratch. So, don’t make the same mistake, and do spare some time to prepare the foundation. You’ll thank yourself for this added hassle in the long run.
Step 2 — Place The Wooden Board
After you’ve done all the prep work and found the right spot, you can move right ahead by attaching the wooden frame to the wall. Here, you will be using a level to make sure that the placement is correct. The last thing that you’ll want here is a slanted wooden frame to the hanger.
However, I’ve seen some experts just eyeball it. So, if you’re confident in your skills and not too worried about a slanted DIY hanger, then eyeballing it might just be an acceptable option. However, it is simply better to just rely on a level.
Anyhow, just nail all four ends of the wooden board and make sure that the nails go all the way through the board and into the foundation. One more thing that you will need to keep in mind here is that you can accidentally damage the wooden board when hammering down the nails.
So, try and avoid that by being accurate. Similarly, you can use a power drill to predrill holes and then use these holes to attach the wooden board with the wooden framing inside the drywall. Everything boils down to how you’re planning on addressing this project.
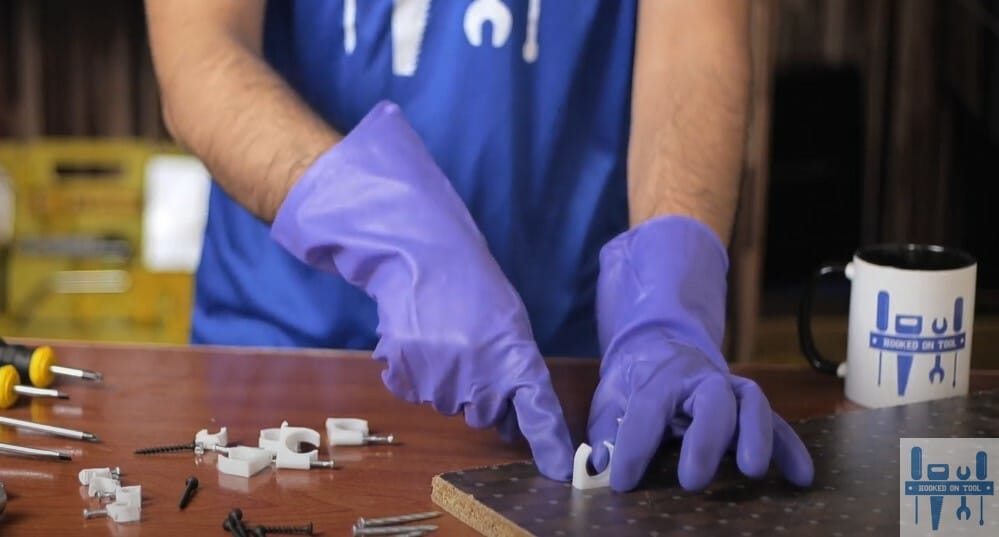
Step 3 — Add The Wire Clips
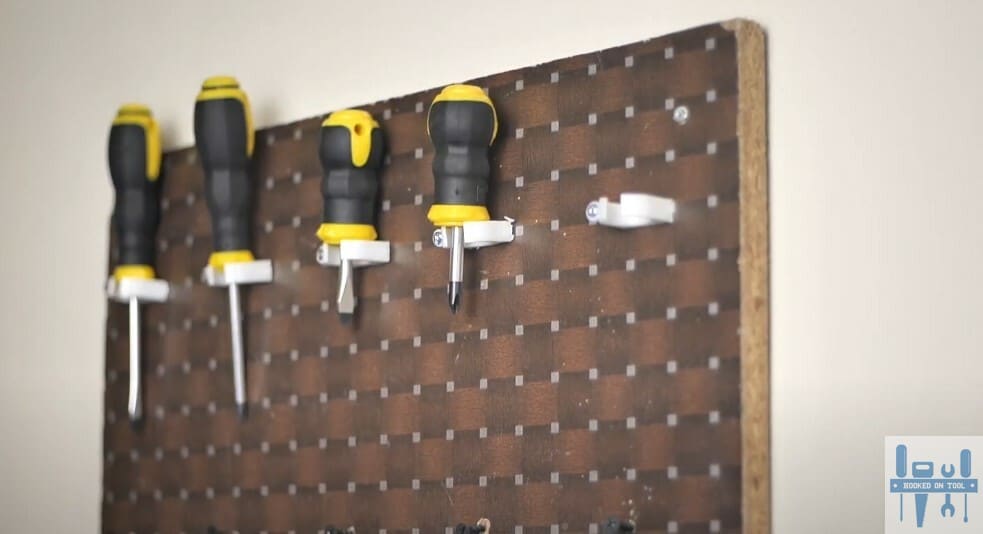
Now, for the screwdrivers and all the other random stuff, I’ll suggest that you start adding the wire clips. You can simply attach the wire clips to the wooden board with the nails. The only thing that you need to focus on here is that the distance should be more than 3 inches between the clips.
For me, two rows of wire clips were enough, but you can add as many as you’d like. There is no “perfect” number, and you just gotta look at your tool kit. If there are more than a few tools, then it might be a better idea to add more wire clips.
However, if you barely have any screwdrivers or use multiple storage systems, then a single row of wire clips will have you sorted out. Everything boils down to your current system, and you shouldn’t add excessive wire clips for no reason.
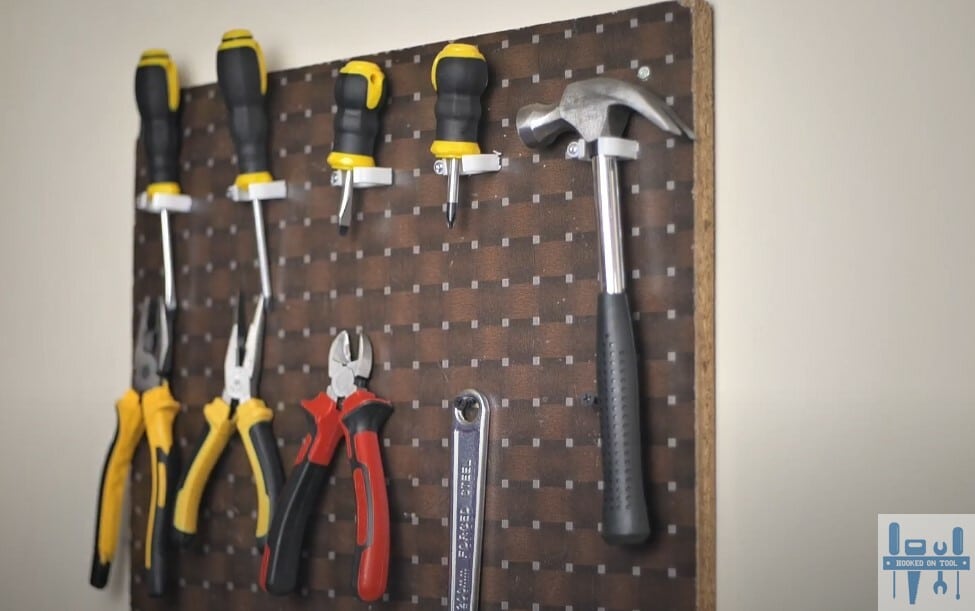
Step 4 — Pin Some Screws
You can’t really rely on the wire clips to hold everything, and you will have to switch over to using screws as nails to act as hooks. You can just drive some nails into the wooden board halfway through. Leave enough space outside the board that you can hang your wrenches and pliers on these nails.

While it might look a bit fragile to work with screws as hooks, these can be more than enough to hold your pliers in place. So, don’t worry too much about the tools falling out once you’re done with the screws. Hopefully, it won’t be too much of an issue for your future projects.
Step 5 — Test The Hanger
After sorting through the wire clips and the screws, just hang some pliers and screwdrivers on this board. You gotta test it with some weight to make sure that the wire clips and the screws are secured properly. If the screws do fall out or they seem to be out of place, just adjust them accordingly.
Keep in mind that you need to have the weight of these tools in mind. If you don’t attach the wooden board to the wall properly, the whole hanger could come crashing down on your feet. So, be prepared for that as well when you do get stuck in these errors.
Step 6 — Finishing Up
Lastly, I’ve noticed quite a few people like to paint their hangers and add accessories to them. So, if you want to add a bit of flare to your hanger as well, go crazy with some colors. I personally don’t like to put in the extra effort, but if you have the time, be sure to paint the wooden hanger.
Note: This DIY hanger will help you sort out the tools, but when it comes to keeping them rust-free, you gotta be mindful of their maintenance. I’ve found that cleaning the tools before storing them properly is the best way to extend their lifespan.
So, if you’re new to the game and don’t know how to manage the tools, then I will strongly suggest that you spare some time to learn the ropes. You gotta make sure that the tools are clean and free from all rust and moisture.
When the moisture levels get too high, it is pretty easy for your tools to get rusty. Believe me, the last thing that you want in your toolkit is a rusty tool, as it is pretty much useless. So, be sure to make the investment in a dehumidifier.
On the other hand, if you’re not that sure about a dehumidifier, the least you can do is keep the tools in an isolated box. That way, the tools will not get damaged or catch moisture. Hopefully, you won’t have to bear more burden on your budget next week.
The Takeaway
Having a DIY hanger is necessary for most people that don’t want to invest in a professional sorting system. If you’re new to the game and want your tools to remain in good shape in the long run, then spending a bit of time to create a sorting system is a good idea.
Everything boils down to how you’re planning on addressing the situation. I personally like to rely on wire clips and screws to serve as a foundation for my pliers as well as the screw drivers. So, if you’re on a budget, be sure to follow through with he same concept.
The good thing about this method is that the majority of the material I use will be readily available in a beginner’s workshop. So, if you don’t have an extensive setup, don’t worry! Just make use of what you already have in the workshop, and I guarantee that you can create a good sorting system.