Imagine my surprise when I got hit with a massive bill when first developing my workshop. I had no idea a simple set of hand tools and power tools would set me back so much. Sadly, it was a necessary investment, and I wasn’t gonna spend a ton of cash on cheap brands from the get-go.
Luckily, this shock got a bit diminished when I looked up the expected lifespan of these tools. I realized that my hand tools would last for a good 15 years if I took care of them, and this lifespan can also extend to 20 years in some cases.
So, if you’re also planning on getting into DIY projects or woodworking, I’ll suggest that you learn how to take care of your tools first. Believe me, you don’t want to get hit twice with the same bill when your tools eventually break down (which they will if you don’t take care of them properly).
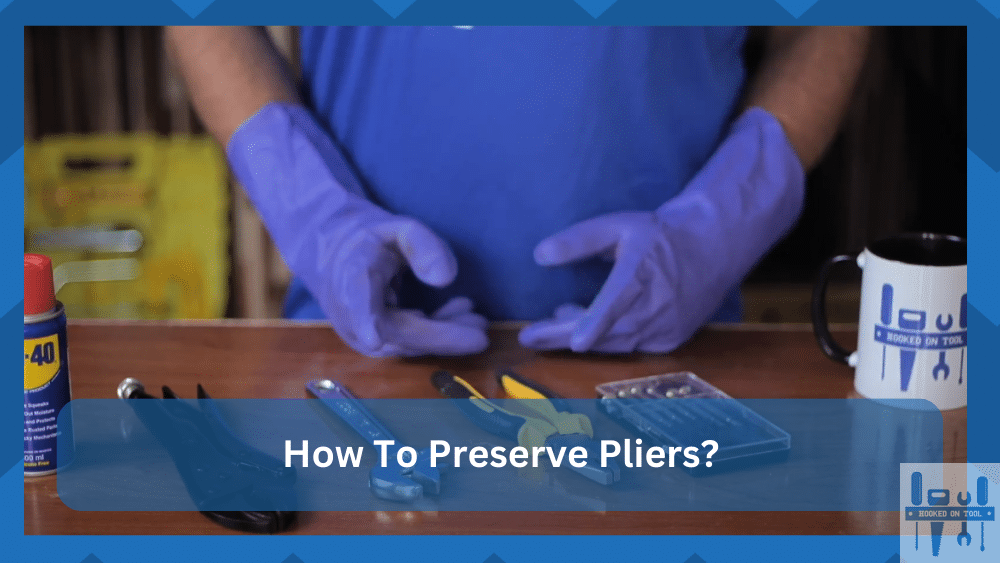
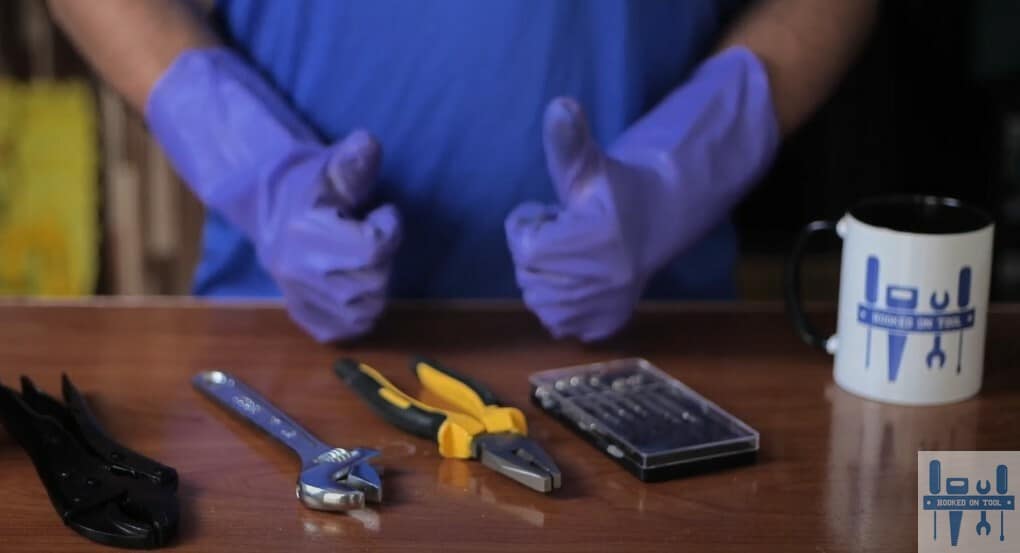
Plier Storage Ideas
Now, there are some basic tips that helped me a ton when it comes to pliers storage. I am already too passionate about my existing and ever-expanding plier variety, and these tips made it much easier to sustain my collection. So, let me share some plier storage ideas with you.
Tip 1 — Organize your tools
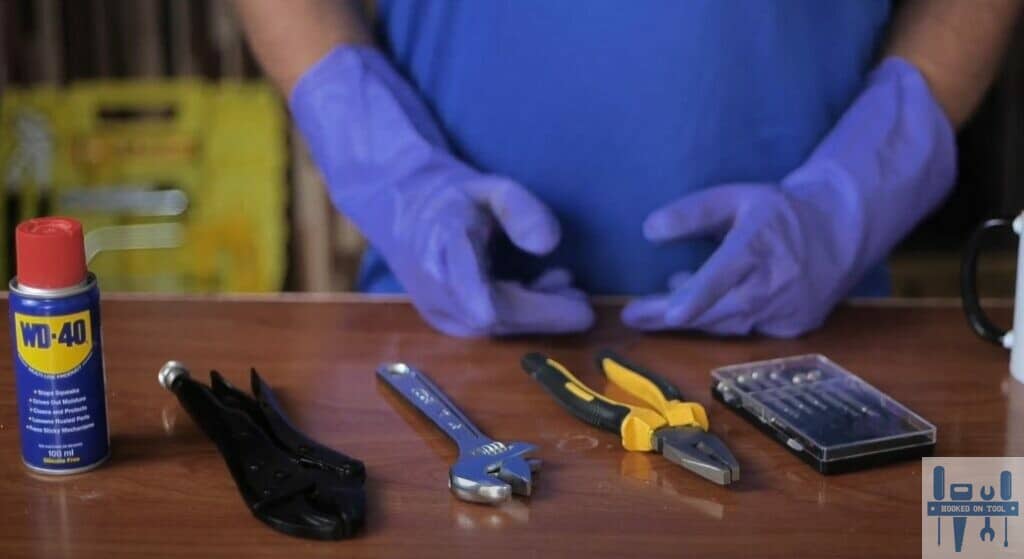
Initially, I didn’t put any focus on organizing my tools. I thought that just investing in a storage box and throwing all the tools inside would do the trick. Sadly, that is not the case when you’re working with an extensive range of pliers.
The handles will get ruined, you will not be able to get a decent grip, and the rust will also transfer from one plier to the other. However, if you put just a bit of that extra time into putting the tools in their proper place, that will have you sorted out in the long run.
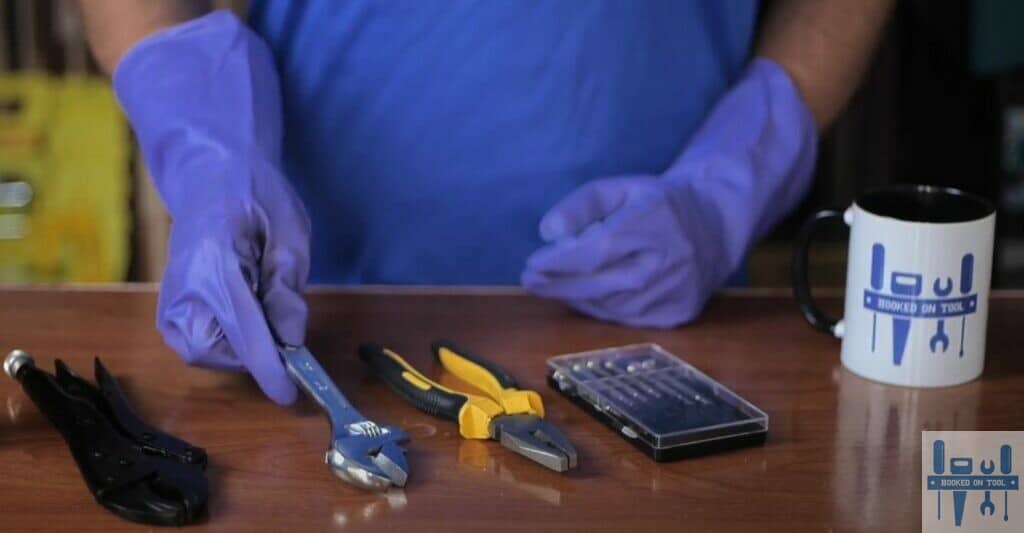
All that you gotta do is designate a spot for each tool set. Whether you’re color coding the tool set or using the size chart to organize the storage box, either way, you need to make sure that you put the tool exactly where it belongs.
If you want to go really overboard with this method, then it won’t be that bad of an idea to create a wooden shelf structure for your tools. That will look much sleeker on the pegboard, and you will not have to deal with any challenges down the road.
Tip 2 — Use a closed space
The biggest enemy of your pliers and most hand tools is rust. Now, the mistake that I find people masking here is that they will think that their pliers are safe just because they didn’t use them for plumbing. That is a rookie mistake, and you gotta be mindful of the humidity and moisture.
Yes, using pliers for plumbing will boost the risk of them catching rust, but that doesn’t mean that the pliers in your storage box are safe if it is not sealed properly. The humidity and the moisture can promote the growth of rust, and you will only be left with a crusty unit at min.
The only thing that you can do to avoid this outcome is to stick with a better storage system. Make sure that the storage system that you’re using keeps the moisture away, and that will help limit the rust growth on your tools
Everything boils down to the storage system in one way or another. So, even if you keep your tools organized, they will still get rusty if the storage system can’t keep up with humidity and moisture levels in your region.
Tip 3 — Keep them clean
Let’s circle back to cleaning. After you get a proper storage set and box, it is a good idea to focus on keeping your tools clean. Even if the storage system is perfect, the gunk, the moisture, and the debris on the tools will only clog up the pivot points.
While it might not seem like a hassle at first, over the months, it will start to wear down your tools. So, keep that in mind and blast your tools with compressed air or use a clean cloth to wipe away the gunk. It will not take too much of your time, but you’ll surely get much more out of the pliers.
There are a ton of other methods as well when it comes to cleaning the pliers, but starting out with a simple cloth seems like the best option to me. So, there is no need to test your luck with other sets, and just using a clean cloth will help you out most of the time.
You can think about complicating the situation with some steel brushes and other items, but that will only add to your excess when it comes to cleaning your tools. So, don’t waste any excessive time and just stick with the standard cleaning option with a dry cloth.
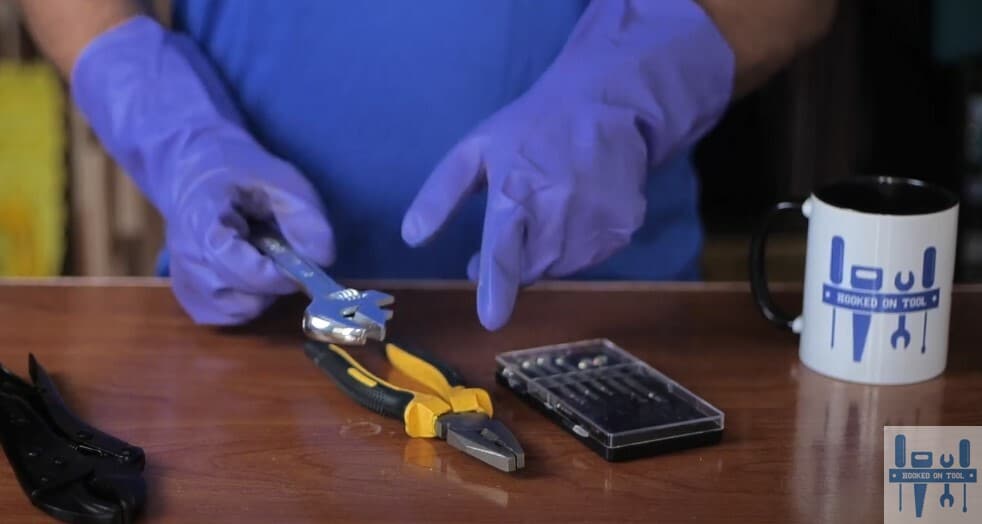
Tip 4 — Use for intended purpose
Even while it might seem clear, not everyone will concur with this. People use a variety of tools to achieve the same tasks, whether you’re new to the game or have worked on DIY projects for some time.
Yes, makeshift solutions do help out a ton when you’re talking about a quick turnaround. However, when you’re working for extended hours, using wrenches to replace pliers or using the wrong type of pliers for a particular job will only wear out the jaws.
You will notice that the grip on the plier-jaws will start wearing out, and there will be no hold from the plier. If that is the case, then you will have to spend money and replace the plier. There are no quick methods of solutions when you’re trying to fix worn jaws.
So, just keep in mind to use any tool for its intended purpose. There is no need to experiment or try out different options that will only hold you back. Instead, you can ask for details from local experts, and they will be more than willing to guide you.
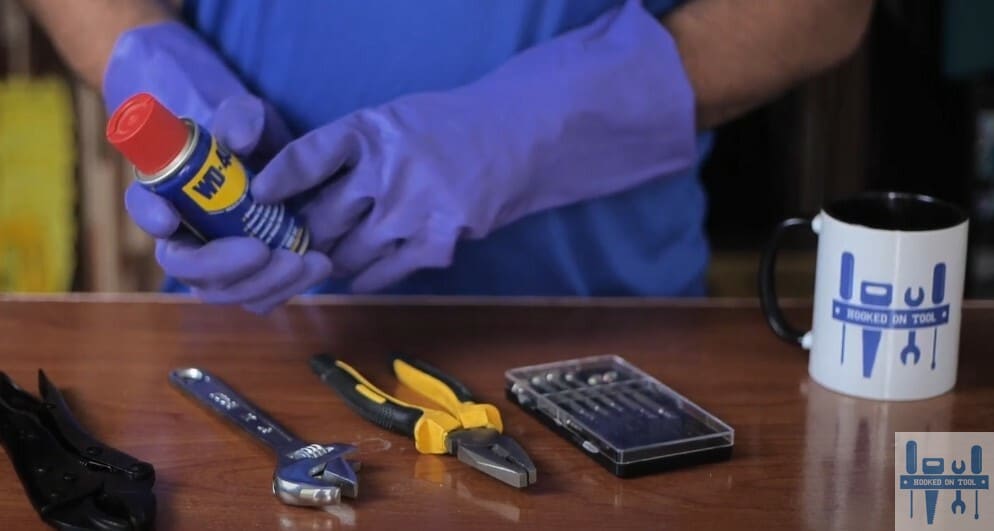
Tip 5 — Good rust-cleaning chemical
Lastly, I would suggest that you invest in some decent rust-cleaning chemicals like WD 40. This formula is one of the most common options in the market when it comes to keeping your tools free from rust. So, invest a few bucks into it and spray it onto your tools.
You don’t have to keep spraying the tools after every use. Just keep it reserved for the tools or pliers that are in rough condition. You will not be able to get any performance out of your tools otherwise, and WD 40 does a pretty decent job at getting rid of the annoying rust.
However, if, for some reason, WD 40 is not available in your local hardware stores, then go with a different option. There is no need to get stingy, and going a bit over the budget will also be a good option. Everything boils down to how you’re planning on addressing the situation.
Just visit your local shop and ask the experts working there for their opinions. These professionals will be more than happy to guide you on the right option for your tools. So, don’t hesitate to ask when it comes to figuring out the right option for your tools.
Note: every system is unique, and there is no one perfect way to take care of your tools. However, you can still implement all of the tips that I’ve mentioned here. Just focus on keeping the tools away from rust and keep track of the humidity levels.
Yes, it might seem like a hassle, but you’re not left with too many options when it comes to limiting the damage to your tools. Once you get efficient with the cleaning routine and develop the storage system, it will not take you more than a few minutes to take care of the tools.
Ask your local professionals if you’re still unsure or don’t want to take the time to learn the right maintenance procedures. Just get in touch with the professionals working at your neighborhood shop and ask for assistance.
You will be able to avoid a lot of typical pitfalls and mistakes along the route since these professionals bring years of professional expertise to the table. Don’t be afraid to ask these professionals; they will be more than happy to assist you.
The Takeaway
These were some plier storage ideas that have helped me protect and maintain my massive collection of pliers over the years. Yes, these tips might seem basic, but if you keep track of these basics, you will not have to worry about anything else.
Just focus more on perfecting the basics, and you will not have to spend a penny on all that extra bling, like metal brushes and multifunctional storage systems. You can even copy the storage setup from your neighbors or local hardware stores.
Just be creative and don’t ever let go of the basics. You just gotta start by organizing the tools, keeping them in closed spaces, wiping them clean, and using rust cleaning chemicals. These methods will be enough to help you get more than 15 years our of your pliers.
Similarly, I’ll also suggest that you invest your money in a good brand when you’re first trying to get your pliers. Otherwise, you will just be holding yourself back and it will be a hassle to get the right fit for your money spent.