Working on projects by yourself requires the user to have a lot of equipment with them. Depending on what you want to do, the tools required can be different.
Considering this, it is important that you first ensure you have all of the devices needed before starting with your project.
Additionally, another thing to keep in mind is what brand you bought your equipment from.
This will determine what the features on your devices are and how well they will perform. Talking about this, one of the best companies that you can go for includes Ryobi.
They have a huge lineup to select from, which is all amazing.
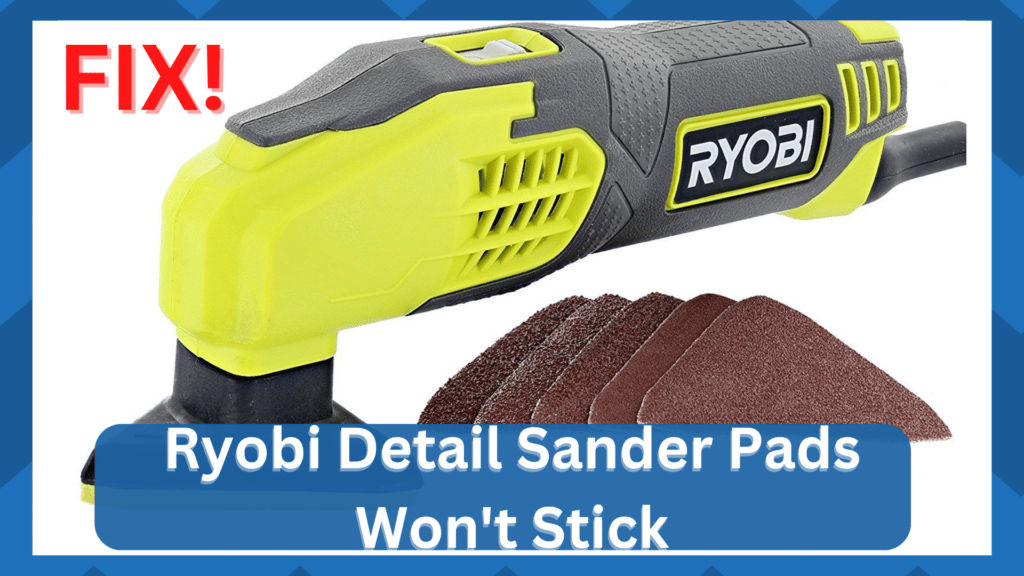
Ryobi Detail Sander Pads Won’t Stick
Although, there are also some issues that you can run into with their devices. One problem that people have been reporting is that Ryobi detail sander pads won’t stick.
This is why we will be using this article to provide you with a list of ways that can be used to fix this.
- Velcro Pad Problems
The most common reason why your Ryobi detail sander pads won’t stick can be that the Velcro pad has some problems.
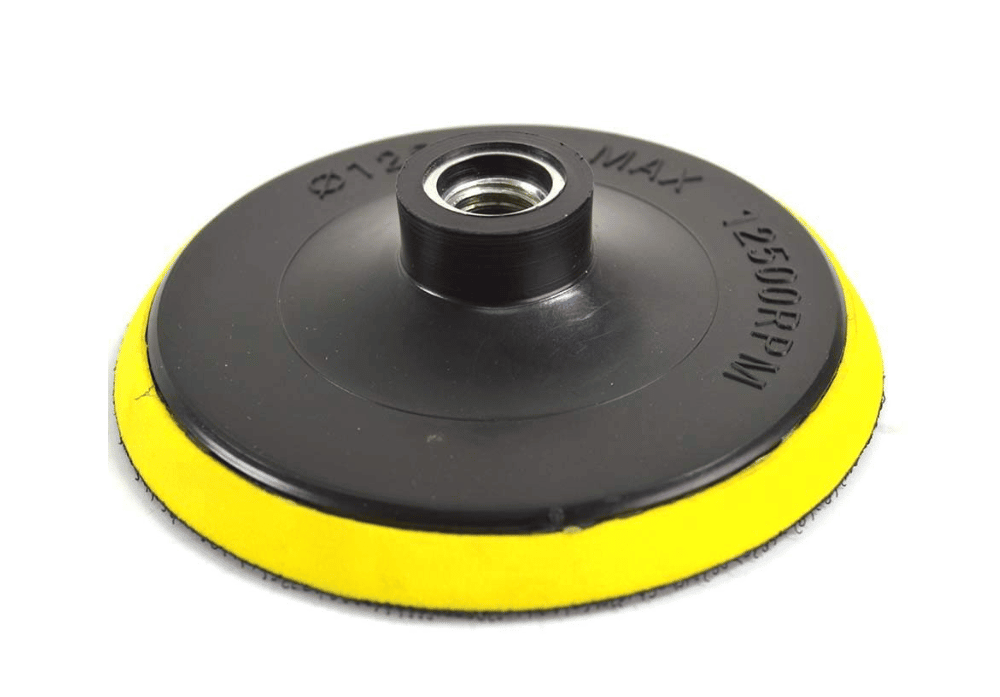
These are also known as hook and loop, and it is the sticky surface on which you install the pads on.
Considering this, most pads will come off if the Velcro surface has any debris stuck to it or it is damaged.
This can be quite annoying to deal with as people think that they will have to replace their equipment with a new one.
Luckily, you can easily replace your current Velcro pads with new ones. Numerous brands are manufacturing these products.
Although some of these can be quite expensive. Considering this, make sure that you go through them carefully to select a product that you are comfortable with.
- Using Your Velcro Pads
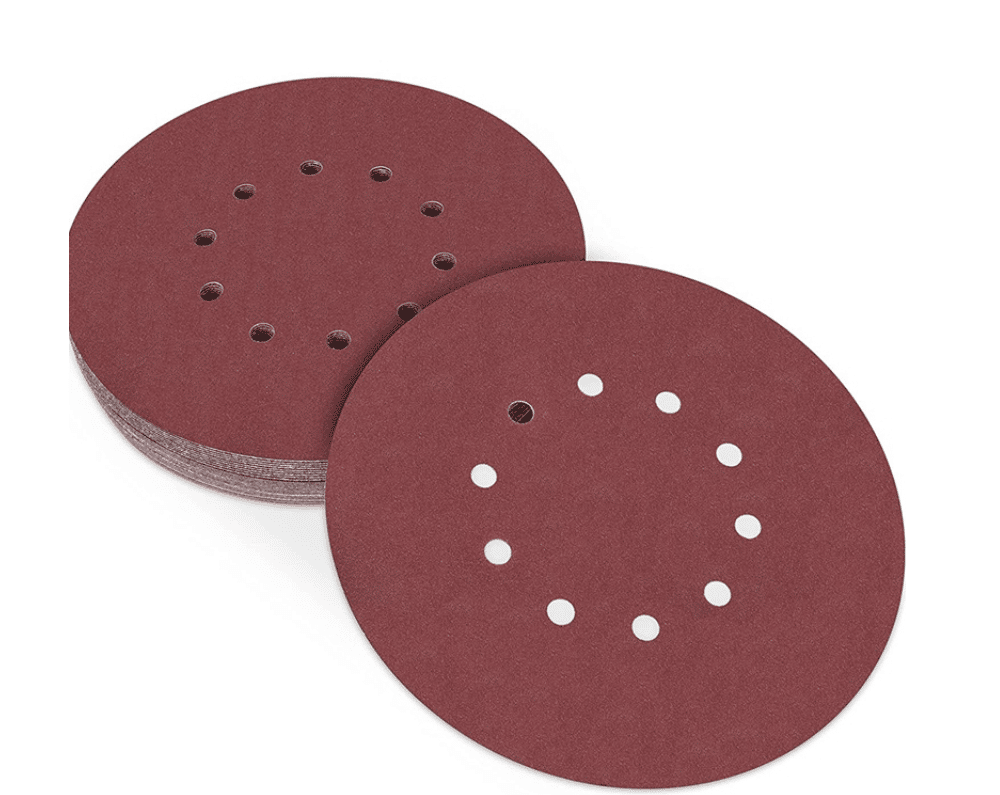
Another fix that some people use for this issue is replacing the Velcro pads themselves. Instead of purchasing the disk pad from another store, you can just install it yourself using glue.
While this will save you money, it is mostly recommended that you avoid doing it.
You can start by taking off the hook and looping from your device. This is held down with a total of three screws that can be easily taken off.
Once done, you should be able to stick the Velcro pads to the surface using a strong adhesive. Make sure that you wait for some time for this to dry up before using it.
- Sander Pads Might Be Faulty
Finally, if the Velcro pads on your sander are working perfectly but you are still getting the same issue. Then there is a chance that the detail sander pads you got were faulty.
This can be quite frustrating, but you should note that these might have a warranty on them.
If they do, then you can take them back to the store and get a replacement for them.
However, if there is no warranty on them, then you will have to purchase a new pack of sander pads.
- Clean Up Velcro Pad
Sometimes, the fix is as simple as cleaning up the Velcro pad a bit. There is no debate that the sander might also be at fault here, but it will be much easier to isolate the issue with the sander pad first.
So, be sure to check the unit for fault if you can’t seem to isolate these errors.
It all comes down to how you’re planning on maneuvering through the situation. If you’re sure that the sander is in good shape, then fixing the unit will do you good.
It will only take a few moments as you check up on the quality of the sander as well as the pad.
From there, you can rely on a spray bottle or a brush to clean up the gunk from the Velcro. It shouldn’t be too hard to isolate the errors as you try to clean up the Velcro pad.
So, all that you need to do here is to adjust the status of the sander pads one more time.
- Check For Tears
If you’re sure that the sander itself is in good shape, then there might be tears or missing sections on the sander pad itself.
Sometimes, these minor tears are easy to ignore, and you might be in the same situation. So, you will have to narrow down these errors accordingly.
All that you have to do here is to check the response from Sander after using a different one.
Usually, the pads are pretty affordable, and you can seek help from the dealer on which option you should purchase.
That way, you will be able to further narrow down the problem without having to waste more money on the sander pads.
Once the replacement has been installed, it is pretty easy to fix these errors with the sander as well as the sander pads.
- Try Using Some Glue
Most of the time, the issue with the sander and the sander pads will be fixed at this stage.
However, if you’re unsure about the situation even after going through all of these fixes, then you need to go with a DIY solution that relies on glue or double-sided tape.
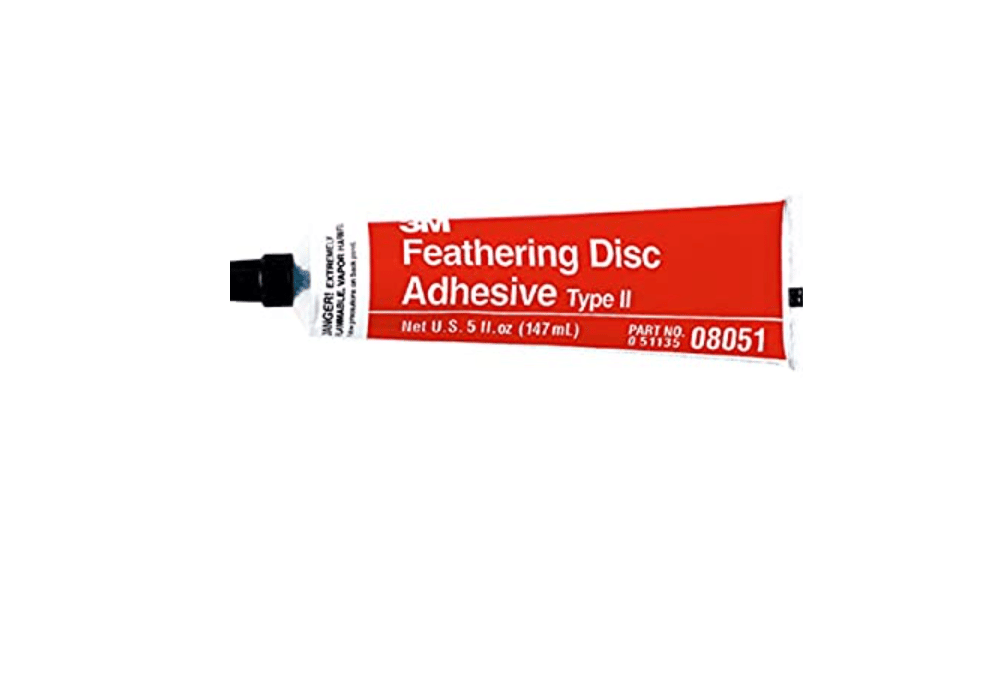
Putting a bit of glue on the sander pad will do you well as you’re trying to add a new Velcro section to the back of the pad.
It might be a bit annoying at first, but you’re not left with many options here. So, all that you have to do is to find a piece of Velcro from your sewing kit and get busy with the sander.
If you’re lucky, you’ll be done with the unit right here. However, if you’re still unsure about the problem and can’t seem to get through the fix, then you need help from a professional.
- Seek Help From Ryobi Customer Care
There is simply no point in wasting more time trying to adjust the response from the unit if you can’t seem to get through the errors at this point.
You might just be dealing with a defective unit that won’t respond to any input. If that is the case, then you need to get a new one.

You can’t rely on the old unit, and to further confirm the error, it is always best to seek help from an official.
Asking the customer care team will help you sort out the majority of these errors. It will barely take a few moments to reach out to these experts.
They will make sure that you have an easier time as you try to isolate the errors with your unit.
So, be sure to keep that in mind when you can’t seem to fix the issue with the sander pads not sticking to the Ryobi unit.
Hopefully, you won’t have to go through a replacement to fix these minor complications.
Wrapping Up
These pointers will be more than enough to help you fix the problem with the Ryobi sander not sticking.
As long as you’re sure about the hardware of the Sander and the disc is not damaged, then you can replace the sander pads to get ahead of these errors.
However, if the disk itself is in poor shape, then we suggest that you get through a warranty claim.
There is no point in trying to stick to a damaged unit, and going to the dealer will help you secure a new piece.
You just have to show valid proof of purchase, like a receipt, and the dealer will take it from there.
So, all that you need to do is to reach out to the Ryobi customer care team. They will be more than happy to guide you through the issue.
From there, you won’t have to go through much hassle as you try to adjust the system.
Hopefully, you will be able to get the new sander within the same week without dealing with any extensive verification routines.