When it comes to quick and easy guides, they are not exactly “quick” or “easy.” However, instead of getting annoyed over the confusing instructions, it is always best to reach out to your local experts. Spending a few hours working on DIY projects with an expert will do you so good as a DIYer.
It takes years of expertise and practice to be efficient with different accessories and tools. There’s always that technique that you need to efficiently manage different tools or items. So, if you’re new to the game, be sure to stick with an expert for the time being.
I’ve seen many queries from people getting confused about how to screw a ceiling hook with pliers. Now, I know that there is no rocket science behind these pliers, but it would still help if you could educate yourself on different techniques to screw ceiling hooks, like with pliers.
How To Screw Ceiling Hook With Pliers?

Ceiling hooks are pretty easy to handle and don’t require anything more than basic tools. As long as you’ve invested in a basic toolkit, managing a ceiling hook with pliers is pretty easy. All that you gotta do is to get a wooden base and then screw it on the tool.
Materials Required
- Wooden Board
- Ceiling Hook
- Hammer
- Pliers
Safety
As you’re not using any power tools for this DIY project, just get some rubber gloves and foot protection (in case you drop anything on your feet, of course). However, it still doesn’t hurt to equip yourself with a face shield. It will take a bit more hassle, but it can be worth it for most projects.
Step 1 — Prep The Board
Before anything, you gotta hold your horses and mark the exact location where you want the ceiling hook to go. Most people like to use a wooden board as a base and use some ceiling hooks to create a hanger for their tools or smaller accessories.
You can also clean up the board to create better support for the ceiling hook. This is the most crucial step, as a broken board will only create more hassle for you down the road. So, have that in mind when you’re stuck with a wooden board.
Step 2 — Hammer The Ceiling Hook
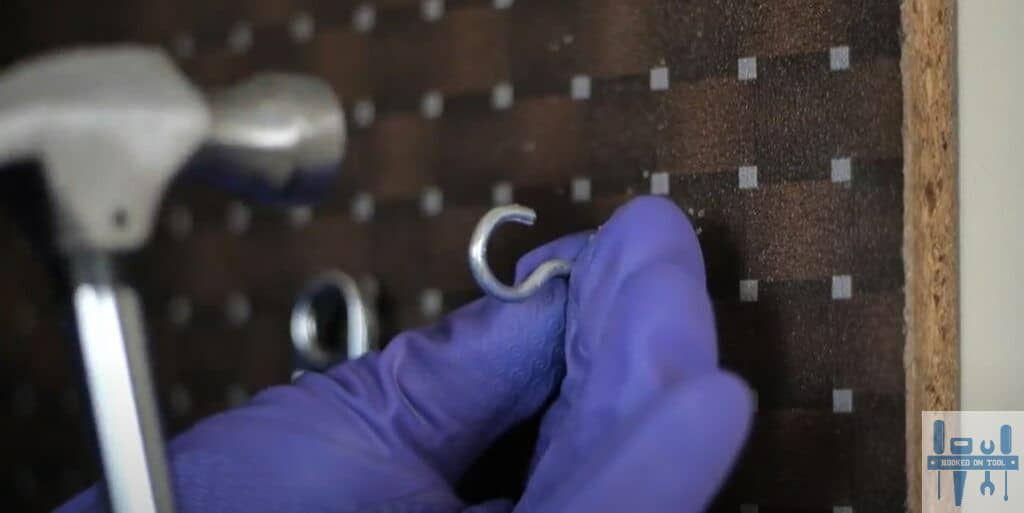
Once you’ve marked the entry point, then just place the ceiling hook on the board and start hammering it down. You need to hammer down the ceiling hook with enough force to drive the threads into the board.
However, keep in mind that using too much force here will damage the ceiling hook or the board. So, don’t go ham with the hammer and try to limit your force. Otherwise, you will remain stuck and won’t be able to get anything out of the ceiling hook.
One more thing here is that you can also use the pliers to drive the hook into the board. Just focus on managing your force, and the rest is rather simple. So, keep all that in mind when you’re trying to hammer the ceiling hook.
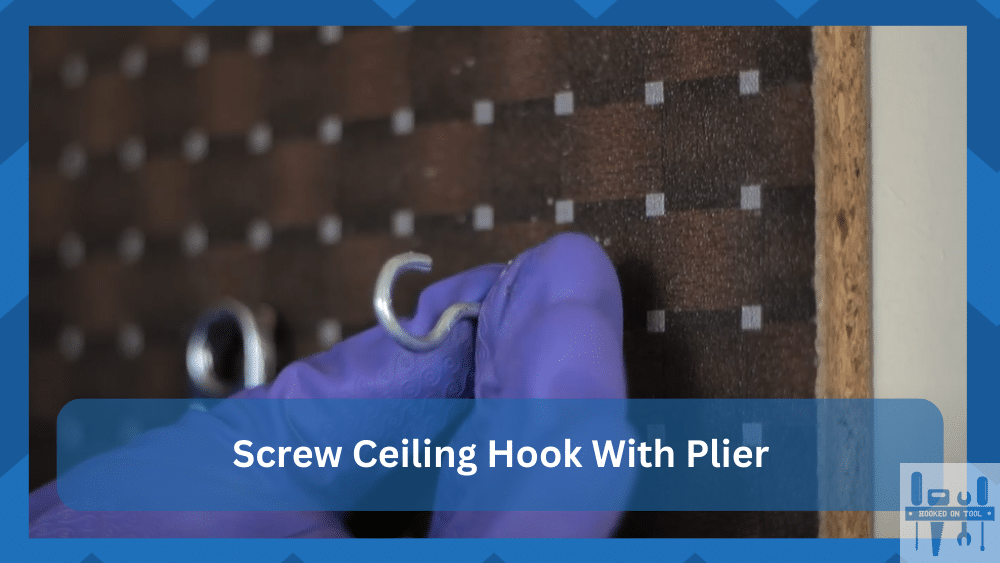
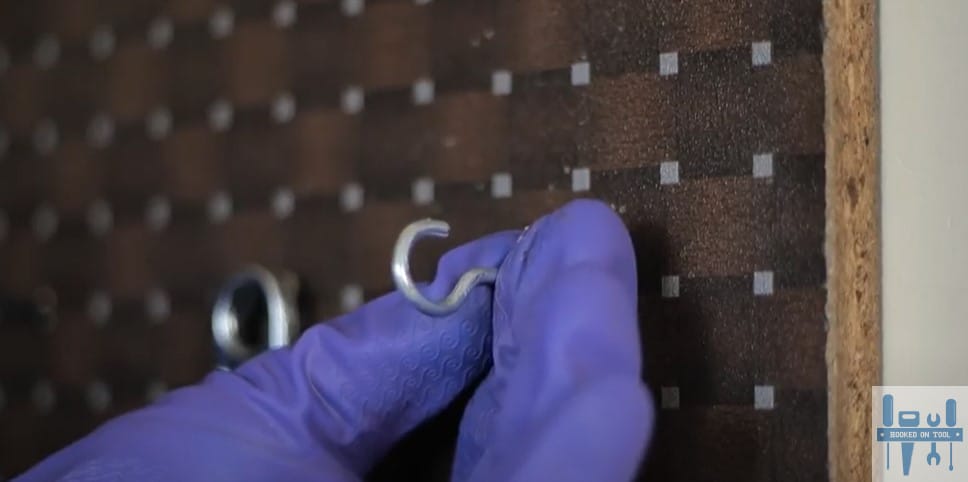
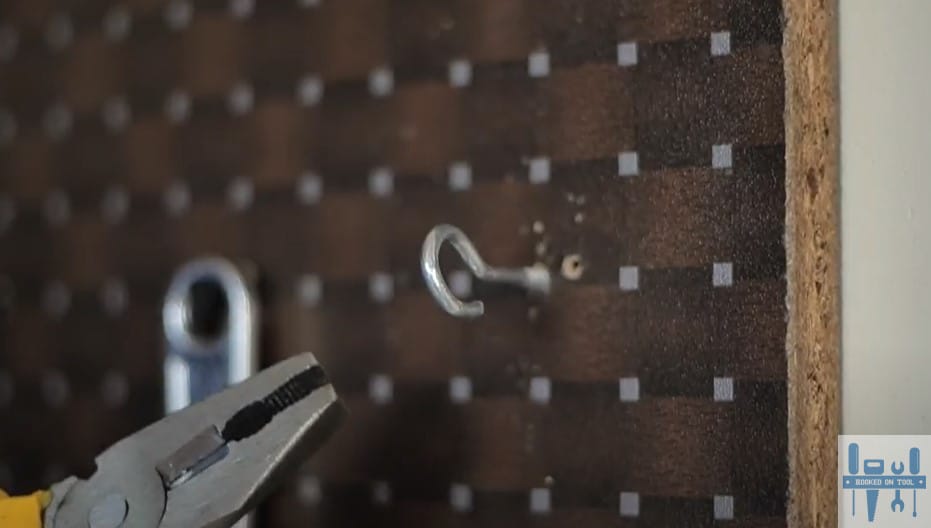
Step 3 — Screw The Ceiling Hook With Pliers
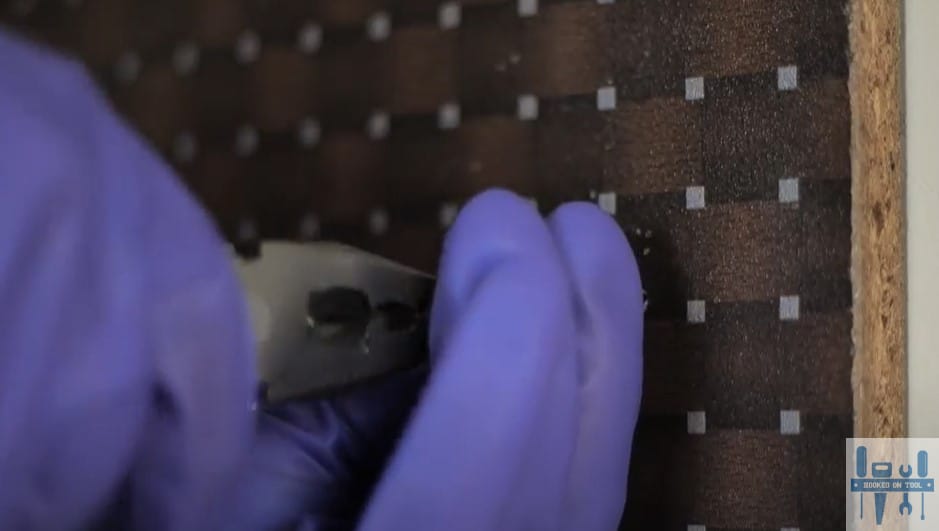
Now, when the threads are somewhat lodged into the board, you can use the pliers to screw into the board. Just grab one end of the ceiling hook with the plier jaws and start twisting it in a clockwise motion. It will take a bit of your time, and you will have to drive in the hook.
You don’t have to worry too much about damaging the screw here, as it is fairly easy to distribute force with the plier jaws. So, just keep on rotating the screw, and you will be pretty much sorted out in the long run.
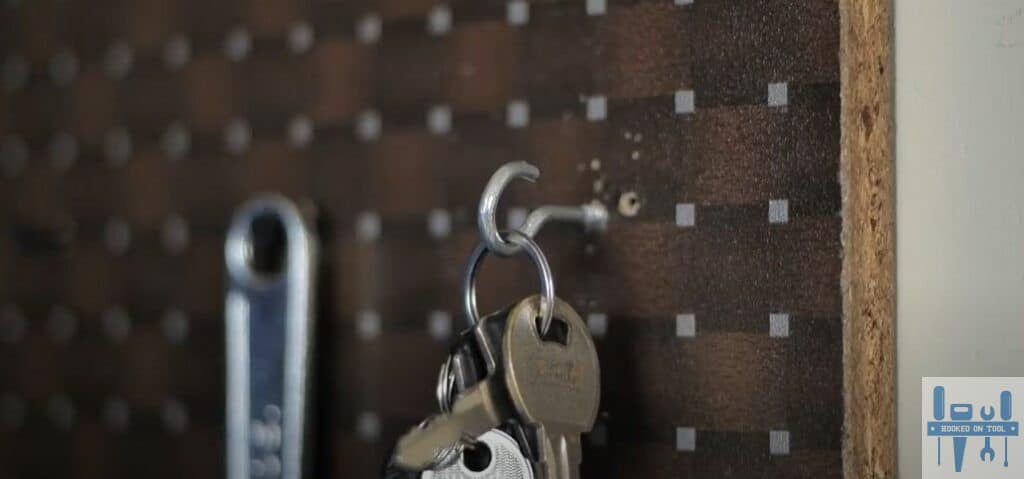
Step 4 — Test Its Integrity
When it comes to testing the integrity of the ceiling hook, you can just shake it around and put some pressure on it. As long as it can hold the weight of your tools, there is nothing to worry about. However, if there is too much wiggle then you need to fill up the hole or check the hook itself.
Most of the time, you will not have to bother with anything. However, if the wiggle is too much, just add some glue to the insertion point, and that will be the perfect support for your tools. Hopefully, you will not have to worry about anything in the long run.
Step 5 — Finishing Up
Lastly, you might just need to paint over the insertion point and fluff up the ceiling hook to make it look better. Personally, I don’t really brother too much when it comes to the cosmetic side of things, and you should avoid it too if you don’t have the time.
Just make sure that the ceiling hook is robust enough to hold your tools and that there isn’t anything more that you gotta do here. Hopefully, you will be sorted out right here.
Note: Everything boils down to how you’re planning on handling the wooden board. If it is in poor condition or chipped away a bit, then you will have to go through a fair bit of hassle to manage the process. So, have that in mind when you’re stuck with a fair bit of wiggle room.
Just patch up the board or switch over to a different one entirely. It will take a bit more of your time, but it is much better to put in the time than to be stuck with a subpar DIY project in the end.
The Takeaway
Using Ceiling hooks is not that difficult as long as you have a basic toolkit. You can even use the pliers for the whole process if you’re creative enough. Now, you will also find some people that would prefer using power tools to get through the installation.
There is no debate that the power tools will speed up the process, but not everyone has the budget to get them. So, if you have a basic set of pliers, just use that to hammer in the ceiling hook and then screw that in with the plier jaws.
You will surely get tired by the time you’re done with the ceiling hook, but it is much better than spending hundreds of dollars on new pliers or a new toolkit.