Working with plastic might look easy, but it requires a lot more focus and precision. You would not believe how many frames I ruined or bent out of shape when working on a project involving plastic. I didn’t fully grasp how soft plastic could be, and it had a huge impact on my control.
Anyhow, the most annoying situation that I had to face was a stripped screw getting stuck inside the plastic. I wasn’t able to get the screw out because the grip was too weak. So, it took me a fair bit of trial and error to perfect my technique.
If you also get stuck in a similar situation where you don’t know how to get the stripped screw out of plastic, then there are a few things that you can do. Options like screw extractors, pliers, wrenches, and even a standard screwdriver with a rubber band will have you sorted out.
How To Get A Stripped Screw Out Of Plastic?
The method that I like the most when it comes to getting a stripped screw out of plastic is using a screwdriver. If I am able to create a good grip with the screw head, it is usually enough. However, there were instances where I had to use a rubber band or hot glue to improve my grip.
Similarly, I’ve also seen some people drilling straight into the screw head for an extractor or creating a slit with a grinder to use the screwdriver. However, you can consider these methods to be more “hardcore,” and you might just damage or deform the plastic. So, just stick with the screwdriver method here.
Safety
Before you get all excited, I’ll suggest that you get some proper hand a feet protection. A face shield will also help if you’re planning on working with a drill and ignoring these safety requirements will only put you at risk.
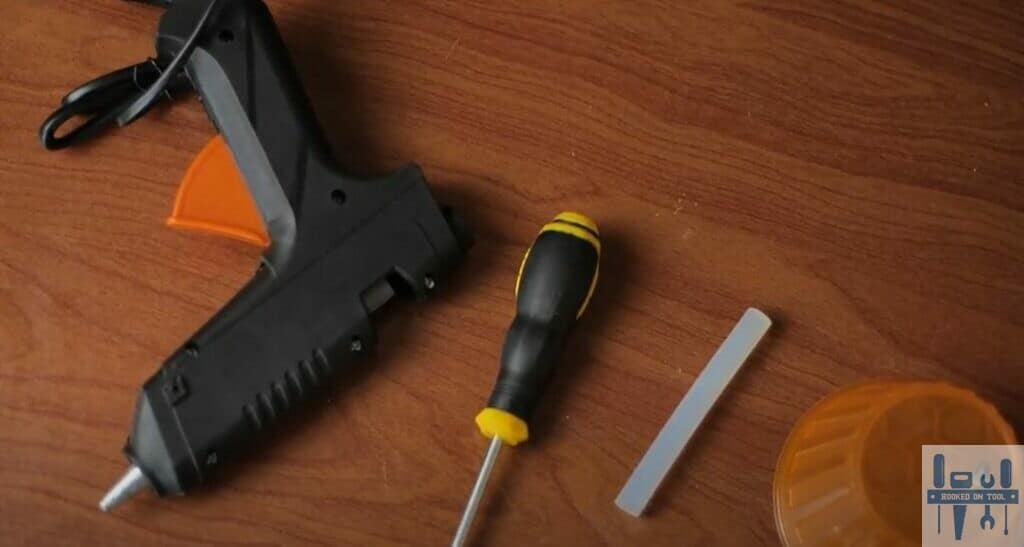
Tools needed
You’ll need
- Screwdriver
- Clamps (optional)
- Rubber band/Hot Glue (optional)
Step 1 – Inspect The Damage
Just like every other project, you’ll first need to assess the damage. When working with wood, you won’t have to focus that much on this step, but you shouldn’t ever think about skipping it when you’re working with plastic.
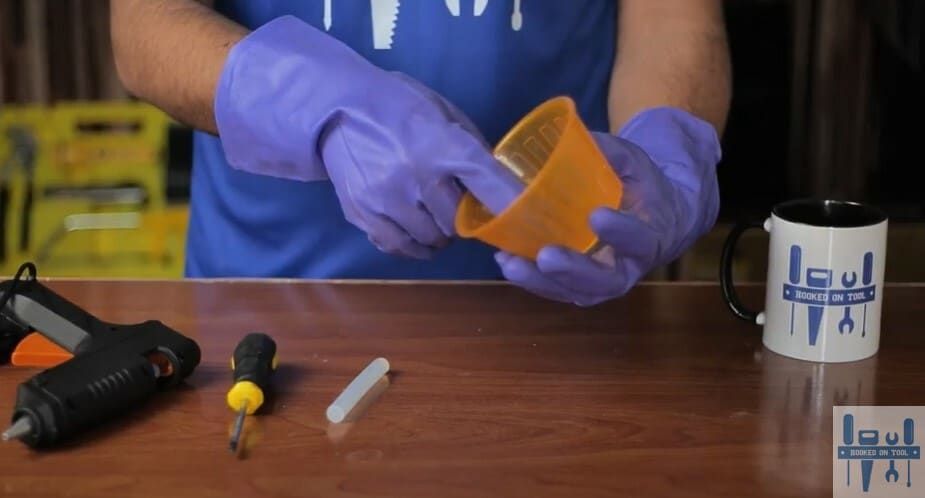
If the plastic piece is thin, and you can see that the screw has passed cleanly through the frame, then you’re in luck. However, if you can’t see the other end and the screw is lodged deeply into the plastic frame, then you’re in store for a bit of hassle.
From there, you need to inspect the screw as well. You have to check whether or not a screwdriver will be enough to create a strong grip. Sometimes, all you need is a screwdriver, but if the situation is worse and you can’t seem to do anything with pliers, wrenches, or screwdriver, then a drill is the only solution.
One common mistake that I’ve found people making is that they will start hammering down the other end when it is exposed through the frame. This only deforms the plastic and creates more damage around the lodged screw. So, don’t do that if you’re contemplating some funny ideas in your mind.
Luckily, in my case, the screw was exposed on the other end, and the damage was not too severe. So, a screwdriver was all that I needed to address the issue with the screw, and you can do the same!
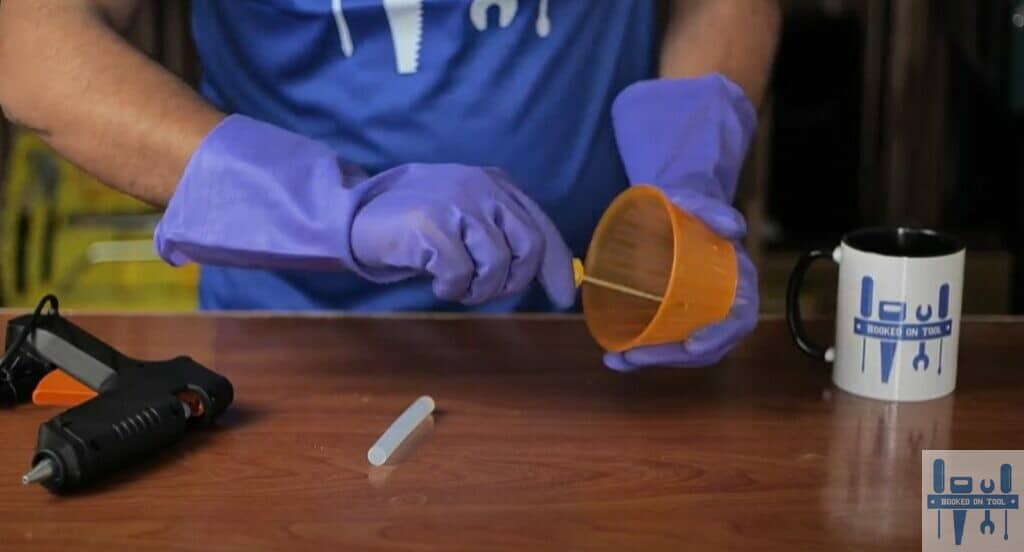
Step 2 – Try Creating A Solid Grip
Now, you can grab a screwdriver and drive that onto the screw. Make sure that the plastic frame or piece is clamped down or secured in place. In case the screw is directly passing through the frame, and you can see it on the other side, try to put all the pressure on the other end of the screw.
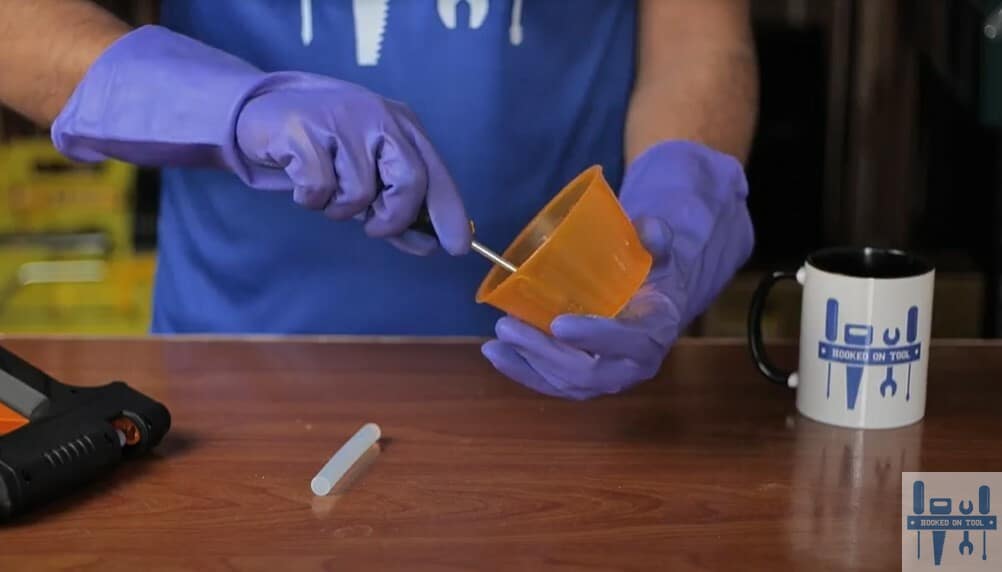
Ideally, you won’t have to use a rubber band, but if you’re unable to develop any grip on the stripped screw with your screwdriver, then you’re not left with many options. So, be sure to get a piece of the rubber band, and put it between the screwdriver and the screw head.
It should fill in the stripped gaps, and you should be able to get a solid grip from the screw. Everything boils down to this step, and your whole focus should be on making sure that the screw rotates along with your screwdriver. Otherwise, you might end up damaging the plastic frame.
Here, you can also rely on other tools. If the top of the screw head is exposed, then using a plier or a wrench will help you develop a good enough hold from the top. From there, you can rotate the screw in a counter-clockwise direction.
On the other hand, if you’re in a stickier situation and the top is not exposed, then you will have to use the extractor drill bit to drill into the screw and take it out. There is a good chance that using a drill will damage the plastic piece if it is fragile and thin. So, try and avoid the drilling routine if possible.
Step 3 – Unscrew The Stripped Screw
The next step includes rotating the screwdriver in a counterclockwise direction (assuming that you’ve already developed a robust grip with the screw heat). It will only take a few turns, and you need to maintain the pressure.
If you’re lucky, the screw will come out of the plastic piece, and you will be able to proceed with the project without any hassle. Keep in mind that you might still damage a few sections when relying on the method I have listed here. However, that’s just something that comes down to your skills.
Even if you’re focusing extensively on not damaging the plastic frame, you can still expect a few chunks to fall off with the stripped screw. However, you can just clean that up and not put too much focus on managing the stripped screw.
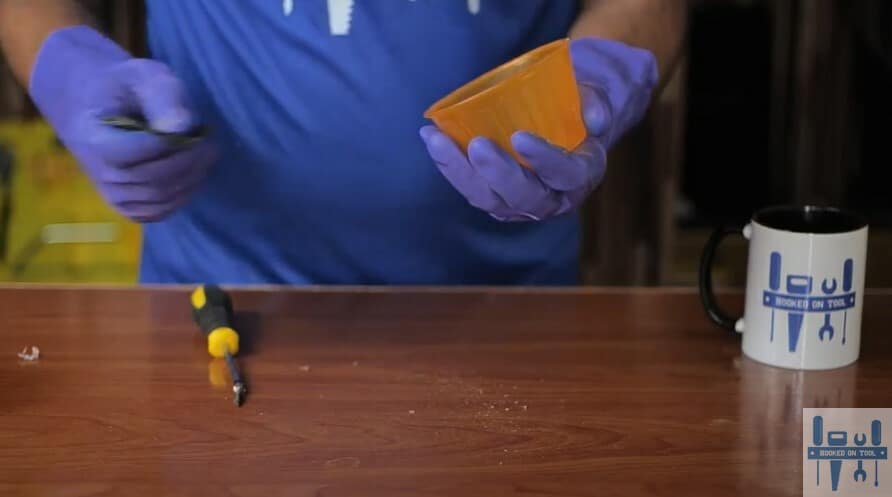
Step 4 – Clean Up
Lastly, you just gotta finish up with cloth. You can either take a damp or a dry cloth and wipe down the region around the insertion point. Make sure to remove all the traces and loose chunks. This will give you a better idea of the damage if you plan on filling up the hole.
You can drill in or screw in a different screw in this same insertion. So, I’d suggest that you think about filling up the hole and then finding a different place for the screw. There is no need to waste or discard the plastic frame, and you can salvage it pretty easily by being a bit creative.
Some hot glue and nail polish of a similar color should have you sorted out. Keep in mind that being a handyman is all about being proactive and improvising. So, don’t hesitate when experimenting with new things.
Note: Now, the hardest part of the method I’ve mentioned above is developing a good drip with the screw head. If you’re new to the game, I’ll just say that you need a rubber band. However, if you’re not in possession of a rubber band, then you can put pressure on the opposite end of the screw to take it out.
This is especially true when the opposite end of the screw is exposed, and you can create a solid grip on the screw head. Just don’t hesitate too much, and you’ll be sorted out with the best grip that doesn’t let the screwdriver slip out.
However, if none of the methods here help you out, then drilling the screw out with an extractor bit is the only choice that you’ve left. Yes, it requires a bit more knowledge and expertise, but you shouldn’t hesitate as it is a necessary skill for a handyman.
Similarly, you can also seek help from local experts when it comes to patching up the plastic frame. Seeking expertise from your local professionals will put you far ahead when it comes to developing your skills. So, be sure to visit your local workshops, and I can guarantee that you’ll learn a ton.
The Takeaway
Struggling with a stripped screw stuck in plastic? All you need to do is to get a good grip on the screw head and then remove it by rotating it in the anticlockwise direction. Most of the time, you won’t even need to use a rubber band, and just putting a bit of pressure on the screw head will be enough.
However, if you can’t seem to get the screw to rotate with the screwdriver, then you will have to make use of a rubber band. The screw head will not rotate until the grip between the screw driver tip and the screw head is robust. So, have that in mind as you try to get rid of the screw.
Once the screw starts to rotate in the counter clockwise direction, you will have to maintain the pressure. Don’t let go of the pressure until the screw is completely out of the plastic piece. Yes, you will have to use some force, and a few chunks might fall out of the plastic piece.
However, you can’t do much about that and the screw just won’t come out if you just focus on being gentle and not damaging the screw. Everything comes down to how you’re planning on managing the extraction and it shouldn’t be too hard for you.