I am sure I am not the only one who obsesses over a fresh and clean finish after completing a DIY project. However, when working with plastic frames, developing a decent-looking end product is not that easy. Missing chunks and damaged pieces always hold me back, especially the screw holes.
While I am confident that I can easily remove the stripped screw from the plastic, patching up the holes or missing chunks is an entirely different thing. It takes a fair bit of practice and experience to patch up holes inside plastic frames or any other structure.
Similarly, I’ve seen quite a few queries on how to fix a stripped screw hole in the plastic. If you’re in the same boat and don’t know how to manage a stripped screw hole in the plastic, then worry no more! Let me help you out with how to patch up the screw hole.
How To Fix A Stripped Screw Hole In Plastic
You don’t need a lot of things to patch up a hole. Most people either go with hot glue or an epoxy mixture to patch up the screw holes. I personally rely on the hot glue gun for my projects if I do ever mess up. So, if you’re also new, I’d suggest that you get to work with the same method.
Safety
The worst mistake that you can make is working without proper safety equipment, especially when you’re using a hot glue gun. So, get some hand and feet protection before you get all excited about hopping into the patching cycle.
Materials
- Glue Gun
- Glue Tube
- Paper Cutter Or Chisel
- Sandpaper
- Plastic Piece
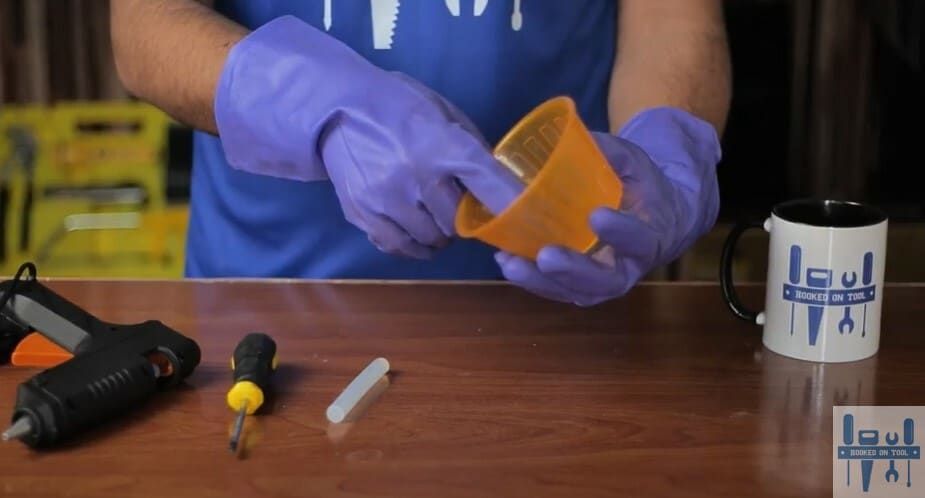
Step 1 — Prep The Surface
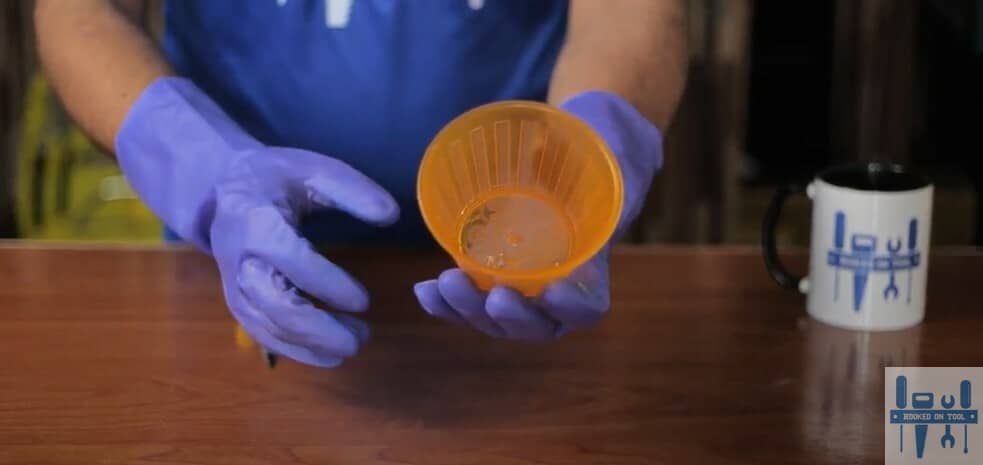
Get started by inspecting the damage and removing the stripped screw. It can be a hassle on its own, but a rubber band and a screwdriver are enough to help you get a stripped screw out. From there, you can check up on the damage or the hole left in the plastic piece.
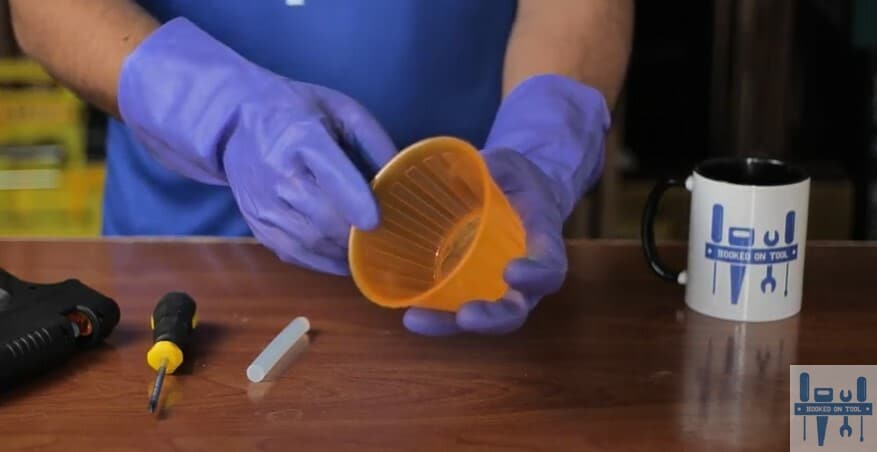
If the hole is visible from both sides of the plastic piece, then using epoxy can be a bit hard. The only thing that you can do is use the hot glue gun here. So, if you’re in the same shoes and the situation is related to a massive hole, just clean up the sides and remove all the loose chunks.
All that you need is a glue gun and some patience. From there, patching up the hole is fairly simple.
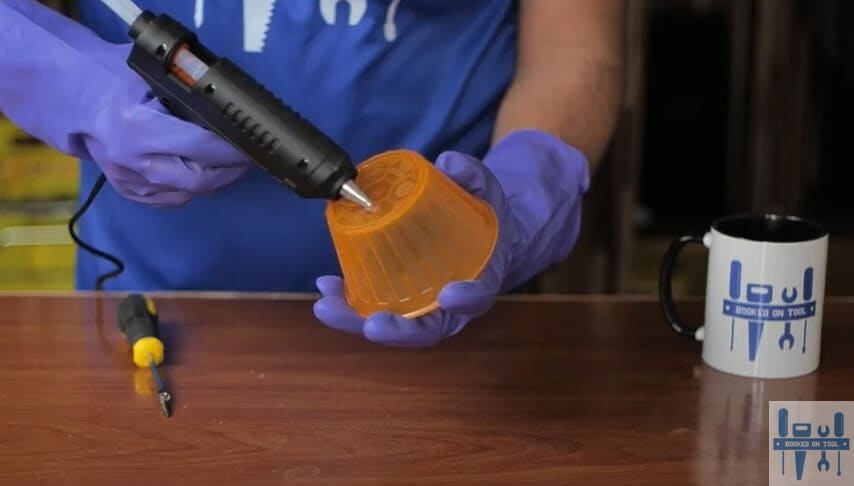
Step 2 — Patch Up The Hole
Just pick up the plastic structure and start filling up the screw hole with hot glue. Make sure to cover up the hole from both sides and try to limit the mess when it comes to covering the sides of the hole. Yes, you will still create a mess, but it is not that hard to clean up in most situations.
Your only focus should be on filling up as much glue as you can inside the screw hole. Make sure that there are no air bubbles or impurities, and clean up the hole one more time if you can’t afford to mess up here.
Similarly, if you’re working with a thicker piece of plastic and the hole is not that deep, you can also rely on an epoxy mixture to fill that up. Everything boils down to how you’re planning on addressing the situation, and using an epoxy mixture is just as good an idea.
Step 3 — Let It Rest
After filling up the hole from both sides, just let the glue rest. Depending on the type of glue tube you’re using, it can take a few minutes to cool down and solidify. You will not be able to process the hole further until the glue has been solidified.
So, be patient here. Some people have mentioned that using a cooler here helps you with the curing times. However, the curing time for hot glue is not too bad on its own, and it is not mandatory to use a cooler.
Just let the glue sit for a couple of minutes, get yourself a cup of juice, and you’re sorted out. It won’t be that much of a hassle either way.
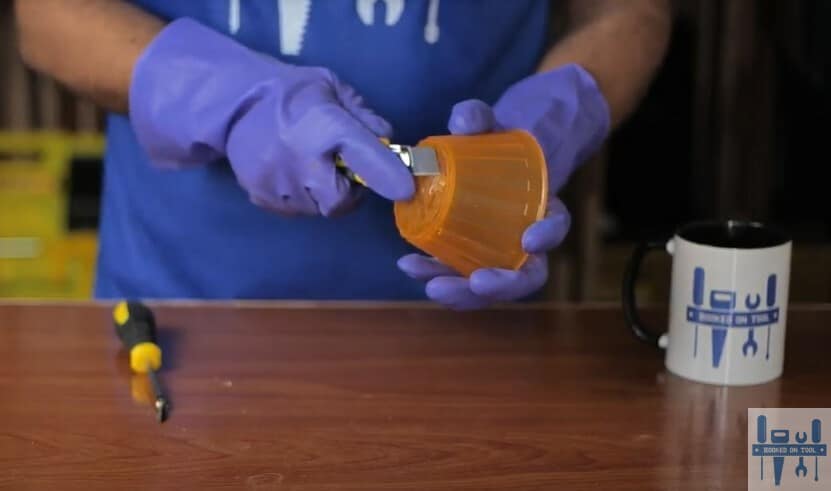
Step 4 — Trim The Excess
After the glue has completely cured and you’re sure that it is solid, you can start with the trimming routine. However, if the glue is a bit squishy, then you need to wait for a few more minutes. Let the glue cure out completely and you’ll be sorted out.
From there, just grab a paper cutter or a chisel and start removing the excess. You gotta make sure that the surface of the glue is flush with the plastic and that it is not sticking out. Just grab a sharp tool and get rid of the excess.
Otherwise, you will not be able to develop a decent end product, and the plastic structure will only look out of place, to say the least. That should have you sorted out, and you will not have to worry about the excess from there.
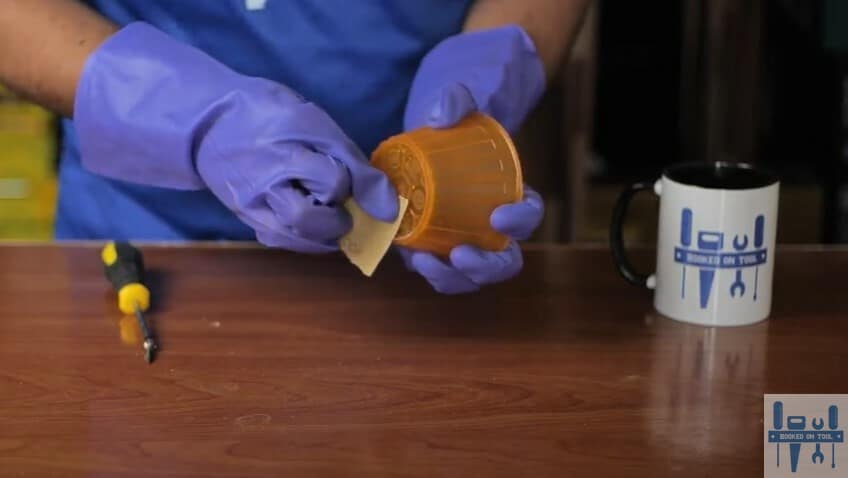
Step 5 — Use Sandpaper
After using the chisel or the paper cutter to remove the excess, you can rely on the sandpaper to finish up the surface. This will get rid of all the traces, and you will not even feel like there was a hole in the plastic structure initially. So, have that in mind.
However, scrubbing away at the plastic structure for a bit too long will damage it. So, try to only focus on the screw hole, and you will not have to worry about the scratches. Ignoring this step will only create bumps and residue on the plastic structure.
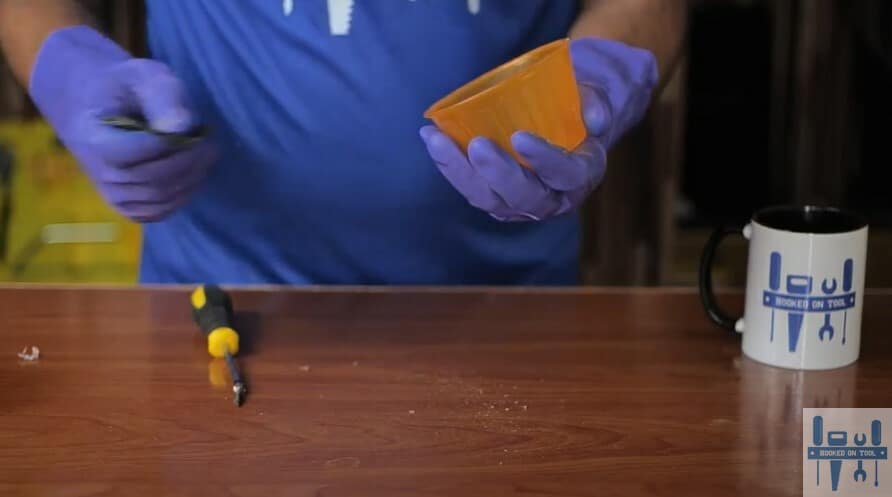
You can sand down the hole, check the even surface, and then sand it down one more time. Hopefully, you will not have to bother as much with the sandpaper when trying to even out the surfaces.
Step 6 — Clean Up
Lastly, you can just use a damp cloth to finish up the project. Clean around the hole and use some wax to buff out any imperfections. Hopefully, you will not have to hassle as much, and the structure will look perfectly clean in no time.
Some users have also pointed out that they use nail polish or some paint to match the color. So, if you’re also looking for a seamless transition, just use some nail polish. A quick stroke is all that you need to fix the color, and it will be next to impossible to tell the difference from afar.
Note: You can also rely on epoxy resin to get the same finish, and everything boils down to your experience as a handyman. Most people find that the use of epoxy is better as it is sturdier, and you can create some cool designs when using an epoxy mixture.
Moreover, you can also add some dye to the epoxy mixture and then use that to fill up the hole. Using dyed epoxy will leave you in a good spot, and you will not have to bother with the filled hole looking out of place. So, have that in mind when you’re stuck and can’t seem to figure out a solid option.
The downside here that discouraged me from using epoxy was that it needs hours to cure, depending upon the quantity of epoxy you’re using. So, that did turn me away from using epoxy in any project. I prefer some quick curing option that doesn’t hold down the project efficiency.
Everything boils down to how you’re planning on moving with your project. If you don’t mind waiting for a better and sturdier finish, then going with epoxy is the best thing that you can do. However, if you need quick results, then going with the glue gun is a better idea.
The Takeaway
Nothing looks more hideous than a screw hole left by a stripped screw. Working with plastic can be a hassle most of the time, and it is much softer than wood. So, you have to be way more careful when working with plastic. The same is true when it comes to patching up screw holes.
I use a glue gun to put hot glue into screw holes. From there, I just let the glue cure and remove the excess with a chisel or a paper cutter. So, if you’re in the same boat and don’t know how to remove the screw hole, just put some glue into it.
It will only take a couple of minutes at max, depending upon the severity of the issue and the size of the screw hole. So, don’t dread the process too much. You can simply inject the glue into the hole from both sides and let it rest for a couple of minutes.
Lastly, you can finish things up by using sandpaper. Don’t put too much pressure, and try to get the glue flush with the surface of the plastic. From there, you can check for bumps or loose traces, and clean up the plastic with some wax or a damp cloth.