There’s no denying that DeWalt is an amazing brand that not only provides great tools but an arsenal of high-quality batteries.
Regardless of the configuration that you need, their batteries are usually supported by pretty much every power tool that you need to use them.
How to Fix DeWalt Charger Solid Red Light But Not Charging?
One of the most annoying issues that you can come across while in the middle of something is your equipment not being able to charge at all. In this regard, we have been seeing users running into problems with their DeWalt chargers.
Most of these users have been experiencing a similar issue where their DeWalt charger gives a solid red light but is not charging. As annoying as the issue may sound, it can actually be fixed.
All you need to do is to follow the troubleshooting steps mentioned below:
- Inspect the Light Indicator
In case you are getting a red light indicator, but your battery isn’t charging, then the first thing to do is to inspect the light itself. Usually, a solid red light on the charger means that the battery is currently fully charged.
Similarly, if you see a blinking red light, then that means that your battery is charging.
There’s one more case where you might see the red light blink rapidly in a weird way. This indicates that the battery you are trying to charge is either too cold or too hot to charge.
If that is so, then you simply have to wait a few minutes in order to let it cool down or warm up. It should start charging immediately afterward.
- Cycle Power Through The Charger
Sometimes, the fix here is as simple as removing the power from the charger and then powering it up one more time. That would address minor bugs with the charging status, and you won’t have to worry about the same charging issues.
You just need to make sure that the charger is plugged in properly and there are no issues with loose connections. Furthermore, it is a good idea to check the unit for obstructions.
All you need to do is to remove the power from the source and then power it up one more time. That would be enough to address this situation with the battery not charging.
- Reinstall Battery Properly
At this point, you just need to check the alignment of the battery and then install it one more time. You need to make sure that the contact points are clean, and it is not that rare for the battery compartment to get filled with gunk and debris.
This gunk will restrict the proper placement of the battery, and the power flow will be blocked. So, to streamline the charging process, you need to make sure that the battery compartment is clean and properly placed inside the charger.
From there, just power up the charger one more time, and that would help address all power-related issues.
- Make Sure You’re Using A Compatible Charger
If you’re still stuck in the same errors, then the compatibility of the charger might be to blame here. You need to make sure that the battery is supported by the DeWalt charger and there are no inconsistencies between the models.
A good practice here is to seek help from professionals and have them help you pick the perfect charger. If the purchase was recent, you could further engage the customer care experts or the dealer to help you get it replaced with a compatible option.
- Check For Cable Damage
Ideally, the issue should be fixed as soon as you power cycle the charge, but if you’re still stuck, then the probability of hardware issues increases by a massive margin. The main cable might be at fault here, and you need to check the cable for frayed sections.
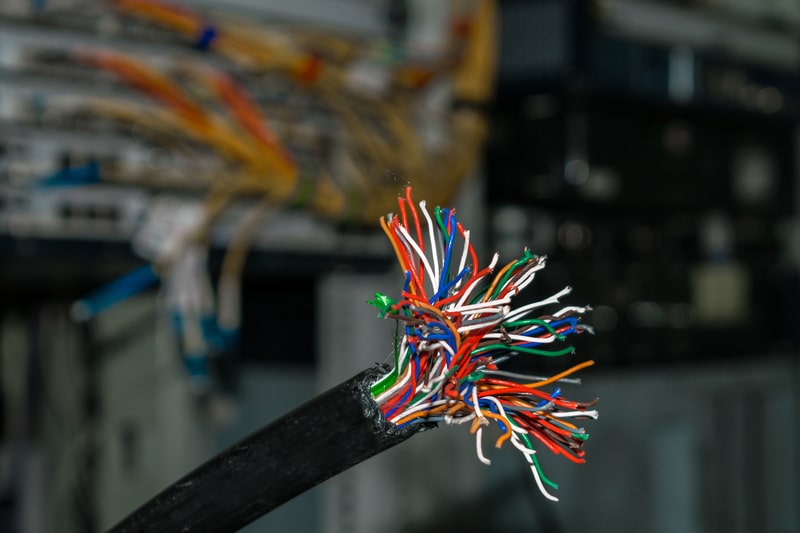
If there are extreme kinks or frayed sections in the cable, then the only logical thing is to get it replaced. You should avoid opening up the unit yourself and take this device to the nearest repair center. It will barely take a few minutes to get through the replacement.
- Clean Connection Points
The connection points might also be at fault here when you’re not getting any response from the battery. If you’ve been using this charger for a long time, now might be a good idea to service the unit.
You will have to scrub away the gunk or rust from the top of these connection points and then install the battery one more time. That would usually be enough to help you through minor power flow issues.
You can further rely on a cleaner from the market to get through the scrubbing routine. That will make your job a bit easier, and you won’t have to bother with as many issues. So, simply get to scrubbing and then insert the battery.
- Individually Charge The Battery
It is always recommended that you charge the battery before it is fully depleted. Otherwise, you will keep running into these charging errors.
![]()
However, if you’ve made the mistake of allowing the battery to deplete completely, then you will have to jump-start the battery.
To do this, just grab a fresh battery and some wires and try to link up the connection points for a few seconds. Make sure that the wires are in good shape and that you’re not using a frayed option.
Once the battery is able to draw some charge through the fresh piece, you can insert this battery back into the charger, and that would get your unit charging again.
The issue is not always with the charger, and your battery might be damaged. You can’t really expect a damaged battery to charge properly, and you should verify this suspicion by carefully inspecting the battery for damaged sections.
If you can’t find any, just individually charge up the battery, and that will give it enough juice to draw power from the charger. You will save yourself a few bucks and won’t have to spend more cash on a battery replacement.
- Inspect Power Source For Voltage Issues
The power source can also point to the same issues where the charger won’t be able to transfer power to the battery. You need a functioning outlet to pair up with the battery, and there aren’t many options left when it comes to voltage-related errors.
These issues are more common for owners who ignore the maintenance of the electrical connections for too long. So, if you’re in the same boat with the outlet, just try a different outlet, and that would be it when it comes to the charging issues.
You should further hire a professional to help inspect the electrical connections. That is always safer, and you won’t have to worry about electrocuting yourself. So, just reach out to a local expert and have him help you with the voltage problems.
- It’s Time To Get A New Charger
It might not be such a bad idea to try out a new charger if you have had no success up to this point. Most of the time, these devices are pretty consistent, but if your unit is in rough shape, you should invest in a new one.
It will be a bit heavy on your budget at first, but you will get amazing performance consistency from the new device. So, keep that in mind if you’re not that sure about spending money on a new charge.
Hopefully, you won’t have to bother with any charger-related issues ever again if the battery is in good shape. However, if the battery is defective, then a replacement might be your only solution, so try and verify the integrity of the battery as well.
- Battery Might Be Defective
Another case that could lead to your battery not being able to charge could be that you have a faulty battery. Unfortunately, we don’t recommend getting a faulty battery fixed as it is bound to give you issues even after getting fixed.
However, just before you decide to get the battery replaced, we highly suggest checking the battery’s fuse. It could be that the fuse has simply blown. In that case, replacing the fuse should be more than enough.
But in case the battery’s gotten too old or has been damaged, a replacement is the only other option you can opt for. Make sure to check whether the battery is still under warranty which could potentially get you a free replacement.
The Bottom Line:
Getting a solid red light on the DeWalt charger usually means that your battery is fully charged, due to which you might notice your battery not charging. Still, there could be certain issues that could lead you to experience issues.
You can get through the fixes mentioned in this article to address the majority of these errors. To learn more, be sure to refer to the article!
I have a solid red light but the batteries will not charge
I did too. 20/60V battery came with my new blower. It only charged up to the first (green) power level light. I was ready to call the supplier and give them a piece of what’s left of my mind. But I kept thinking there might be a solution. So I plugged in the charger one more time, and really looked at how the battery is seated in the charger. I discovered that the battery must click into the charger! No other DeWalt batteries I own (18V and 20V) click into their respective chargers. I just drop them in. So now I’m watching my 60V battery charging up to full capacity.
Word of caution: Use all or most of the charger’s cord length, because if the lithium-ion battery catches fire (as they can when overheated) you will probably not be able to release it from the charger. Just unplug the charger at the outlet before attempting to extinguish the fire.
I hope this was helpful.
Me too!! I can’t find any information about fixing it but I’m too stubborn to throw it away!
I have a dewalt 20v max XR shows solid red on charger but battery isn’t charged. Can’t find how to fix it. HELP!