
Porter Cable is one of the best electronic and other equipment and tools manufacturers that you can use for a wide range of applications, including batteries, chargers, and more.
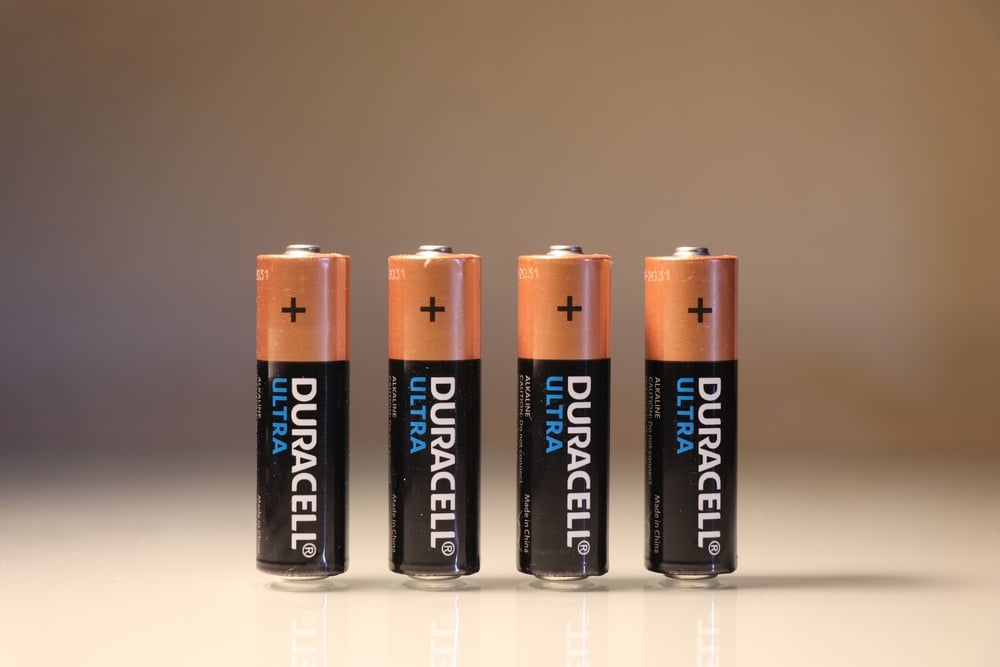
With all that in perspective, there are certainly some problems that you can face with these chargers and batteries since batteries are wearable components and they are likely to go bad after a certain time.
There is also some maintenance routine that you must follow while dealing with batteries of any kind. A few things that you will need to know about if the Porter Cable 18v battery charger is blinking fast are:
Fixing Porter Cable 18V Battery Charger Blinking Fast
- Red Blinking Fast
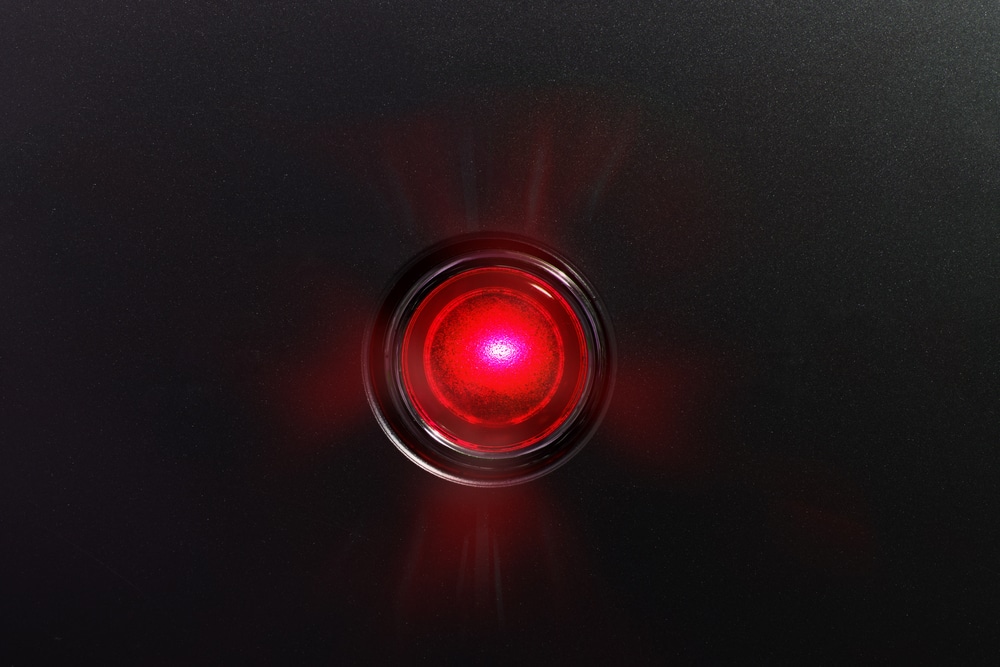
If the red is blinking too fast, that means your battery is bad. It can be either some cells or all the cells on your battery, and since they will not be able to save the charges on them properly, the charger will start blinking red.
As a result, causing you to have some problems that you might not want to face.
To solve all such problems, it would be better for you to get your battery health checked and ensure that your battery is in the right state for you to be using it in the right manner.
Not only that, but once the battery is properly diagnosed, they will also be able to fix up any cells that might be bad, and you might not need a battery replacement at all.
- Red Blinks Fast Then Slow
If the red-light blinks fast and then it turns slow after a while, that is another sign of having some problem with the battery.
This time, it is not with the battery health, but instead, that would mean your battery doesn’t have the optimal temperature.
The battery needs to have the right temperature to be working properly, and if the battery is too cold or too hot, that can cause you to have some problems as well that you might not like to have.
To make it certain, you will need to check the battery, and it is always best to store your batteries at room temperature and away from direct exposure to the sunlight and winds for certainty.
That would allow you to enjoy just the right temperature on your batteries, and they are not likely to have temperatures that might not be suitable for charging the batteries.
Remember that trying to charge a battery that has some bad cells, overcharging the battery, or even trying something like charging a battery that might not be at the optimal temperature are some issues that are going to cause you trouble.
Moreover, these issues are also unsafe for your batteries, and you should avoid them as much as possible to ensure that you are not facing some problems.
These things can be dangerous as well, and there have been incidents of batteries catching fires and exploding if not dealt with properly.
- Rely On A Voltmeter
At this stage, you can also check the voltage on through the system with a voltmeter. Even a cheap voltmeter is enough to help you through this issue.
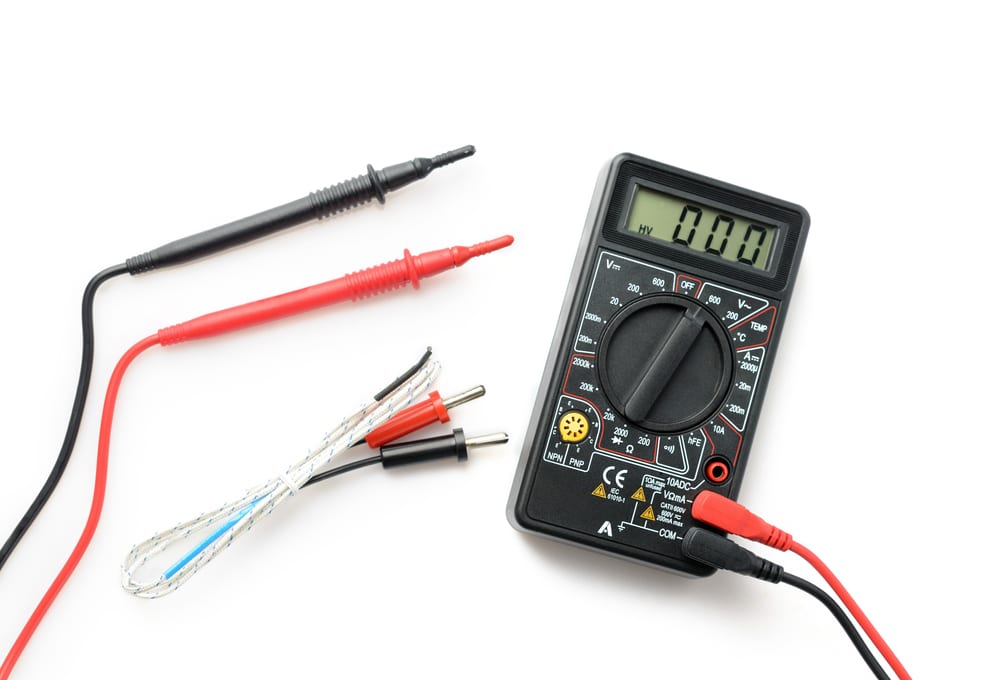
Some users prefer to use a multimeter as well, and you can rely on any device as long as it will accurately measure voltage.
Simply grab a voltmeter and then check the response from the charger. You just have to make sure that the output from the unit matches the battery requirements. If not, then you’re dealing with a defective charger that needs to be replaced.
- Try Jumping Your Drained Battery
You can easily run into these complications even when the battery is new. While it is common knowledge that you shouldn’t even get a battery below 10 percent, many people make this error.
The only fix in this situation is to jump the battery with a different pack.

When the battery pack is fully drained, the charger will pick that up as a defective unit. So, if the lights keep flashing and your battery is new, just rely on a different pack. This is more common than you think, and there is no harm in jumping the battery.
All you need is two wires and a fresh battery to jump your current unit. After a few seconds of engagement, you can try the charger one more time. Hopefully, this time around, the light will stop blinking fast, and the unit will start charging.
- Check For Water Damage
This charger does not hold up well against water damage. Even a bit of liquid residue on the unit will create charging issues.
So, you need to isolate these errors by carefully inspecting each section. Your main focus here is to find residue and clean it with a dry cloth.

Furthermore, your best bet at fixing a water-damaged charger is to leave it out to dry. It will take a couple of hours, but you can test out the unit one more time after two or three hours. Ideally, you should be able to charge your device at this point.
Similarly, if there is excessive humidity in the room, it is not a bad idea to keep your charger in a dry box. Humidity is never good for your electronics and if you have a ton of machines, try to invest in a dehumidifier.
- Try Removing Obstructions
When you’re dealing with sensitive electronics, it is a good idea to keep track of their maintenance requirements. You won’t be able to enjoy a longer lifespan from these devices if you ignore the maintenance.
So, your best bet here is to check the contacts and remove obstructions from the battery compartment.
Make sure that there are no damaged sections and that the battery fits nicely into place. From there, you can install the battery one more time to check for blinking errors.
- Make Sure Contact Points Are In Good Shape
The contact points can get rusty or covered with debris in no time. This is especially true when you don’t keep track of the unit’s maintenance and leave it in humid regions.
So, if you’re in the same boat, check the condition of the contact points one more time.
This issue is pretty common, with a ton of users complaining about rusty contacts. Luckily, the fix here is as simple as removing the debris or rust with a diluted vinegar solution. So, grab a towel and gently scrub away the gunk from the contact points.
Be sure to be gentle with the contacts and avoid damaging the unit if you wish to avoid further complications. Hopefully, you won’t have to worry about the blinking problem again.
- Check For Hardware Issues
The hardware issues might also be to blame here. If the unit is filled with cracks and the contact seems to be out of shape, then you’re out of luck. There is nothing much that can be done about a defective unit.
Some users have had success by adjusting the condition of the contact points. So, you can test your luck by aligning the contact points to isolate these issues. However, if the damage is too much, just call your dealer for a warranty claim or a new unit.
- Inspect Power Source
The power source can also help you figure out errors with the blinking light. If the power from the outlet is not optimal or the cable is damaged, you will get the blinking light issue. So, call an electrician or try out a different outlet.
If the issue is fixed by changing the outlet, you will be sure that the problem is related to the electrical connections.
Just contact your local electrician to help with this situation. Don’t try to save money on hiring fees, as fixing the electrical connections yourself can raise safety issues.
- Try Calling Your Dealer
Lastly, you just need to contact the dealer for help. These units bring an amazing warranty to the customers.
You won’t be disappointed by the performance of these devices in most situations. However, if you do get into issues, just claim the warranty and grab a replacement.
Once the claim is verified, it will take less than a week to get a new unit. So, keep that in mind and test out the new unit. You won’t be disappointed by the customer care response.