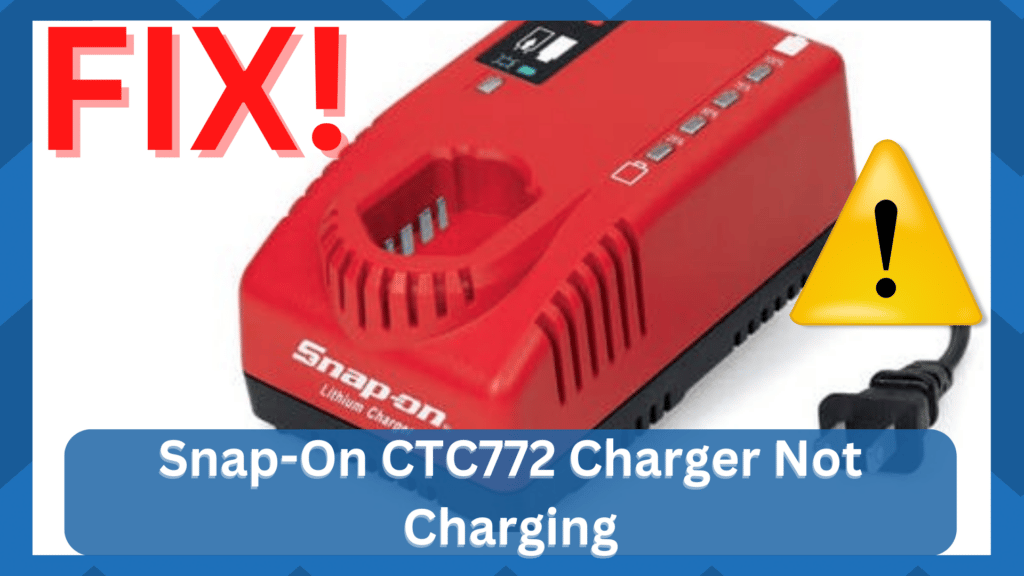
Snap-On CTC 772 charger is the charger that you can use for charging a wide range of batteries for the Snap-On tools.
It can charge 14.4 V Lithium Batteries, and you get a better charging experience with the auto-cut off on it if the batteries are fully charged and safer charging to ensure longer battery life overall.
The management of the batteries is arguably one of the most crucial and annoying things that you will have to do with this unit.
However, you’re not left with many options, and you will have to keep track of the storage and the cleanliness of the packs.
Ideally, that will be more than enough, and you can also follow with the same maintenance pointers for the charger to keep it in perfect shape.
Fixing Snap-On CTC772 Charger Not Charging:
Hopefully, you will not have to struggle with the system, and managing these devices will come easily to you.
With that said, the Snap-On charger is pretty great and supports the battery weight as well, so you can easily mount it on rough surfaces.
However, if the charger is not charging for some reason, here are a few things that you can do to make it work.
- Check Power Cord
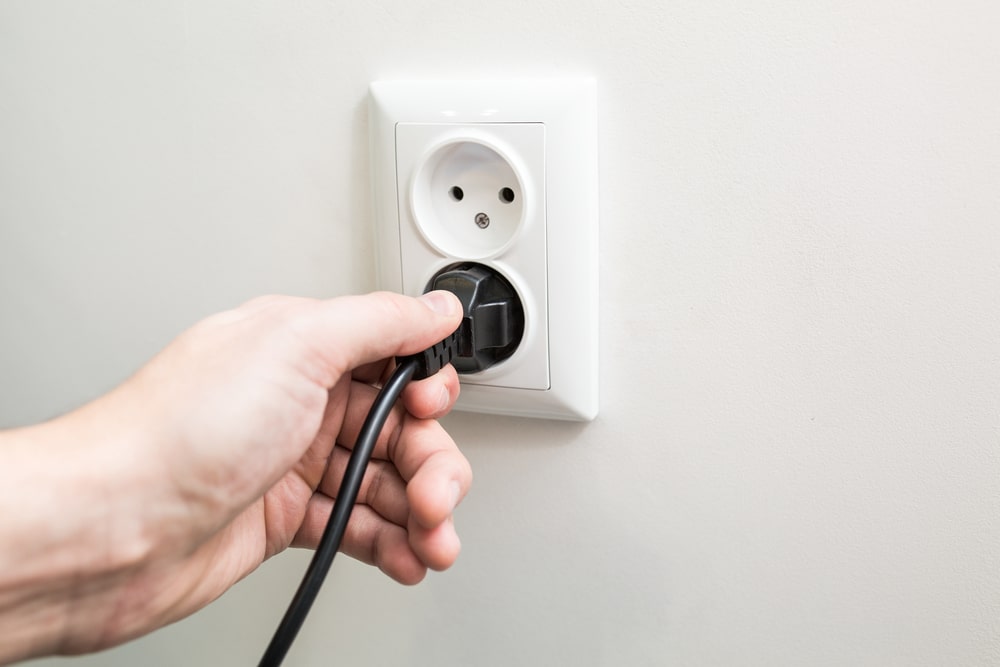
The first thing that you will need to check on is the power cord. The Snap-on CTC 772 charger comes with a detachable power cord, and it might cause you to have problems if the power cord is not connected properly.
That is why you will need to ensure that you are inspecting and connecting the power cord properly on the charger.
Not only that, but you also need to check for any possible damages to the power cord, and if it seems to have some sharp bends or is broken at some point, replacing the power cord will get the job done for you.
- Clean Terminals

You also get some terminals on the charger, and they are pretty delicate. If the terminals have some carbon on them, the charger will not be able to charge the battery efficiently, and you will need to get rid of that.
Cleaning these terminals properly will ensure that you are not facing any such problems with the charger at all, and that will get the job done for you in an effective manner.
Cleaning the terminals will also ensure that you can inspect them, and if any of the terminals might have broken or have some other problem, you can get them replaced to have an optimal experience with your charger.
- The Battery Might Be Swollen
Battery health also matters a lot, and at times the battery might not be in the right order to be charged.
That is why replacing the battery and trying to charge some other battery will solve the confusion for you.
If your battery is swollen or has some other problem with it, you will need to make sure that you are getting that battery replaced with a new one, and that will sort out all such problems that you might have been facing on the battery.
- Change The Charger
At times, the charger might have some other problem, like an internal malfunction, and it is not safe for you to use such chargers.
That is why you will need to make sure that you are checking on all such factors on the charger and setting it right.

That is why the best way to sort out this issue will be to change the charger, and that will allow you to get it done in the right manner.
Just make sure that you are getting an authentic Snap-On charger, and that will do the trick for you.
- Try Jumping The Battery
At this point, you need to try and jump the battery. The issue might just be with the battery being deeply discharged.
This is simply too common for owners living in colder regions as well as the users that like to use the battery below the 20 percent mark.
So, if you’re in the same boat and can’t seem to get a good enough response out of the unit, it might be time to jump the battery.
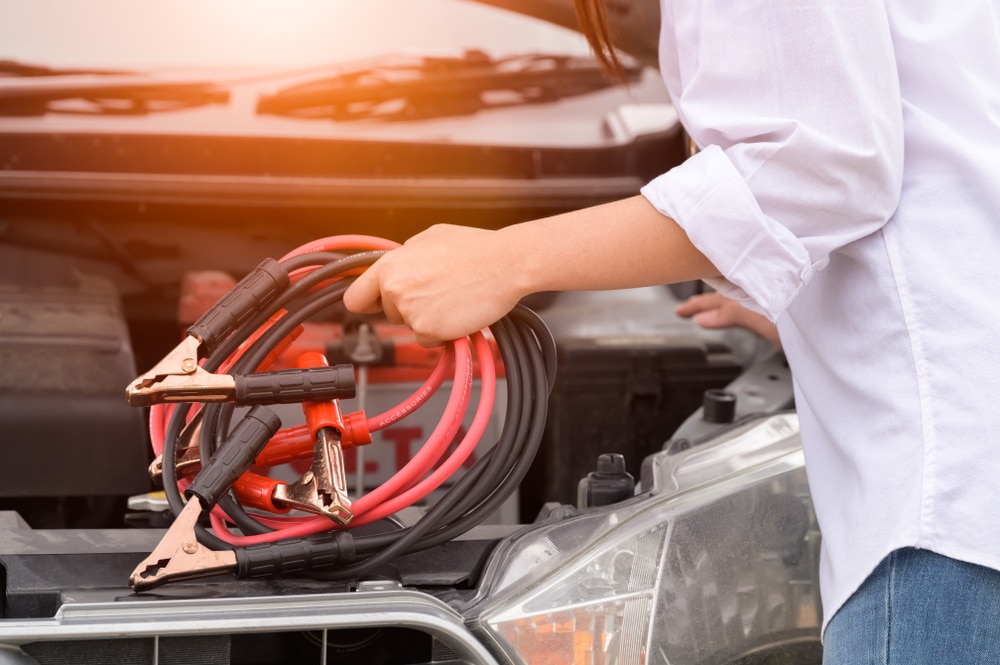
The process is fairly simple as long as you have a pair of wires and a fresh battery to hook up to the system.
All it takes is a bit of effort, and you can simply connect the terminals of the discharged battery with a fresh one, and you will be sorted in no time.
After the connection, you can leave the battery alone for about 20 to 30 minutes and then check up on it again.
Ideally, the charger will pick the battery this time around, and you can make sure that the connection between the charging terminals as well as the battery is optimal.
Hopefully, that will be it, as you’re trying to sort out these errors, and there are no extensive methods left here.

It all comes down to how you’re planning on addressing the issue, and jumping the battery with a pair of wires will have you sorted in no time.
So, be sure to test out this method and then focus more on the storage and the cleanliness of the battery pack.
- Adjust Temperature
At this point, you just need to focus on adjusting the temperature of the battery pack itself.
Sometimes, after extensive usage or leaving the battery pack out in the open, it can create a ton of issues for the owners. So, if you’re in the same situation, it might be time to adjust the temperature side of things.

All that you need to focus on is to bring the temperature back to the room level. Here, you don’t need any cooling unit or heating system to get through the error.
Simply placing the battery in the shaded region or bringing it inside will do the job. So, be sure to keep track of all of these pointers and adjust the temperature of the battery.
You will be sorted in no time, and the performance from the battery will be more than optimal.
- There MIght Be Voltage Related Issues
If you’re sure that the battery is not to blame here, then you need to shift your focus to the power side of things.
There is always a chance that the power output from the main source is not optimal, and you need to fix that first to get the desired response from the system.
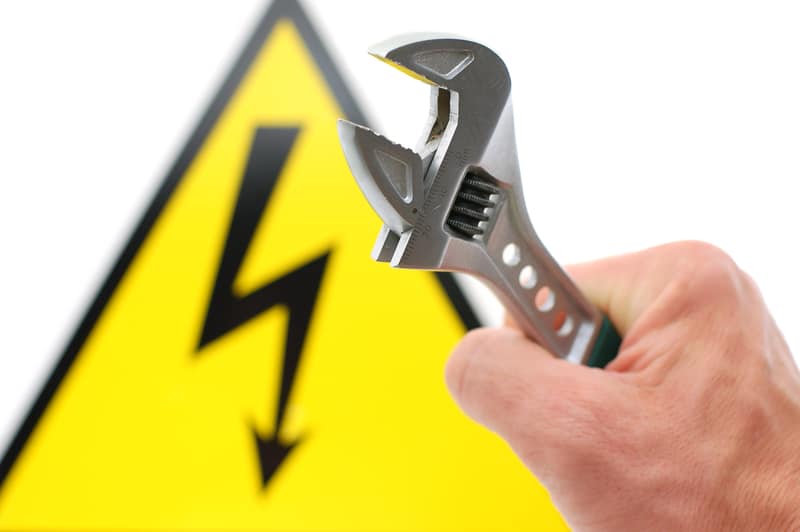
So, if you’ve not serviced the power connections in a while, then fixing it will come easily to you. All that you’re trying to do here is to make sure that the output matches the power requirements of the charger, and you will be sorted in no time.
Ideally, it would be better here to seek help from a professional. There is no point in risking your safety, as there are just too many reports of owners electrocuting themselves while trying to adjust the system.
So, if you’re in the same boat, be sure to get help from the local technician. He will charge you a bit, but spending a few bucks to get your power connections fixed is never a bad idea.
This will not only improve the performance of your devices, but you will also be able to secure a more robust response out of the system. Hopefully, you will not have to deal with more errors.
- Seek Help From Official Support

Lastly, you need to reach out to the offical support team, and the professional working here will help you get a better grasp of the situation.
The support behind this brand is some of the best on the market, and you will be sorted out in no time. So, be sure to get help when you seem to be stuck.
All it takes on your end is to reach out to the professionals and explain your end. They will inquire a bit more about your side of things, and you can go about listing all of the fixes you’ve tried so far.
This will help them get a better understanding of the situation, and they will be able to guide you accordingly.
Even if you both come to the conclusion that the unit is defective, you can always demand a fresh piece by claiming the warranty.
So, don’t hesitate to reach out and have these professionals fully involved when it comes to addressing minor programming errors and bugs.
Wrapping Up

These were some pointers that you need to consider when you can’t seem to get a decent enough response out of Snap-On CTC772 Charger Not Charging.
It all comes down to how you’re planning on addressing the situation, and keeping track of these points will usually be enough.
As long as the hardware is in good shape, you will not have to worry about as many errors. So, be sure to follow through with the methods listed above, and you will be sorted.
From there, you can also get help by reaching out to the official support team.