Batteries are certainly something that we cannot live without, and there are certain important applications that are fully reliant on batteries.
That is why we cannot afford to have any problems with the batteries and certainly need to ensure that we are doing our best to fix any such problems if we see them on the battery.
While there are tons of different battery manufacturers out there, Makita stands among some of the best ones since it creates perfect batteries suited for multiple applications.
They also get a light on them that will indicate the battery status for you.
So, you can diagnose it properly if any problem occurs. If you see that the light is flashing red, here are some things you will need to do.
Fixing Makita Battery Flashing Red:
The Reason
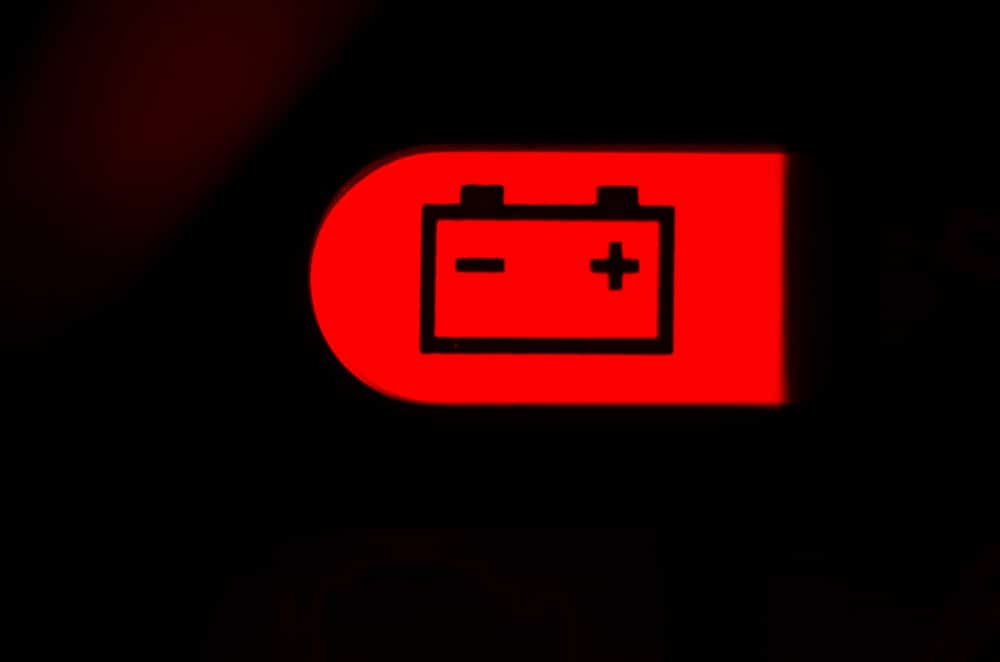
If the light indicator on your Makita battery is flashing red, it clearly means that your battery has increased temperature that is not fit for charging, and you definitely have to do something about it to get the problems fixed.
Lithium-ion batteries cannot be charged above a certain temperature, and a few things that might be causing this and how to fix them would be as follow:
- Ventilation
Ventilation is certainly a big issue, and you will need to make sure that you are not charging your Makita battery in some space where there is no cross-air or ventilation since that can be the main reason behind the increased temperature of the battery.

You will need to ensure that you are always placing these batteries in someplace where you get the right ventilation to maintain the optimal temperature on these batteries.
This will ultimately lead you to have the perfect experience with your batteries.
- Overcharging
Another thing that can cause your Makita batteries to have more than optimal temperature is overcharging.
Since these batteries can only be charged to a certain level, you will need to ensure that you are charging them correctly and up to the optimal levels marked on the batteries.
If the charger is not stopping to charge when the battery is charged completely, you will need to get the charger fixed or take it off, and that should be enough to ensure that you are getting the right temperature on your batteries.
This will keep the red light from flashing on your Makita batteries for sure.
- Short-circuit
Short-circuit is another common reason that you might have to face, and that can cause you to get a number of problems, including an increase in temperature on your batteries, and that will eventually lead to the red-light flashing.
So, you will ultimately need to make sure that there is no short circuit on either the battery or the charger, and that should be just the perfect thing to get you out of any tight corners especially overheated battery.
Since overheating of the battery can also cause an explosion, that is certainly something you wouldn’t want to happen.
- Check For Water Damage
At this stage, you need to check the unit for water damage. The battery should be kept away from water at all times. There is no debate that some projects can get messy.
However, you should focus on completely drying out the unit before plugging it in with the charger.

If you’re in the same boat and the battery has yet to dry out, then remove it immediately from the charger.
You need to keep the battery outside in direct sunlight for around four to six hours. From there, you can reconnect the charger and then check the battery response.
If you’re lucky and the battery is not damaged by the water, you won’t have to get it replaced. Just leaving it out to dry will do the trick, and you can accelerate this process by using a dry cloth.
- Make Sure There Are No Obstructions
Obstructions like small foreign objects can also interfere with the connection status. You won’t be able to engage the battery properly, and the flashing indicator will come on in no time.
So, if you’ve never cleaned the unit, now might be a good time to do so.

Make sure there is no lint, debris, or gunk lodged inside the device, and then proceed with the charging one more time.
If you’re lucky, it won’t be any difficult to charge the battery properly. However, if you’ve yet to narrow down the problem, check the contact terminals next.
- Recheck Connection Points
The condition of the contact terminals has a direct impact on the charging status. So, if you’re in a situation with damaged or defective contact points, it might be time to take it to a repair centre.
It is not too hard to fix the terminals with the right tools.
So, if the warranty has expired and you are just looking to save time, reach out to a local expert. He will guide you on how to get the terminals fixed in no time.
- Try Using Rubbing Alcohol
You can also test out rubbing alcohol on these contact points to wipe away the gunk. However, that is only true when these points are not damaged.
So, if you’re only dealing with a bit of debris on the system, just grab some rubbing alcohol and wipe away the dirt. 
Make sure to leave the unit to dry for a couple of minutes afterward as well. There is no point in engaging the system right after you’re done with the use of rubbing alcohol.
Waiting for five minutes is usually more than enough for the solution to evaporate, and you can connect the battery one more time.
- Check For Cracks
At this stage, you just have to check the charger for cracks. If there are viable hardware issues with the unit, then call the dealer to get a new one. The warranty policy will easily stretch out to more than 12 months, and you can get a fresh piece in no time.
Some official dealers also provide free replacement if the charger gets damaged during delivery. So, if you’re not sure about the issue, make sure to reach out to the dealer. You might just get a new piece within the same week.
- Seek Help From Official Support
Even if you don’t have a valid warranty, then make sure to reach out to the customer support members. They will be more than happy to help you narrow down the problem. So, if you’ve yet to find the exact problem, just reach out to a professional.

This is much better than spending hours trying to fix the device yourself. So, avoid the hassle and just reach out to the official support members. They will guide you much better on these errors.
Are Makita Batteries Worth Your Money?
After going through these details, you might be losing hope in Makita batteries. However, these issues only present themselves when you’re not taking proper care of the unit.
So, try following through with the basic maintenance requirements.
If you’re not aware of these basic care requirements, try reaching out to a local expert. He will be more than happy to help guide you through minor fixes. From there, you can learn amazing tips and techniques.
Ideally, the battery will remain in perfect shape as long as you’re storing it properly and not draining it out completely. These requirements are not that hard to manage.
So, Yes! Makita batteries are well worth your money, and you won’t have to worry about a thing with these units.
Wrapping Up
These were a few details on how you can get ahead of the Makita battery flashing red problem. Most of the time, you’re just running into heating problems. So, try to limit the temperature and then charge the battery one more time.
However, you should also check the power supply for possible errors. If you’re not sure about the power source, try using a multimeter or call in a local expert.
There is no harm in maintaining your electrical connections every month. It is actually recommended, and you will avoid a lot of issues.
I have 4 batteries 2 original Makita 3 Amps & 2 generic 6 Amps & I cannot accept that they all went bad at the same time the problem has to bee the charger.
After they sit on the charger hour to hour & half, the charger beeps periodically & the batteries seem charged! Any suggestions on how to determine if it’s thee charger that is faulty, beside buying a new one? Thanks