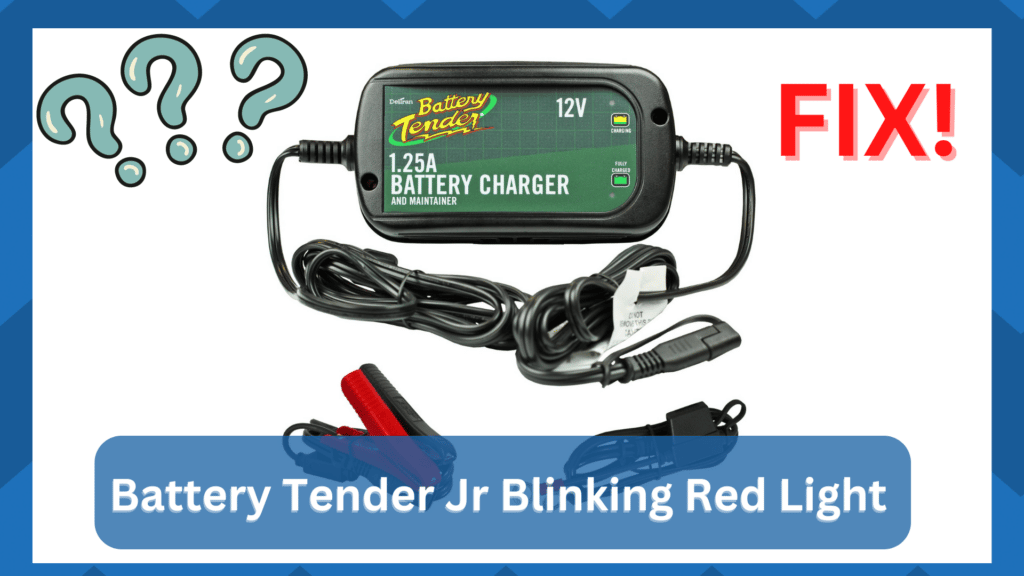
Battery Tender is another cool brand for battery equipment and chargers that you can get to ensure that you are not facing any such issues that might be causing you trouble with these in the longer run.
Battery Tender Jr is one such great charger that allows you to make it work for any of the needs that you might have.
Battery Tender Jr has several light indicators on it, and it might be blinking red due to some reason.
Why Is My Battery Tender Jr Blinking Red Light?
A few reasons that can cause the red light to be blinking on your Battery Tender Jr are:
- Red Light Flashing
If the red light is flashing on your battery tender Jr, that is a clear sign that your charger is connected to the power, and that there are no problems on the charger’s AC power end.
Yet, it doesn’t necessarily mean that your charger is also connected to the battery and charging optimally as well.
That is something that you will need to be careful about. This red light on your Battery Tender Jr indicates the microprocessor is working only, and that is all.
If you would like to know more about the red-light flashing reasons, there can be several different patterns on it as well while the battery is connected to the Battery Tender Jr.
- Red Light Flashing Fast
If the red light is flashing really fast, that could be an indicator that your battery is either deeply discharged, which might be causing you to face the problem.
There can be some other fault with the battery, such as really high temperature on the battery.
That is why you will need to make sure that you are checking on the temperature first.
You will have to ensure that you are not exposing the battery to direct sunlight or heat, as that can increase the temperature of your batteries.
There are also some other reasons that can increase the battery temperature, and that is definitely not something that you would like to have.
So, you will need to make sure that you are thoroughly checking on all that and make sure that you are not missing out on anything like that.
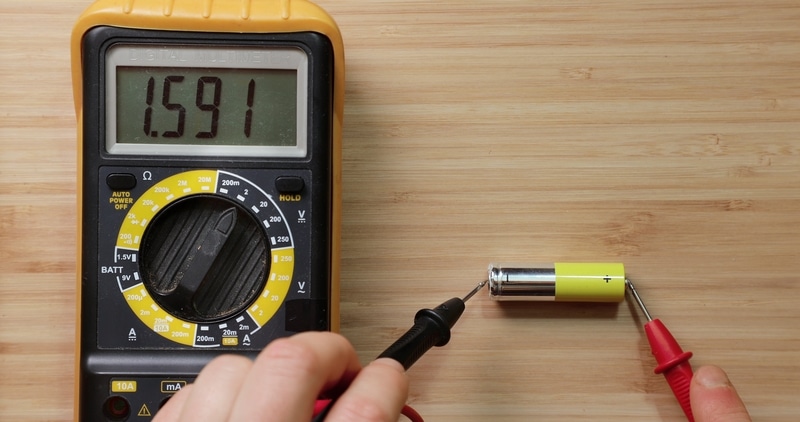
To check that, you will need to ensure that you are checking on the battery voltages first, and it should be stable after a few minutes if the battery is deeply discharged.
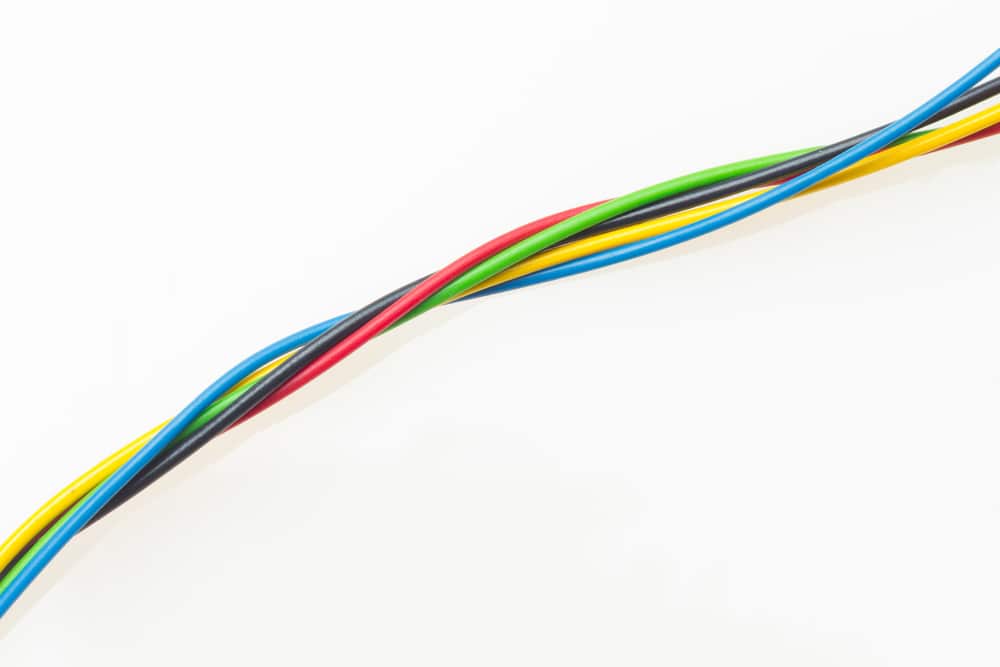
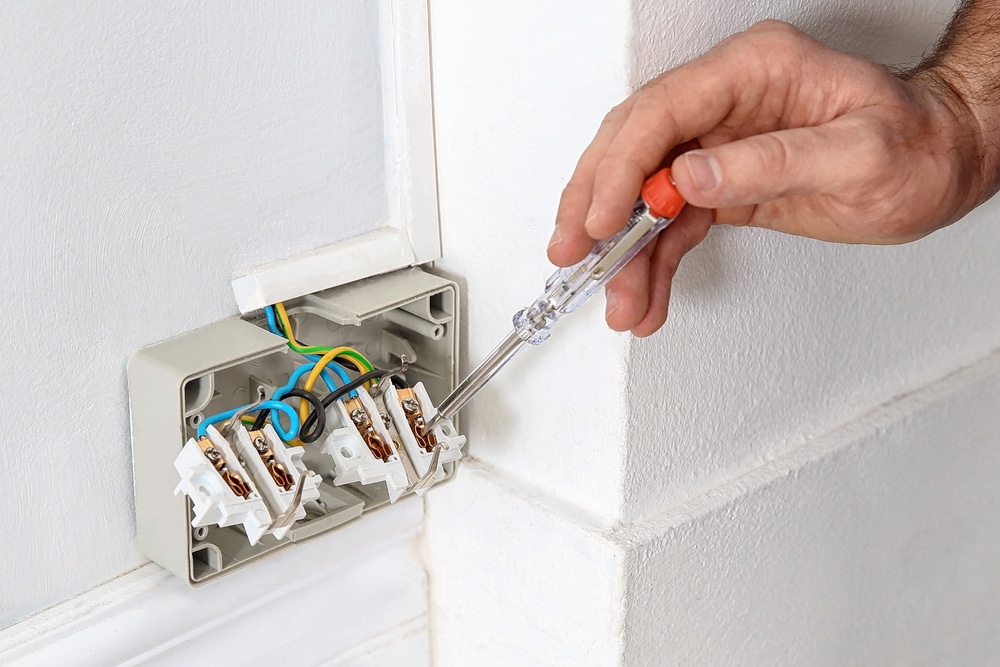
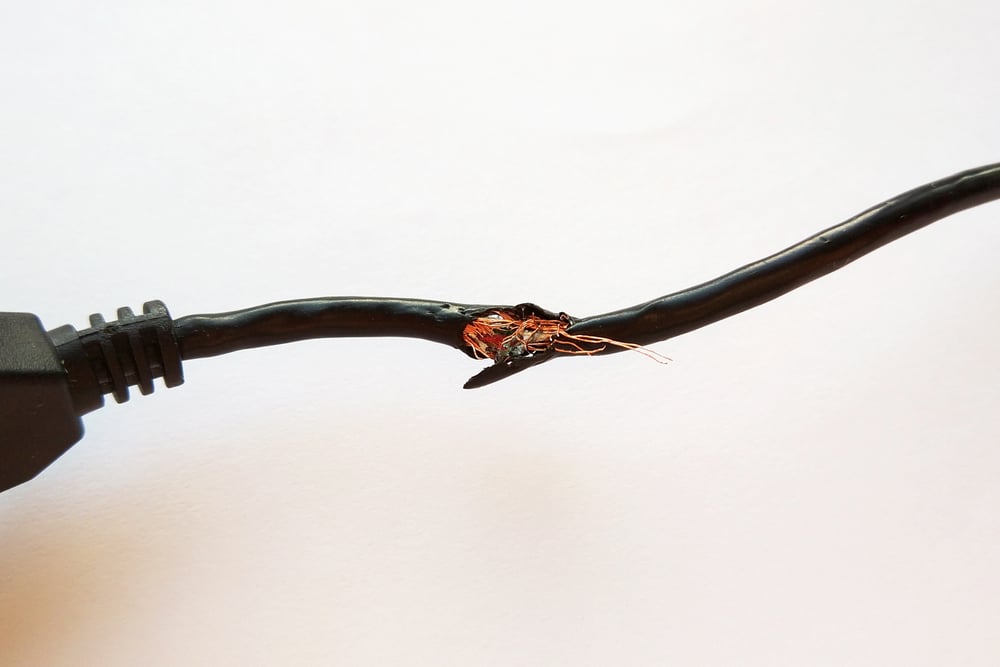
Afterward, you will definitely need to be checking on the cables and connections and ensure that the cable is not damaged or sharply bent at some point.
That is why you will need to make sure that the cables are in the best of health, and that will ensure perfection for you so you will not have to worry about a single thing at all.
The cables need to be in perfect health for the appropriate battery charging and battery health.
Once that is done, you can try out some of these fixes as well to get everything sorted with the battery as well as the charger.
- Check Battery Compatibility
Most of the time, it is the battery that is behind these errors and not the unit itself. So, you need to narrow down these issues by checking for comparability errors.

While this charger supports a wide variety of batteries, you can still run into some errors down the road if you’re using an off-brand battery.
You can verify this by asking the dealer about the compatibility status of your respective batteries. From there, it is not that hard to isolate the issue.
If you’re unlucky and do find the battery to be incompatible, then there are no quick fixes that can be implemented here.
Instead, you will have to purchase a compatible battery or a compatible charger to complete your system.
Trying to connect this battery to the charger will only damage the system down the road.
So, if you’re stuck in the same errors, be sure to engage the official support about this issue.
Some of the dealers will take back the unit and provide you with a compatible replacement. However, that depends entirely upon the dealer.
He is not obligated to cover your mistake, but there is still no harm in asking for a replacement.
You might just get lucky, and you can send this charger back to the dealer to get a new one.
From there, it is not that hard to charge your batteries as long as the placement and the temperature are optimal.
- Adjust Placement
The adjustment of the alligator clips and the alignment of the connectors is the next thing that you need to consider.
It can be incredibly hard to isolate this issue when you are struggling to fix the placement of the battery.
So, make sure that the terminals are clean and there are no obstructions between the connectors.
That way, you’ll know that the power is flowing smoothly from the charger to the battery terminals.
Leave the unit for a few hours and then check back on the battery. Sometimes, it is also a good idea to jump the battery before placing it on the charger.
You can do that by grabbing a pair of wires and a fresh battery.
From there, you can connect the drained unit with the fresh one for around 20 minutes. After that, adjust the placement of the drained battery on the charger one more time.
If you’re lucky, the issue will be fixed at this point, and you won’t have to go through any more fixes.
- Check For Voltage Issues
Voltage issues can be more than just a little annoying when you’re running into charger issues.
There can be a number of reasons, from a faulty outlet to issues with the cable and much more.
So, you need to narrow down the situation by using a multimeter.
First, check the cable thoroughly for frayed pieces or kinked sections. If the cable is in poor shape, get it fixed by a local repair center.
Next, you need to check the response from a different outlet. If the charger does work with the new outlet, then you’ll know that the current one is to blame.
You can further confirm this issue by checking for continuity on the current outlet. If you do find the outlet to be defective, calling some local experts should be your next move.
There is no point in leaving these damaged power connections unattended.
All you have to do here is to get them serviced, and that will keep them in good shape for about six months.
After which, you need to get them serviced again, and so on. That way, you will never have to worry about your appliances or power tools.
- The Charger Might Be Damaged
At this point, there is a good possibility that you’re dealing with a damaged charger.
There are no quick fixes or easier methods that can help you in this situation, and you need a new system to get through the charging phase.

The upside here is that the warranty is usually valid for 3 years on the majority of chargers from this brand.
So, you can reach out to the dealer to inquire about the claiming procedure. He will help you get through the verification routine, and you will have the new device within the same week.
From there, you can test out the battery one more time, and it won’t run into any errors.
Just make sure to take good care of this unit and avoid issues with the battery drainage as well as damaged connections.
That will mostly be it when you’re running into issues with the charger not responding to any input.
Hopefully, that will be it when you’re struggling with Battery Tender Jr Blinking Red Light