Makita batteries are pretty great in terms of affordability and durability at the same time. These are some of the highest sought-after batteries out there.
So, if you’re new to the market and don’t know which batteries will serve you well, then going with the Makita system is the best idea.
Makita batteries are also great in terms of efficiency and all that gets you the right experience to use them for any sort of application for these batteries, including portable tools and much more.
So, you won’t be limited to a fragile setup, and these systems will serve you with robust power.
However, if you’re still confused about whether or not you should spend money on this brand, then be sure to ask the dealer or local experts.
Fix Makita Battery Not Charging
They will guide you on how the Makita systems will match your project requirements. Hopefully, you’ll find that the Makita batteries are perfect for your workshop.
These batteries come with their own chargers, and that is certainly something that you will be enjoying on these.
However, if you are unable to charge a Makita battery, here are a few factors that you will need to check.
- Check Charger
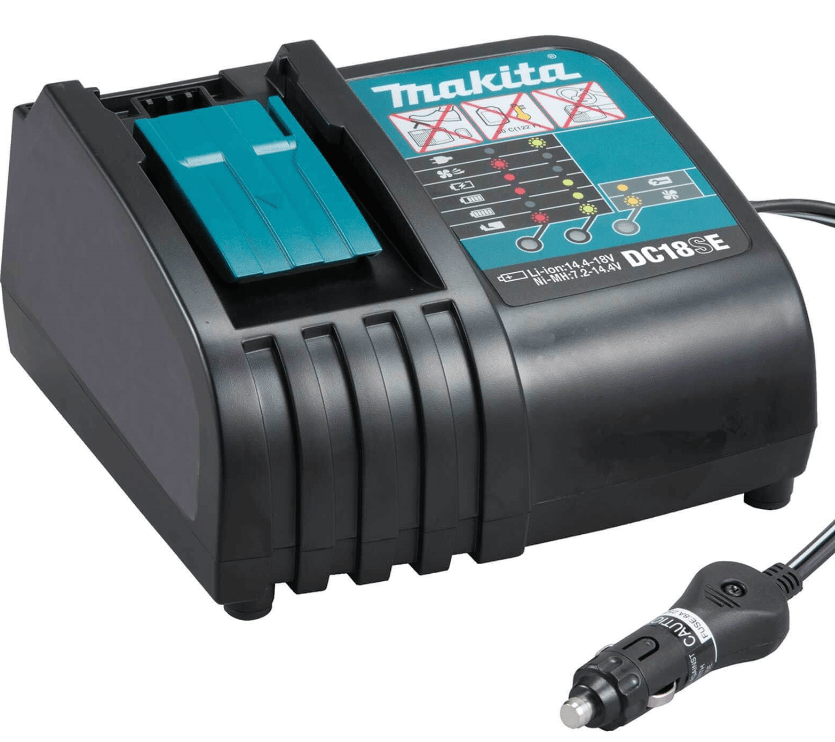
The first thing that you will need to try out is changing the charger. At times, the charger might not be working right, and it could have gone bad.
So, you just need to connect some other charger to your battery and see if it works out for you.
Most of the time, it should be fine for you after you change the charger, and your battery will start charging right away.
- Check the Compatibility
The first thing that you will need to check is compatibility.
It is pretty simple, and each battery type and size has its own charger that has the compatible Amperes, voltage, and wattage on that to make it work out for you.
So, you will need to check on the charger and ensure that It is the same charger you might be getting with your battery.
if you are unable to locate that, you will at least need to get the charger that has the same voltage and wattage on it.
That should be enough to have the deal done for you, and afterward, you will not have to face this problem with your Makita battery not charging.
- Connect it right
Another thing that you might be facing trouble with is connectivity.
It goes without saying that you need to connect your battery with the charger connectors perfectly in order to ensure that you are not facing this problem.
The connectivity is pretty easy to ensure that you are getting the right edge of perfection, and you can just disconnect the connectors and then connect them once again.
That should get the job done for you, and afterward, you will be able to have your Makita battery charged without having to face any problems at all that were there earlier on your battery.
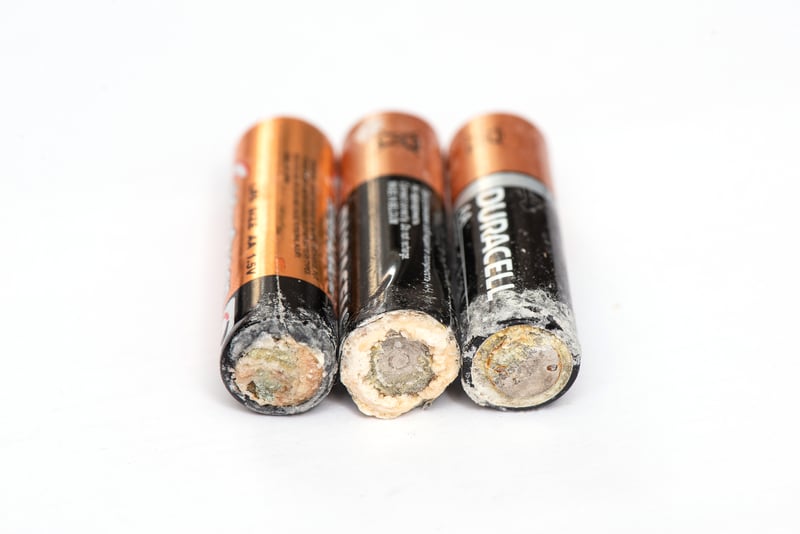
- Check Battery Health
![]()
The battery’s health depletes over time and usage, and you might be using a battery that is not in the right health anymore.
That is certainly a major concern for you if you would want to get it sorted out, and in order to rule out the possibility, you should contact the support department.
You can ask them to see if there is some issue with the battery’s health.
If you are facing some problem with battery health, you will need to get a new battery for you, and that will get it done for you.
- The Battery Might Be Drained
At this point, we believe that your battery is fully drained, and there are no hardware issues with the unit.
If you have a bad habit of using the battery until it is fully depleted, then you’re likely in the same situation.
This can be a bit annoying, especially when you’re not sure how to get through these errors.
All that you will have to do here is to remove the battery from the charger, and get a pair of wires along with a charged battery.
The charged battery will serve as the main power source as you try to charge the drained battery.
From there, you can rely on the wiring to connect the dead battery terminals with the charged ones.
This process is fairly slow, and you will have to leave the battery connected for around 20 minutes before you fix the situation.
It all comes down to managing the battery status by checking the integrity of the device one more time. Once the 20 minutes are over, you can try connecting the battery to the charger again.
This time around, the charger will pick up the battery, and it will start charging.
After a few hours, you can check back on the battery system, and it will be fully charged.
Hopefully, that will be it, as you’re dealing with minor errors related to the batter of the unit.
So, be sure to check the drained status of the unit as you try to fix the situation.
- Check The Outlet
Sometimes, the issue is not with the battery or the charger. Instead, you need to isolate the problem with the outlet.
Now, that might sound a bit more extensive, but you’re not left with many options here. So, be sure to check the outlet status with a multimeter.
On the other hand, if you have no experience on how to manage the wiring connections, then hiring an expert is the better option.
He will guide you on how you can manage through all of these errors. So, if you seem to be stuck in the same errors, be sure to reach out to an electrician.
He will not only service the connection points for you but also help you take better care of your appliances.

Spending a bit of cash to hire an expert each year to help with the wiring connections is a good idea.
Hopefully, you won’t have to waste much time as you try to isolate the errors with the outlet status.
So, be sure to check up on the voltage supply from the main unit and then go through the fixes mentioned above.
- Claim The Warranty
Lastly, claiming the warranty is a good idea when you’re dealing with a defective battery pack. While this situation is pretty rare, owners can still run into these errors from time to time.
If you’re in the same boat, then the situation can be a bit unlucky.

To fix this situation, you need to focus instead on getting a replacement by reaching out to the dealer.
The warranty deal on this unit is far better than the majority of other options that are available on the market. So, be sure to reach out to an official as you try to narrow down these errors.
Hopefully, you won’t have to go through much hassle as you try to adjust the new pack. From there, you can just test out the performance by adding the new battery pack to the power tools.
In case of any confusion, be sure to reach out to the official support members. These officials will be more than willing to help guide you through minor errors with the machine.
Wrapping Up
These fixes should be more than enough to help you charge the Makita battery again. Almost 90 percent of the time, the issue is not that serious.
Makita puts extensive focus on making their devices more durable and consistent for their customers. So, you might not even run into these errors.
However, if you’re a bit unlucky with the system and don’t know how to maneuver through the issue, then following the guide mentioned above will do the trick.
It all comes down to how you’re planning on addressing the issue. Hopefully, you won’t have to go through much hassle to isolate these problems.
However, if you’re still stuck in all of these errors after going through the basic fix mentioned here, then your battery is defective. If that is the case, you will have to claim the warranty.

The upside here is that the warranty deal on the majority of the Makita units is great.
You will be able to stick to a minimal budget with this brand without having to spend any extra cash on the system.
Hopefully, that will be it, as you’re trying to isolate issues with the Makita unit.