There are certain factors that you must know about when you are dealing with some drill or drill press to ensure that you are doing it right.
It will take a bit of time to get used to the different techniques, and spending a bit of time with the experts will help you get ahead of the learning curve.
You will run into a lot of issues with the system if you’re not taking proper care of the system or putting too much pressure on it.
It is not that rare for owners to complain about the system overheating or there being hardware issues with the device. So, you will have to go about fixing the situation accordingly.
Runout is one such factor that has a lot to do with the drilling power, accuracy, rotations, stability, and safety on a drill press, and you must keep a check on the runout of your drill press regularly if you are using a drill press occasionally or even regularly.
A few important factors to know about the runout on a drill press would be:
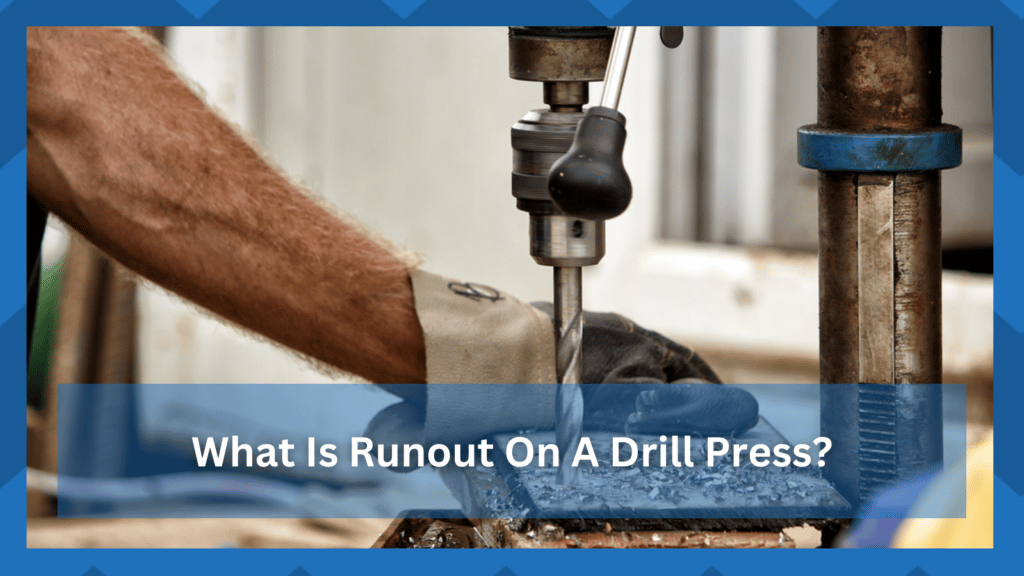
What is Runout on a Drill Press?
Runout
Runout is basically the standard or amount of measuring the wobble that you find on the drill press.
While many people might believe that there is no runout or wobbling on a drill press, that is not entirely true and not mechanically possible either.
For a number of reasons, you need that Runout on a drill, and that helps you to run the drill press more efficiently and accurately as well.
A few things that you need to know about why runout is necessary and how much of the runout is safe for your drill press.
The Reasons
A runout is necessary to dampen out the excess friction, and if not, it might cause problems like overheating at times, and that could be something that you need to be careful about while you are tightening the drill bit too tight.
Moving forward, it also ensures a bit more movement on the drill press and allows the drill press to move freely to ensure that you don’t have to go through much power loss.
While Runout is something that you get to have a bit of power loss with, it actually saves you from losing additional power due to additional friction, and you will be enjoying just the perfect experience of it at the same time.
How Much is Acceptable?
Now runout is a unit that you get to measure in 1/1000 of an inch and is measured using a dial.
You need to make sure that it should be safer for your drill press to ensure it is working accurately and safely without having to face any such problems in the longer run.
Speaking of that, the 1” runout below the spindle bearing is considered to be safe while you are using the drill press.
If you would like a more scientific approach towards it, 0.001-o.0015” is the runout acceptance for the right accuracy.
It can be managed a bit up or down as well, depending on the power you have on your drill press and the drill bits that you are using since it depends on the rotations, weight, and force applied.
How to Adjust It?
Normally, you should be able to adjust the runout by tightening or loosening the drill chuck or sometimes just the spindle, but you also get other enhanced options to adjust it, such as making sure that you get to change the bearing on your Drill press.
Most of the time, a bit of maintenance is all that you will need to address the majority of these issues.
The issue is with the bit when you’ve not placed it correctly or purchased it from a cheaper brand. So, if it seems to be of poor quality, get rid of it right away.
From there, you can check up on the performance of the main system one more time.
As long as you’re sure that the shaft is in good shape and there are no damaged parts or defects, you have complete control of the situation. You can just reach out to the officials, and they will be able to guide you.
On the off chance you do run into hardware issues, the warranty has got you covered.
You will not have to worry about these errors on your own as long as you’re engaging with a strong brand like Milwaukee, DeWalt, or Ryobi.
So, if you’ve purchased the system from a decent enough brand, the warranty should cover the defects for a couple of years.

You can forward a claim to the dealer and inform him about these issues. He will inquire more about the minor details and then take charge of the situation.
The verification will be done on his end, and you can speed up the process by providing a valid warranty.
So, if you do get stuck in the same errors or can’t seem to find your way, be sure to call up the dealer, and he will have you sorted out.
How To Test Runout?
The next thing that you will ask yourself is how you can test the runout.
While it might be great if the machine could help you with clear details of the situations, things are not that simple most of the time. You will have to rely on the manual method to get an accurate idea here.
The good thing is that you don’t need many tools or any expertise to get through the project. All it takes is a bit of effort along with some basic tools, and you will be sorted out.
So, if you’re stuck in the same situation and can’t seem to figure out the runout, then rely on the details below.
The first thing that you should always do is remove all of the power from the unit. This doesn’t mean that you can twitch off the power button or not touch the trigger. Instead, you need to remove all the power from the source.

This will create a safe environment for you to work in, and you will not have to worry about drilling into your hand or losing a finger in the process.
So, start by removing all power and then you can go about installing a dial indicator to the table.
Here, you can rely on any binding material or a simple clamp to hold down the indicator. The aim here is that you need to get the dial indicator as close as possible to the main assembly.
This will help you get the right reading, and you will not have to bother with any inconsistencies.
After the dial indicator is in place and you’re sure that the indicator is firmly clamped down, then you can zero out the indicator.
This will serve as a reference point, and you can go about building around this point to get an accurate reading of the runout.
Now, all that you have to do is to spin the chuck a few turns to improve the accuracy and then go about listing down the reading on a paper.
From there, you can just let the spindle come down and engage properly before repeating all of these steps again.
The repetitions here will help you limit the inconsistencies, and having a larger data set will help you out.
There is no debate that this will take you a lot of time. However, once you’re through the test, your performance will improve by a huge margin. You will not have to deal with precision issues.
So, if it does take a hot minute, be sure to spare some time and follow through with all of the steps listed here.
From there, you can go about adjusting the situation accordingly, and you will not have to deal with the same errors again.
Wrapping Up
Struggling with the Runout situation on your drill press? We’ve listed all the relevant datils on what runout is, and how you can test it, fix it, and prevent it.
So, if you’re confused about the term, just go through with the details above, and you will be sorted out.
Most of the time, it will not take that much effort on your end to fix these issues.
All that you have to do is to check up on the hardware and make sure that the shaft, as well as the breaking, are in good shape. From there, you can move forward to check on the bit and make sure that it is not crooked.
Nine times out of ten, the situation will be addressed here. Just be sure to keep track of the basic maintenance from this point forward.
However, if you find that the situation is out of your hands or you can’t seem to get through a suitable solution, then you can reach out to the local experts or the dealer.
He will be more than happy to help you out and you will not be stuck.