It can surely get annoying to have your drill give up on you right when you are in the middle of making something. Although DeWalt’s drills are known to provide quality and reliability to their customers, it is still possible to end up running into issues.
However, you will find that the vast majority of issues that you might experience with the unit can be linked to ignored maintenance, and you need to educate yourself on the proper care requirements.
There is no such thing as a unit that will work perfectly without any attention to its maintenance.
So, if you’re new to the market or don’t have the time to learn the proper care requirements, there is a good chance that you will end up running into issues with the system.
There are no quick fixes in these situations, and you will have to go about educating yourself accordingly.
Quick Measures to Resolve DeWalt Drill Smoking
Recently, there have been many users making complaints on the internet about their DeWalt drill causing certain issues. One of the most common issues that we have noticed is that their DeWalt cordless drill is smoking.
Luckily, this issue is quite common and can be fixed under most circumstances. However, to fix the issue, you will have to apply some troubleshooting methods.
This is why today, we will be focusing our article on helping you find out all about these troubleshooting procedures. So, without wasting any time further, here are all of the steps mentioned right down below:
- Checking the Battery
While the magic smoke from any unit means that the device will no longer be in perfect shape, that doesn’t mean that there are a few exceptions.
If you’re sure that the internal circuitry and the wiring are in good shape, then you can limit these issues to the battery side of things.
You’ll be pretty lucky if the issue is only limited to the battery, as it is not that hard to fix. So, if you’re struggling to secure a decent enough response out of the unit, we suggest that you check up on the battery first and then move forward from there.
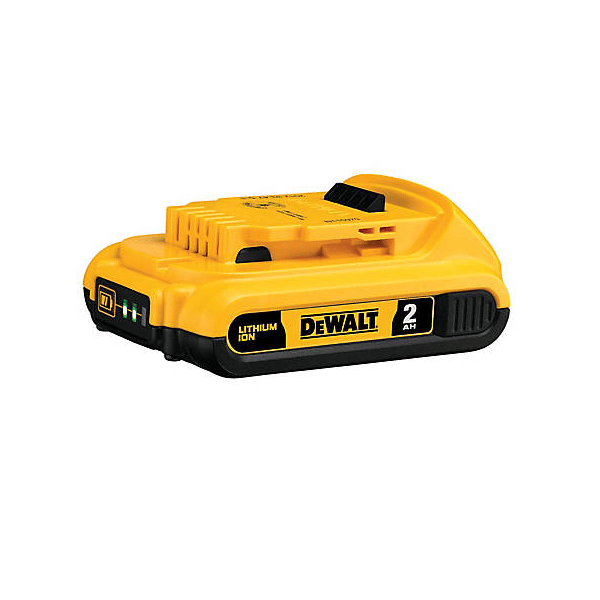
The battery is the main source of power for the drill. Batteries are usually made of electrochemical cells, which are then connected to the electrical device. In case the smoke is coming out of the batteries, then there could be some sort of internal damage.
We’re afraid that you can’t really repair a battery. Instead, you will have to go for a complete replacement of the batteries. Make sure that you purchase a battery that is completely supported by your cordless drill.
The good thing is that the battery replacement will not be as expensive, and you will not have to worry about replacing the whole unit.
So, if you’re stuck in the same errors and the issue is persistent, all that you need to do is to check up on the battery and then replace it accordingly.
Hopefully, you will be sorted in no time and won’t have to deal with more issues down the road.
- Brushless Motor
A brushless motor is a common reason for the drill to end up causing smoke. It can amp out the windings found in the stator, which ultimately causes the insulation to heat up.
After overheating, you will notice the drill to end up smoking and, eventually, even break down.
Due to the general reduction in torque, the windings could have shorted together. Furthermore, even other control electronics can end up deteriorating. In these cases, the life of the drill is also shortened but can be used for normal use cases.
Just make sure that you don’t use the brushless model where it shouldn’t be used in the future. Do keep in mind that if your model is still under warranty, you can have DeWalt repair it.
- Armature
The armatures are another important part of the drill. They are the parts that are responsible for producing power inside the motor.
When you end up overworking your drill, the armature can eventually break down, which can lead to burning the windings. Luckily, you can check the armature for any kind of damage, but you will have to remove it.
While you can do the removal process yourself, only perform it if you know exactly what you are doing. You can also refer to the user manual guide in order to learn how to troubleshoot an armature.
You will basically have to do a 180-degree test once you have successfully pulled the armature out using an ohmmeter.
- Try Reducing The Load
Next, you need to focus on reducing the load on the drill. While there is no debate that the DeWalt drill offers a pretty robust motor, that doesn’t mean that you can put excessive load on the unit without any breaks.
You will only run into issues with the drill that way.
So, if you’re getting the smoke when trying to get through a demanding project, try lowering the load. There are no other options when it comes to putting excessive pressure on the unit, and you should consider an upgrade.
It is almost always a better idea to spend a few extra bucks and get a better unit for your workshop.
Putting more and more load on the current drill will only create issues down the road, and you will not be able to get any long-term response from the system.
It all comes down to how you’re planning on addressing the situation. So, if you’re a bit sure that the hardware is in good shape, limit the load, let the unit cool down, and then try using the drill one more time.
Hopefully, you will not have to deal with the same errors this time around.
- Follow Through With A Quick Maintenance Cycle
Following through with a quick maintenance cycle is another great thing that you can do here.
Limiting the situation with clogged-up debris and gunk in the system will serve you well when you’re dealing with these errors. So, if you’re in the same boat, be sure to check up on the maintenance requirements.
All that you need to do here is to blast the drill with compressed air and then lube up the pivot points. Just make sure to wipe away all of the old lube and then use a fresh lubricant from the market when it comes to adjusting these issues.
If you’re lucky, it will not be that hard to limit and address these errors. So, all that you need to do is to wipe away the old grease and then rely on a decent lubricant. Some owners believe that using grease is a good option, but that will only hold you back.
Using grease will further clog up the system as you struggle to get a response out of the system.
Moreover, it can get hard and mix up with debris to create a gunk-like consistency. So, if you’re struggling with these errors, try limiting the issues accordingly.
Using an expensive unit might sting your budget a bit, but you’re not left with many options. So, be sure to rely on some of the more established brands on the market if you wish to save your drill.
- Faulty or Damaged Unit
While there are other components that can also lead to a similar issue, we highly suggest that you try getting the whole unit checked. At this point, it could be any part that has been damaged and has resulted in making your drill give out smoke.

For a damaged or faulty unit, we strongly recommend getting in touch with a professional. Alternatively, you can also try contacting DeWalt’s customer support for further assistance.
If your device is still under warranty, you can opt for a complete replacement. If not, then we’re afraid you might have to buy yourself a new unit.
The Bottom Line:
Seeing your drill smoking can definitely be an alarming issue and can even end up making you feel worried or scared.
In most cases, the smoke coming out of the drill is an indicator of some electrical component inside of the drill that might have gotten damaged.
In order to learn more about this, do make sure that you give the article a thorough read. It should give you further details on how you can fix the smoke.
So, be sure to keep these pointers in mind when you can’t seem to secure a good enough response out of the unit.
As long as the internal circuitry and components are in good shape, you can easily limit the issue to the battery side of things. You will not have to deal with any long-term errors when the basic components are in good shape.
Lastly, you can also reach out to the official support team for help. If the warranty is valid on your system, it will not cause you any extra hassle as you’re trying to adjust the system.
So, be sure to get the experts involved, and you will be sorted in no time.
Would replacement of Carbon Brush remedy smoking? I have a DC925 Dewalt hammer Drill. Thanks.