A saw is a great tool for cutting materials like wood with efficiency. Even though there are countless brands that provide tools like a saw today, Ryobi is one of the better options out there.
Their Compound Miter Saw series feature some of the best cutting capabilities that you can find.
It might sting your budget a bit, but the performance is out of this world. You won’t find a better brand that can even come close to keeping up with this machine. However, even the best units can run into some issues from time to time.
How to Fix Ryobi Miter Saw Laser Not Working?
If you’re an owner of the Miter Saw series, then you may be one of the many users currently experiencing an issue with the tool.
From what we have managed to gather so far, all these users have reported that their Ryobi Miter Saw laser is not working.
If you are facing the very same issue, then this article is for you. Using this article, we will be listing some of the best troubleshooting steps that you can follow in order to fix the issue. Here’s everything that you need to know!
- Ensure Everything’s in Place
The reason why your saw’s laser might not be working could have something to do with the fact that the components are not properly fitted inside the saw.

Either way, we recommend that you try removing the blade from the saw and putting it back in.
Similarly, we also suggest that you fully tighten the locknut and make sure everything is working. Afterward, try running the saw again to see if the laser works or not.
- Adjust The blade
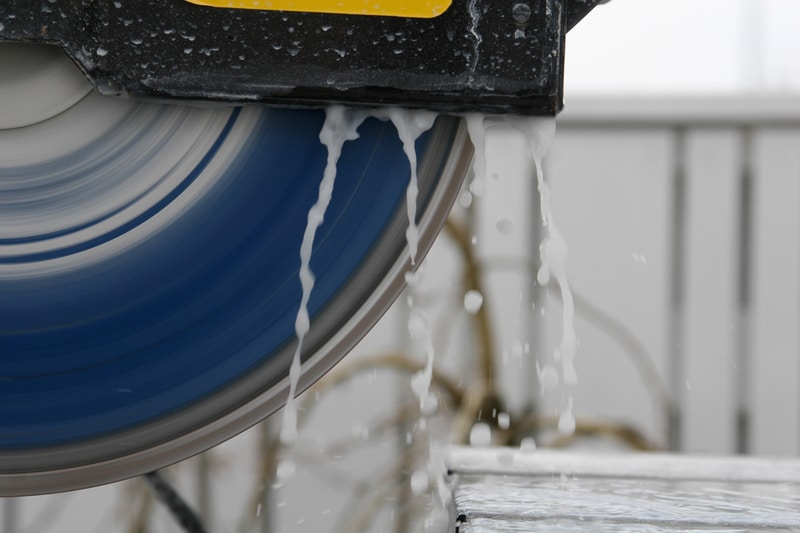
Next, you need to check the condition of the blade and fix the alignment as well as the height of the blade.
Make sure that the blade is not damaged and that there is no gunk stuck to the sides. That will mostly be it when you’re trying to adjust the response from the unit.
Most of the time, the issue will be fixed as soon as the blade is adjusted.
However, if the blade is in rough condition or you used too much material during the last cycle, it is time to install a replacement yourself. Otherwise, you won’t be able to isolate the issue.
Just make sure that the power flow to the unit is cut before you poke the blade.
There is simply no point in putting yourself at risk when you can’t seem to get through these errors. So, check the blade one more time, and that should help you with the laser.
- Go Through The Maintenance Routine
Cleaning up the blades, as well as the debris and gunk clogging up the system, will help you through this situation.
Some of the Ryobi models will only engage the laser when the saw starts spinning. So, you need to make sure that the unit is in use as you try to isolate the issue.
From there, you can remove all the power connections and then use an air blower to get rid of the extra gunk.
It will take a few minutes at max and won’t have any harmful impact on your unit. So, be sure to keep that in mind as you try to adjust the Miter Saw Laser issues.

All you’re trying to do here is make sure that the connections with the laser are optimal and not damaged. Most of the time, a bit of cleaning will do the job, and you won’t have to worry as much about the power flow.
Hopefully, this will be it when it comes to the Ryobi Miter Saw laser not working.
- The Circuit Might Be Damaged
At this point, there is a good chance that the circuit is damaged, and you can’t really fix this issue yourself.
Instead, you will have to take the unit to a Ryobi-authorized repair center, and an expert will take a look at your system. From there, he will install a replacement.
Trying to fix this error yourself will only waste your time, and you’ll end up further damaging the light.
So, if you’re in this situation as well, be sure to hire an expert. He will cost you a bit, but that is much better than wasting hours of your time trying to adjust the same errors.

Just make sure to be more mindful of the maintenance requirements from this time around. Otherwise, you won’t be to stay away from this issue over the long run.
If you’re not aware of how to care for the unit, be sure to seek help from the experts at the repair center. They will give you the right pointers.
- Change the Batteries
Another common reason that could lead to the saw’s laser not working is poor or faulty batteries. Unfortunately, even if it is possible, it isn’t recommended to replace the batteries as it can cause issues later on.
This is why if there is an issue with the batteries, we’re afraid you will have to go for a complete replacement. Ensure that you pick the batteries which are fully supported by the Miter Saw.
- Try Seeking Professional Help
Although you can reach the laser part of the saw, it will require plenty of navigation. If you do have a user manual, try taking a look at the general assembly of the saw.

Alternatively, you can try getting the saw checked. Either call in a verified professional and let him have a look at your tool or try contacting the support team.
They should suggest further troubleshooting procedures that will help you fix the issue for good.
The Bottom Line:
Is your Ryobi Miter Saw laser not working? While it is most likely that the issue is caused due to poor batteries or poor assembly of the saw, we still recommend you give the article a read.
It has all the instructions that you will need in order to get your saw fixed.
Usually, it is not that hard to isolate issues with the laser light, and you might just need new batteries. Next, cleaning the blade and adjusting the alignment of the blade, as well as the tightness of the locknut, is a good idea.
From there, you can adjust the response from the unit one more time by checking for hardware issues and circuit damage.
It all comes to going through the basic maintenance cycle to try and fix the machine. So, be sure to keep that in mind and try the fixes mentioned here.
If you’re unlucky and the unit is damaged, then you can demand a replacement from the dealer.
There is no point in trying to fix the issue yourself, and you can rely on its limited warranty. Fixing the unit yourself might void this warranty, and you’ll have to spend money on the purchase of a new laser.
So, keep that in mind and inform the dealer immediately when you can’t seem to get through the issues with the Ryobi system.
Hopefully, you won’t have to bother with the same issues when using the new laser from the Ryobi customer care team. The only thing that you will have to do is to explain the issue.