Drills are power tools that can be used to create small holes inside objects. Although, depending on the model that you are using, there are tons of other tasks that can be completed using the device. These are one of the most used power tools because of their versatility and high demand. Talking about this, people thinking about purchasing these devices should always invest their time in selecting a reliable brand first. The main reason behind this is that the company you decide to go for plays a huge role in your power tools performance.
Ryobi is a Japanese manufacturer that has recently come up with a new lineup of power tools labeled One Plus. These devices are equipped with numerous features and the 18V drill is one of the best choices that people can go with. Although, users of the power tool have recently been asking some questions regarding it. A common query is “How to put a drill bit in Ryobi One Plus drill?”. If you are wondering the same thing then going through this article should help you in getting an answer.
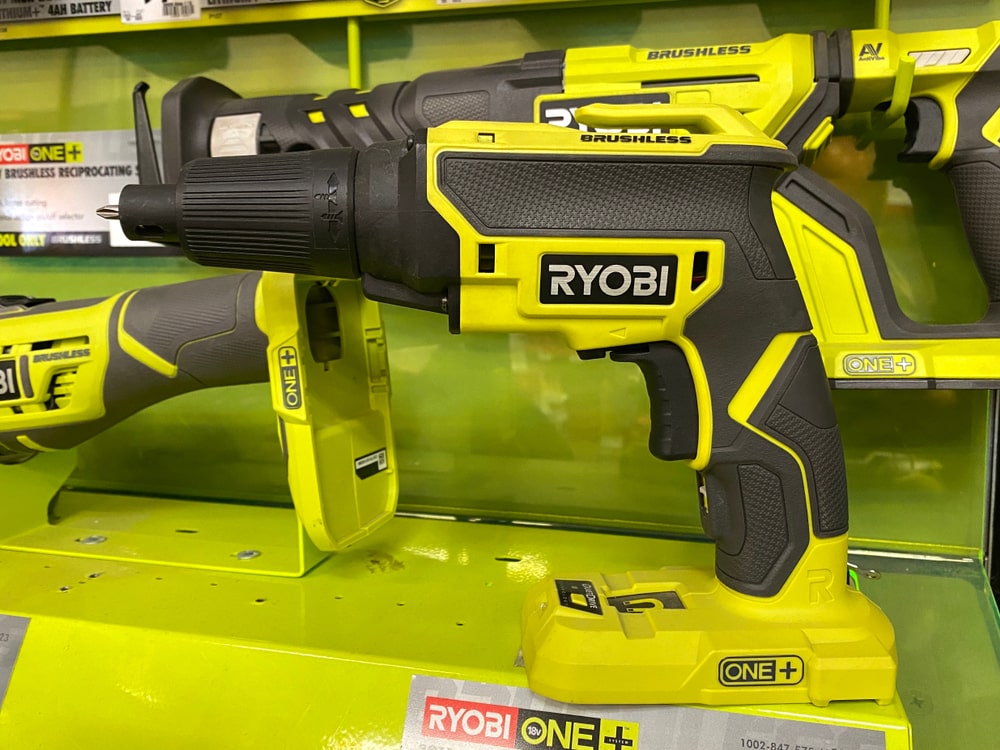
How To Put Drill Bit In Ryobi One Plus?
Changing or swapping out drill bits is an important task that people should know how to do. While switching these out is quite easy on standard drills, the One Plus lineup from Ryobi has taken a different approach. This has confused tons of users, but you should note that the process is still quite simple. Here is a small guide on how this can be done while avoiding most issues.
- Start by rotating the selector implemented on the drill. This should have several steps, but people have to carefully set this to its center position.
- If done properly then the switch trigger should get locked.
- People can now rotate the chuck sleeve clockwise to unlock it. If you notice that this is stuck, then try using a wrench to apply additional force. Alternatively, hold the chuck’s base and then rotate it with your second hand.
- After unlocking the chuck, remove the previous drill bit that was installed and proceed to find the new bit that you want to install inside your One Plus drill.
- People should now lift their drill upright at an angle where the head is towards the sky. If your chuck is not completely unlocked, then rotate it further to open your drill’s mouth.
- Now place the new drill bit inside the chuck while keeping it at the same angle. This helps in preventing your bit from falling out of the drill while you are installing it.
- People can finally rotate the base of their chuck again to lock it back up. You can then proceed to power on your drill and then use it with the new bit installed.
The steps provided above are more than enough to understand how the drill bit on the One Plus lineup can be changed. However, if you still have any questions regarding the process then the support team for Ryobi can be contacted. They should be able to answer all of your queries regarding the power tool.