Kobalt is not only great for having multiple tools, but their battery-operated cordless equipment, batteries, and chargers are also something that one would be loving to enjoy, and they are going to have just the perfect experience out of it at the same time.
The portfolio of tools and accessories maintained by this brand is not only exceptional, but you will also enjoy amazing responses from every single unit.
The only thing that you need to be mindful of is the maintenance. Other than that, it is not that difficult to manage and adjust this system accordingly.
All that is perfectly great, and you will not have to worry about a single thing while you are using these Kobalt battery chargers for any reason to charge the batteries.
Fix Kobalt Battery Charger Blinking Green
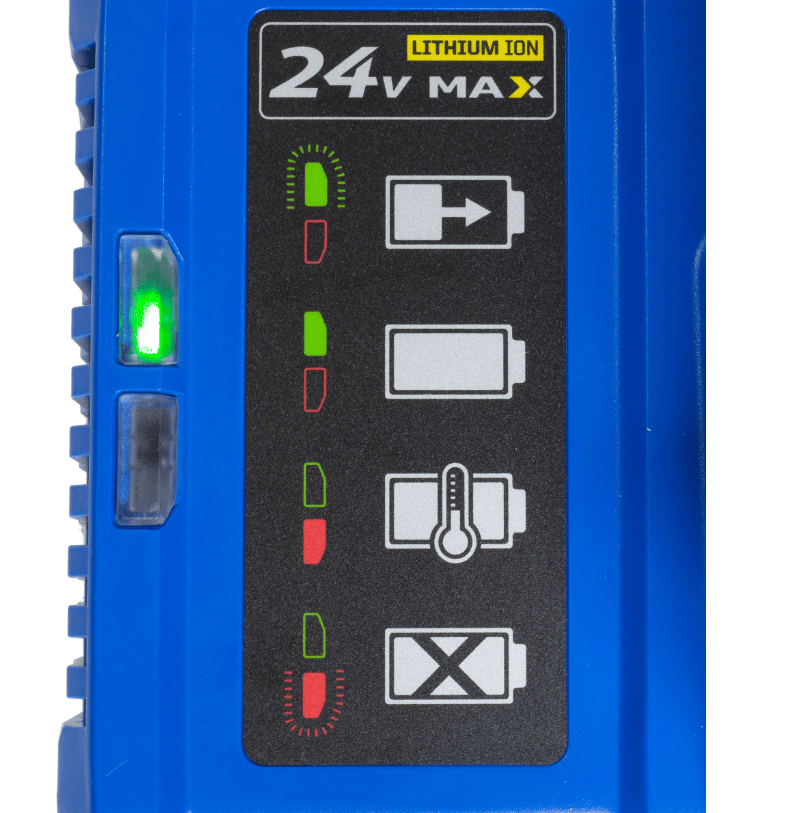
They are pretty durable, and most of the time, they work exceptionally well. If you are facing some issues with the battery charger, there is a light indicator that will let you know the status for sure.
A few things that you might need to know in order to make it work and what that green light means are:
- Green Light Blinking Steadily
If the charger light is blinking steadily, it means that the battery is connected to the charger perfectly and that it is being charged in the right manner as well.
Once you insert the battery pack into the charger and it is connected to the power source, the charger will blink the red light for some seconds real fast, and that is the indicator that it is detecting the battery and balancing voltages on all the cells.
Afterward, there is not much that you will need to be worried about if the green light gets stable and it blinks green at a steady pace.
That is something that is a good sign, and now you can leave the battery for a bit so it can be charged.
Make sure that you remove the battery from the charger once it has been charged to the optimal level, and you will know that by seeing the green light that has been blinking lately to get steady.
- Green Light Blinking Faster
If the green light is blinking faster, and it doesn’t get steady after using it for quite some time as well, that is something that you will need to be concerned about.
Since that would indicate that your charger is not able to balance the voltages on the cells that your battery pack has.
That would mean either the battery is not connected to the chargers perfectly, or there might be some issue with the battery cells as they might have gone bad.
That is something that you will need to get checked for sure.
You need to inspect the battery charger terminals first, and afterward, you will need to make sure that you are also getting the battery checked properly with an authorized technician as well.
They will be able to figure out if there is something wrong with some cells or if your battery pack has gone bad.
Afterward, they will also be able to fix any such issues that you might have been facing, and with that, you will be able to make it work out perfectly to get the batteries charged up properly.
Here are some more pointers that you need to consider when the unit is not responding to any input, and the battery won’t charge.
- Check The Temperature
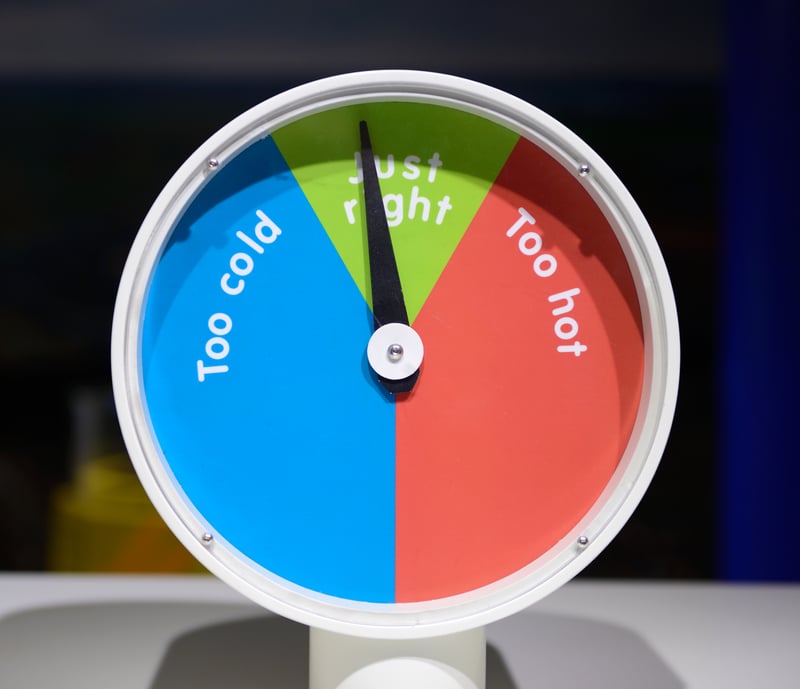
The next thing that you need to do here is to check up on the temperature side of things.
Most of the time, the issue is only with the device being too hot, and you need to fix it accordingly. So, you can check by touching the battery pack.
Just leave the battery out in a shaded region for a few minutes. From there, you can put the battery back into the charger, and that will be it.
After a few hours, you can check up on the battery situation one more time. Hopefully, it will provide you with tools with optimal performance.

From this point forward, try giving your tools a few breaks before you proceed with starting a different project.
That will be more than enough to help you maintain the battery temperature without dealing with more complications down the road.
- Adjust Placement
Sometimes, the situation is not that serious, and you have to adjust the position of the battery pack in the charger.
Over time, gunk and grime can build up on the contact points and create issues with the placement of the battery.

So, be sure to keep that in mind and go through a quick cleaning cycle. Simply blasting the unit with compressed air will help you keep track of these errors.
From there, you can place the battery back into the charger and ensure that the contact points are properly engaged.
Ideally, all errors will be fixed right here. All that you’re trying to focus on is making sure that the power is going in from the unit to the battery pack.
It will also help if you can check on the power source to get a better understanding of the issue.
Quickly connecting your charger with a new outlet will help you get a better perspective on the issue.
From there, you can make sure that the cable is in good shape and that there are no further errors. Hopefully, you will not have to deal with the same situation.
- Check For Hardware Issues
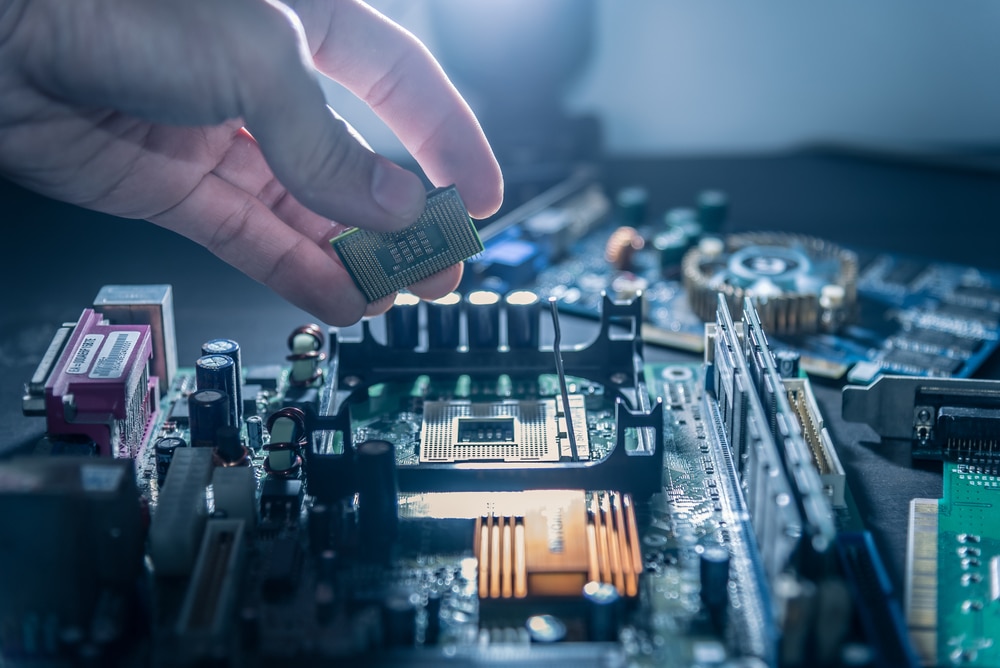
At this point, you need to also check for hardware issues in the unit. There might be problems with the charger being damaged, and you have to check for frayed sections, damaged pieces, and defective wiring.
There might even be discolored regions, indicating water damage to the unit.
So, you will have to keep track of all of these pointers as you try to figure out the situation with the charger not working properly.
The are only two options here. Either you can take your unit to a local repair center and get it fixed or reach out to the dealer about a replacement.

So, be sure to keep these pointers in mind and seek help from an expert. You can’t fix a damaged charger yourself, and you need to leave this job to the professionals.
This is especially true if the purchase was recent. The warranty deal behind this charger should cover all of these hardware issues, and you can ask the dealer for more details.
He will take a few moments to verify your purchase and will then provide you with a fresh piece. Hopefully, you will not have to worry about more complications from that point.
- Call Kobalt Support
Seeking help from the official Kobalt support is not a bad idea either. If you can’t seem to figure out the issue and the hardware is in good shape, then you need to reach out to the official Kobalt support.
They will take a peek at your case and then guide you on how to address these errors. In most situations, fixing these errors will come easily to you.
You will not have to mess about any complications yourself, and just following the pointers from the experts will be more than rough.
So, leave this job to the professionals and just act upon their instructions. If the hardware is in good shape, you will have an effortless experience fixing the unit.
Otherwise, you can always demand a fresh replacement, and the dealer will provide you with a new piece. So, it all comes down to how you’re planning on addressing the issue.
There is no gain in going through all of these pointers on your own when you can get help from an expert that is pretty knowledgeable on these issues.
He will make your life much easier, and you can go about fixing these errors accordingly.
Wrapping Up

Most of the time, you will have an effortless experience with the Kobalt battery charger, and you won’t feel the need to switch for decades.
The light indicator on the Kobalt battery charger will help you keep track of the performance, and you can test out the charge on the battery after a few hours.
The situation with the green indicator is not that hard to manage and mostly represents normal operations of the unit.
However, there have been some concerns about the battery charger not working properly even when the green indicator is blinking.

So, we’ve listed all the possible causes and troubleshooting steps for those situations. Most often than not, you will find that the issue is with the battery and not the charger itself.
From there, you can also check the integrity of the hardware as well.
Hopefully, fixing this issue will not be that much of a hassle for you, and you can go about addressing these errors quickly.
However, if you can’t seem to put your finger on the problem even after going through all of these fixes, then you need to call the official support team for help.