Previously professionals had to use wired equipment because of the high power required when working on larger projects.
However, as technology improved, companies like DeWalt started manufacturing power tools that could deliver high power while also being cordless.
So, you will not have to worry about power supply issues as long as you’re working with a decent battery.
There is no debate that finding the right brand can be a bit challenging at times. However, you can’t really go wrong when sticking with some of the most established options like DeWalt and Milwaukee.
This brand has dominated the market for years and will undoubtedly continue to do so for decades.
So, you will not feel the need to switch to any other option when relying on this brand in the long run. It all comes down to how you’re planning on addressing the situation.
On top of this, the brand also manufactures lineups that can deliver the same power while coming in a compact size.
This allows people to carry around the equipment without having to worry about its weight and size.
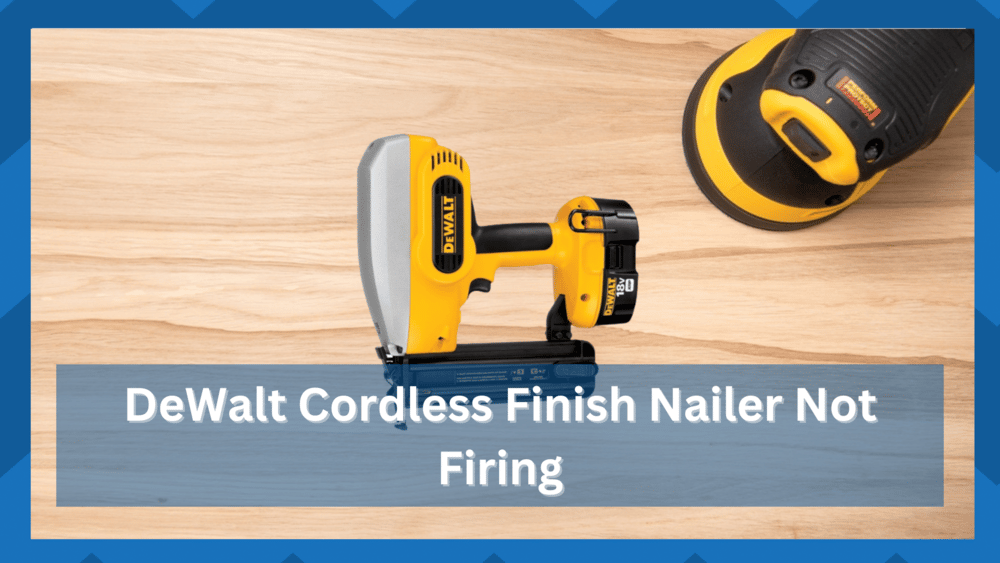
Why Is DeWalt Cordless Finish Nailer Not Firing?
The cordless finish nailer is one of the products that comes with tons of other useful features.
This ensures that people can use the power tool without any worries. Though, you have to note that there are also some issues that you can run into with the product.
Recently users have reported that the DeWalt cordless finish nailer is not firing. If you are getting the same issue, then going through this article should help you in fixing it.
- Cartridge Clogged
The most common reason for this problem is that the cartridge used to hold nails can get clogged.
This happens because the magazine collects dust and debris over time that slowly starts to move inside the moving parts.
DeWalt recommends that you clean the equipment as often as possible to prevent this issue.
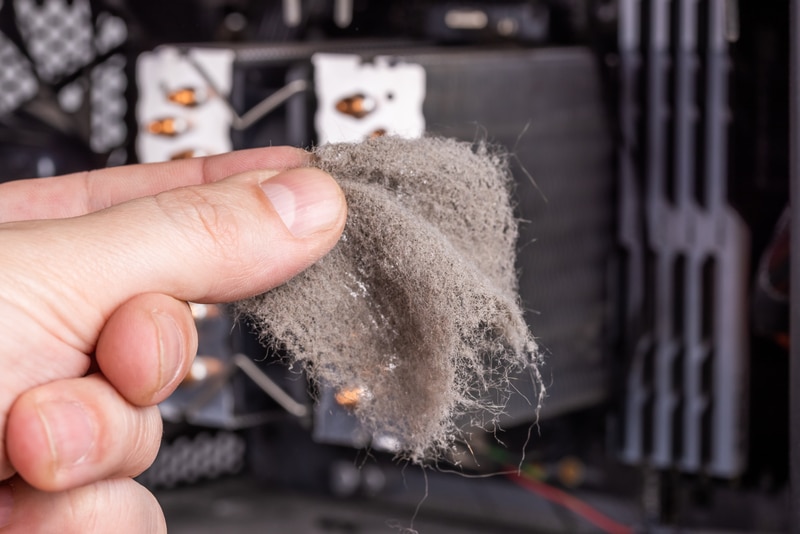
Considering this, one thing that you can do is clean the magazine and remove all the debris from it once you are done working on your project. This should ensure that the problem does not appear again.
Although, if you are already getting the problem, then you can clean the compartment by opening it up and then making sure that all the dust particles are taken out.
This can take some time, but the process should be enough to fix your problem.
- Lubrication Is Required
If you have not been cleaning your finish nailer properly, then there is a high chance that the clog might have gotten inside the moving parts.
This can also cause the motor and piston system to get rusted, which also prevents the power tool from functioning.
When it comes to this, the user has to first clean the device properly and then use oil on its gears. This has to be spread inside the moving parts so that they can get lubricated.

Once done, you can then wait for some time and then try using your finished nailer. The device should now start running smoothly without any further problems.
- Check the Battery Status
At this point, you need to check up on the battery side of things to isolate and fix the issue.
The issues with the battery are not that hard to manage most of the time. You should be able to still secure a good if the battery is not damaged.
So, all that you need to do is to charge the battery fully. It will take about 30 to 40 minutes max, and then you can use this battery in the tool to check the response accordingly.
Similarly, a bit of maintenance might also be in order, and you should think about checking up on the hardware.
All that you’re trying to do here is make sure that the terminals are in good shape and that there is nothing that might clog up the system.
Usually, you will be sorted at this point and will not have to deal with more errors down the road.
However, in some rare cases, owners have also had to jump their batteries. This means removing all the power from the battery and then powering it up again.
That should mostly be enough to have you sorted with the battery status, and you will not have to worry about more complications.
- Check Magazine
The situation with the magazine can also be to blame here. Sometimes, it is not the nozzle or the nails but the clogged magazine that is behind these errors.
So, if you’re sure that the nozzle is free and the type of nails that you’re using is optimal, then you will not have to deal with any extensive issues.
All it takes is a bit of effort on your end, and you have to clean the magazine. Make sure that the fasteners are in their proper place and that there are no issues with the alignment.
It will take a few minutes at max, and you will not have to deal with the same errors again.
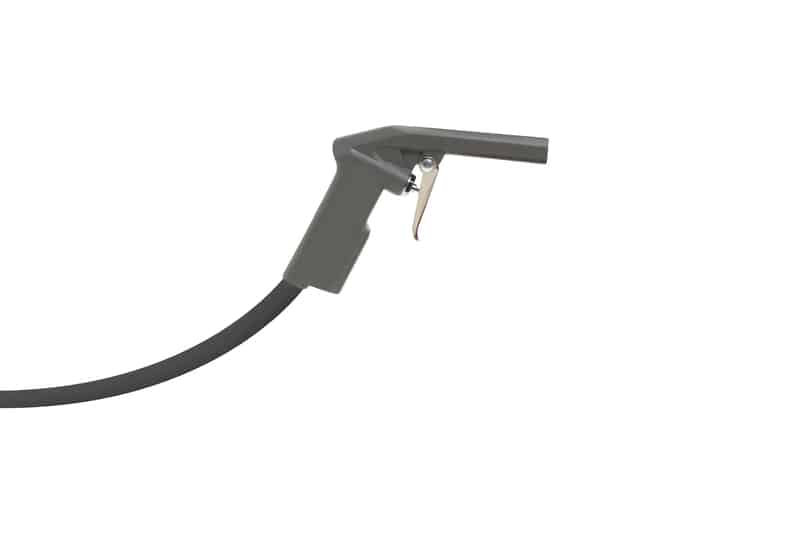
Sometimes, you will also get results by blasting this unit with compressed air.
That will not only free up the debris, but you will also be able to secure a better response out of the system. So, keep track of these pointers, and you will be sorted in no time.
- Check Fasteners
It is also possible that the issue with the unit not firing is related to the fasteners.
If you’re not using the right size of fasteners, they will be pretty hard to manage, and you will not be able to find the right angle. So, all that you can do here is to check up on the fasteners.
Next, you can also check up on the wiring side of things to make sure that nothing is wrong with the internal circuits.
Here, you can rely on a multimeter to check for continuity, and you will have a much better grasp of the situation.
- Check Depth Adjustment
The depth adjustment of the unit will also lead to the same outcome, and you will need to make sure that you’ve managed the configurations perfectly.

It will take a bit of your time, but the response will mostly be enough to have you sorted through these issues.
If you’re confused, there is no harm in taking a peek at the manual or asking some local experts.
They will help you get a much better grasp of the situation, and you will not have to deal with more errors on your end. So, be sure to keep all that in mind.
- Check the Trigger
The situation with the trigger can also lead to these issues.
If you’re sure that the unit itself is in good shape, all that you need to do is to clean up the trigger and make sure that the input is managed properly. From there, you can also check for hardware issues or damages.
All that you’re trying to do here is to make sure that the trigger is not damaged.
If it is, then you will have to get a new switch assembly, and there are no other methods around it. All that you’re trying to do is to make sure that the input is registered in the unit.
- Take Your Device To DeWalt
If you are still having the same problem or if you are feeling hesitant when trying to open your power tool, then the best option that you can go with is contacting DeWalt.

The team will try their best to provide you with a solution that can be used.
But if even this does not work, then you can take your finished nailer to the brand and get it repaired by them. This can take some time, so you should wait patiently while your power tool is getting fixed.
Wrapping Up
The situation with the DeWalt cordless finish nailer not firing properly can be pretty frustrating to manage.
However, with a few quick fixes, you should be able to secure a decent enough response out of the unit. It all comes down to how you’re planning on addressing the situation.
Most of the time, you will just have to free up the cartridge, lubricate the sections, and thoroughly clean up the system.
This will be more than enough to have you sorted through the situation. However, if you’re not that lucky, the issue can be a bit more complicated.
You will have to ensure the involvement of the customer support professionals to address these issues, and there are no quick fixes around it.
So, if you can’t seem to make your way through a fix, there is no harm in seeking help from an official support member or any other local expert.
They will make your life easier, and you will not have to spend hours upon hours of your time trying to adjust the unit by yourself.
It all comes down to how you’re planning on maneuvering through the situation, and having an expert guide you through each step is never a bad idea.