Black and Decker is a famous brand that is known for its amazing devices. The company has a huge list of equipment that it manufactures. Additionally, each of these devices is equipped with tons of features.
So, you will be able to benefit from a complete range of features while sticking with this brand.
This includes having power tools that can be used for your projects or gardening tools that can help out people set up their gardens.
Moreover, you can also use these tools to help you with quick DIY projects. It all comes down to your creativity and experience as a workman.
If you are thinking about getting a device from Black and Decker, then you should go through their list of equipment carefully.
Reading the specifications of these products will help you in deciding if they are worth it or not.
Talking about this, the Black and Decker battery charger is a famous product that works with most of their cordless devices.
Considering this, people have a single device to charge most of their tools. Although, there are also some problems that the charger can run into.
Recently people have been complaining that the Black and Decker battery charger is showing a fault light. If you are also getting the same issue, then going through this article should help you in getting rid of it.
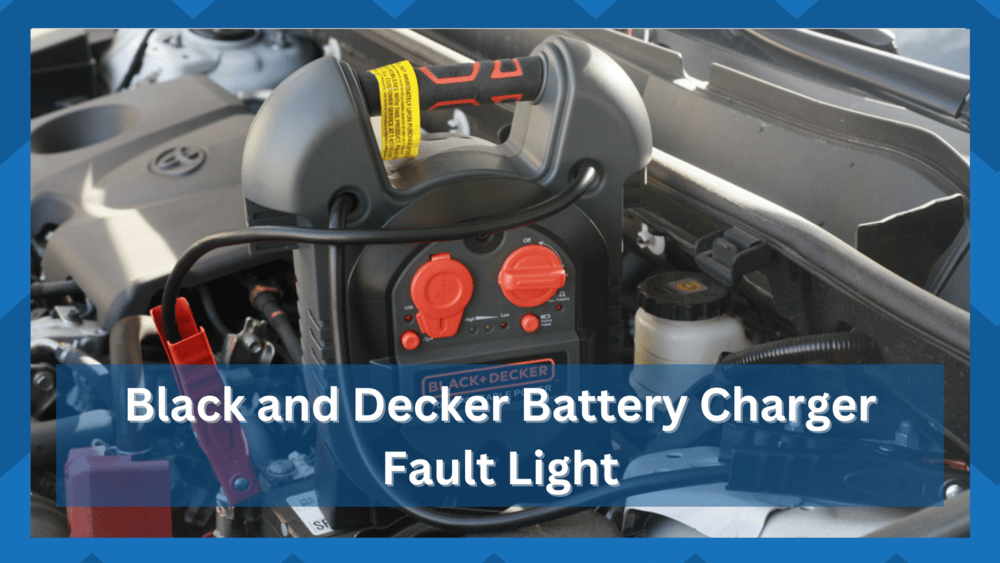
Black and Decker Battery Charger Fault Light
One of the best things about the Black and Decker battery charger is its fault light.
This allows people to understand what problem their device is running into and how it can be fixed. The light will usually show error codes or symbols that indicate what is wrong with it.
The user can then refer to the problem by consulting the manual provided it. This helps in understanding what the problem is and then dealing with it easily.
Depending on what error code you are getting, the troubleshooting steps for it might vary. This is why it is important that you carefully go through the process of identifying what the problem is.

Fixing Problems with The Black and Decker Charger Fault Light
While the solution for your problem depends on what the fault code is, there are still some troubleshooting steps that can be tried before it.
Start by removing the charge from your outlet and then leaving it for a few minutes.
You can then plug it back in and see if your issue is resolved. Other than this, people can also remove the batteries from their devices and clean the connections.
This helps in ensuring that the connection is not getting blocked by debris or dust. In most cases, the problem is from continuously using the charger or the device overheating.
Both of these require you to let the charger rest for a few minutes. However, another thing that you can do is keep your charger in a cool area.
This will ensure that the device remains cold throughout the day, preventing most problems with it.
In case you are still getting the same issue even after trying the steps mentioned above.
Similarly, issues with the connected battery will also lead to the same situation when it comes to adjusting the unit.

You just have to check up on the battery and make sure that there are no errors on that end. Hopefully, fixing the unit will come easily to you.
Here are some more pointers to help you along your troubleshooting journey for the Black and Decker battery charger fault light.
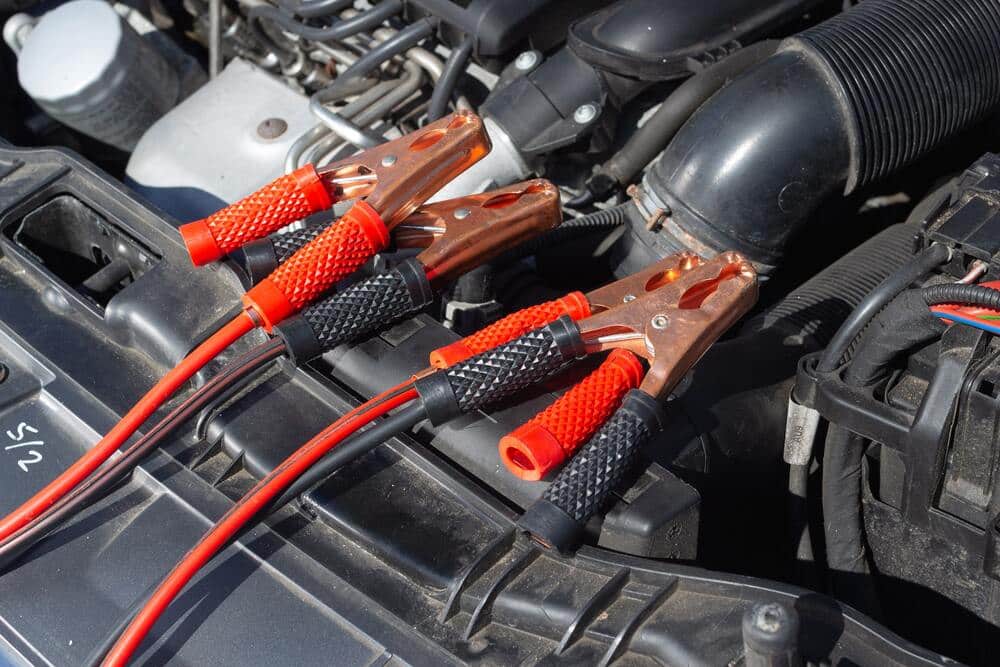
- Jump The Battery
Most of the time, the issue is with the battery being too drained to even get detected by the charger.
If you’re in the same situation, the only reliable thing that you can do is to jump the battery with the fresh one.
Here, you will need to rely on a pair of wires as well as a fresh battery pack to address the issue.
From there, you can leave the battery packs connected for about 20 minutes and then check up on these units after the defined period.
From there, you need to put the battery back into the charger and then check up on the response.
Nine times out of ten, the issue will be fixed right here. Just make sure that the alignment of the battery is perfectly managed and the contact points are engaged properly.
From there, you can also check up on the hardware side of things to make sure that the terminals are not clogged up.
That should mostly be enough to help you address these errors, and you will not have to deal with as many errors down the road.
- Limit Temperature
Next, you need to also check the temperature of the battery for possible issues.
If the temperature is too hot or too cold, you will not be able to get any response from the charger, and the unit will display fault errors. The only thing to do here is to fix the fault errors accordingly.
All it takes is a bit of effort on your end, and you need to make sure that the unit is promptly stored. If the battery is too hot, just leave it in the shade for a few moments.
Similarly, if the battery is too cold, you can try using it in your power tools and then charge it up.
Either way, you need to make sure that the temperature of the battery is back within the optimal range and that there are no issues on that end.
Otherwise, you will remain stuck in these errors, and the system will present more issues.
- Damaged Battery Cell
Similarly, you might be struggling with a damaged battery cell, and that situation is a bit harder to manage.

If you’re getting an F01 fault code, then the issue is with the battery cell, and you might have to get the unit checked.
Sadly, there are no quick fixes here, and you will have to rely on a professional to help you sort out these issues.
That might take a bit more time, but there is a chance that you will end up salvaging the battery without any errors.
From there, you can also check on the power output from the battery to see if it will be of value down the road.
Sometimes, upgrading the battery is the better idea, and you will not have to deal with more errors down the road.
- Adjust the Power Flow
Lastly, you need to also look at the power flow from the main source.
It is not always the charger or the battery that is to blame here, and the power flow can be equally to blame. So, if you can’t seem to figure out the situation, just adjust the power flow accordingly.

All that you’re trying to do is to make sure that the power side of things is managed properly.
There should be no issues on the power end, and the power connections should be in perfect condition. Otherwise, you will remain stuck in these errors, and fixing the issue will become increasingly harder.
You can also reach out to local technicians to help you service the power connections.
They will charge you a minimal fee, but you have a decent shot at fixing the issue with their help. So, all that you need to do is to reach out to the experts, and they will have you sorted.
Trying to fix the power connections yourself will only put you at risk as you struggle to secure a response out of the unit.
So, if you’re in the same boat and can’t seem to get anything out of the system, be sure to adjust the power flow.
Hopefully, you will not have to deal with more hassle down the road, and the charger will work accordingly.
Wrapping Up
Struggling to get a decent response from the Black and Decker battery charger? Here are some of the things that you can use to get a reasonable response from the unit.
It all comes down to how you’re planning on addressing the situation.
As long as the hardware itself is in good shape, there is over a ninety percent chance that the issue is with the battery.
There are a ton of things that can go wrong, and you will have to spend a bit of time trying to manage the battery side of things.
So, if you’re stuck in these errors as well, be sure to fix the battery accordingly by following the pointers above.
Aside from the situation with the defective battery cell, adjusting the battery is not that hard of a job. It will just require some patience on your end.
Lastly, you can reach out to the official support team about this issue. They will inquire a bit more about the situation, and you will be sorted out in no time.
It all comes down to how you’re planning on fixing the situation, and keeping track of these pointers will have you sorted.