
Dealing with stuck drill bits is arguably one of the most annoying issues that you can run into while managing a project.
It will set you back quite a bit, even when you’re experienced and know how to maneuver through the situation.
Even the best units from some of the most reliable brands in the market can run into issues. So, there is a good chance you’ll run into this problem at some point in your project.
It doesn’t matter if you’re relying on amazing brands like Milwaukee or DeWalt.
All you can do here is rely on an expert or go through the basic troubleshooting routine yourself.
Either way, you need to narrow down the situation with the unit as you try to fix the unit. Hopefully, it won’t take much effort on your end as you try to fix the situation.
Black And Decker Drill Won’t Release Bit
Recently many people have been asking about possible methods of troubleshooting issues regarding the Black and Decker drill not releasing the bit.
So, let’s cover a few solutions that can help you get around this error.
- Use A Wrench
If your Black and Decker drill won’t release a bit, then you can rely on the use of a wrench to overcome this issue.
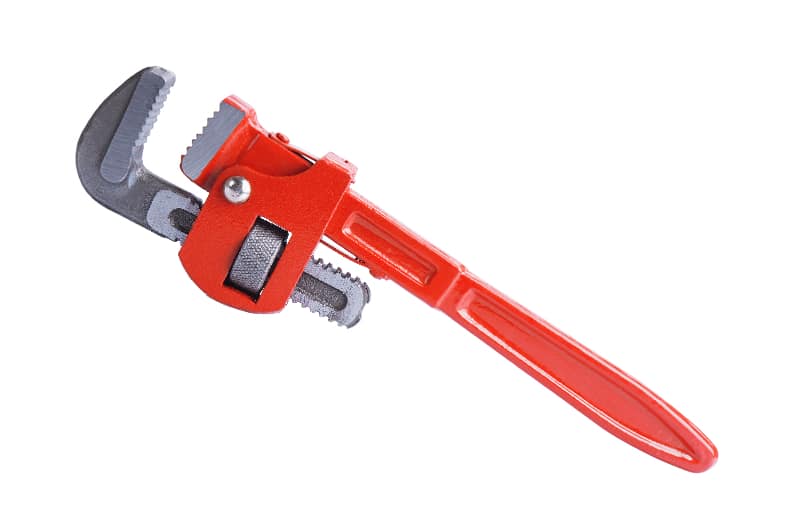
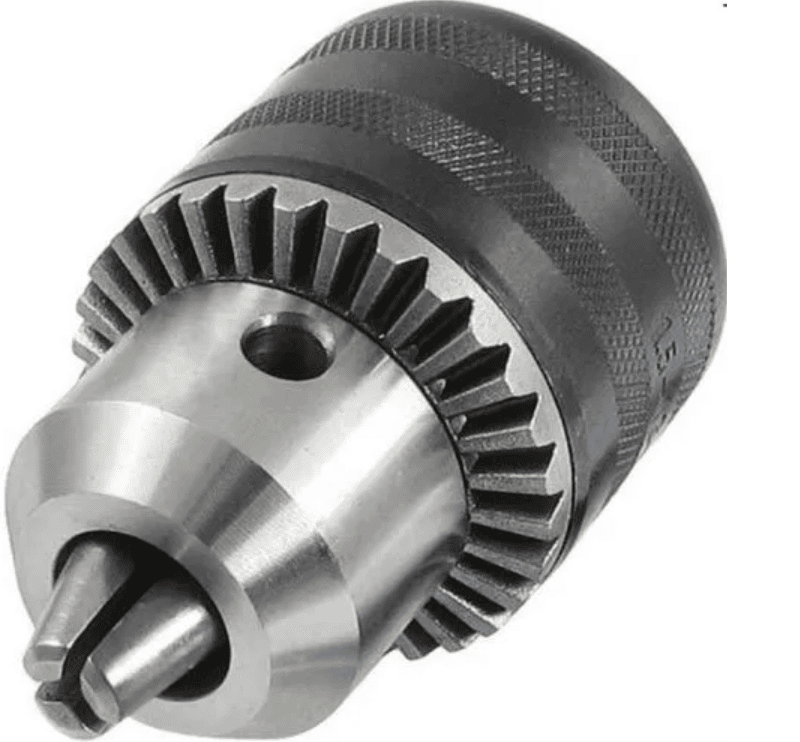
The procedure is fairly simple, and you will have to hold the chuck while using the drill in reverse.
If done correctly, the bit will loosen up, and you will be able to take it out. You can start by holding down the chuck with your bare hands and operating the drill in reverse.
If you’re lucky, the bit will come out and this stage, and you won’t have to put any excessive stress on your unit.
However, if the bit won’t budge, then you should use a wrench to hold down the chuck and increase the torque of the drill. Hopefully, this time around, the drill bit will come out with ease.
- Use WD-40
Many users have mentioned successful results while trying to release the bit using WD-40.
So, if you want to rely on non-destructive methods to release the drill bit, using WD-40 is perfect for you.

Depending upon the tightness of the drill bit, just insert this lubricant directly into the holding and wait for a few moments.
Using excessive WD-40 won’t improve your results so sticking with a limited amount of this solution is probably your best bet.
After adding a sufficient amount of WD-40 to the holding, wait a few minutes and try to loosen up the bit with your bare hands.
There is a good chance that the drill bit will come out if it is not lodged in extremely tightly.
- Bash the Drill
Even though this method might not seem too practical, it can provide consistent results to the users.
So, if none of the procedures mentioned above are helping you overcome issues with the stuck drill bit, just try to bash the drill bit into the chuck.
You can rely on the use of a hammer to push the drill bit inwards in order to release the hold.
If you’re lucky, then there won’t be any permanent damage to the chuck.
However, if the drill bit won’t come out even after bashing it into the chuck, then you will have to take your unit to a repair center.
That way, you can rely on professional help to get around this problem.
If you keep using excessive force on the chuck, then there is a chance that you will damage the assembly. So, keep that in mind while bashing your drill.
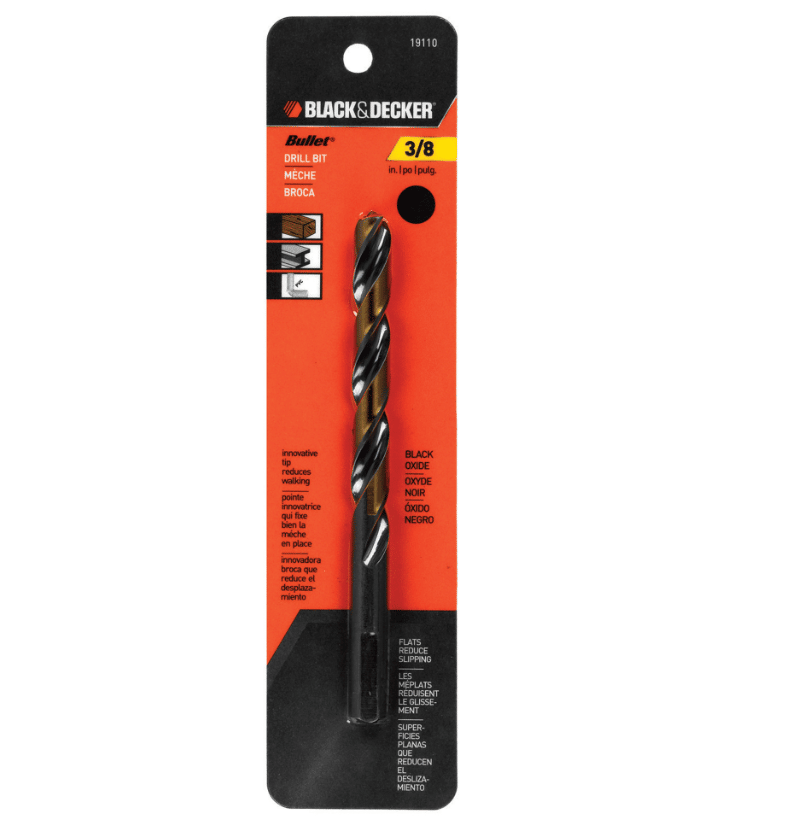
- Try Breaking The Bit
Breaking the bit won’t be the first option for the majority of owners, but it seems like a necessary evil at this point.
You will have to isolate and fix the issues with the drill bit when it is not responding to any input. So, if you’re still stuck here, then breaking the bit will do you well.
All you’ll need to do is to put the drill on a solid base and then grab some wooden blocks or metal bracing to put below the bit itself.
From there, you can grab any metal object or any older tool, like a solid hammer, to smash the bit.
It will take a bit of effort on your end, but the drill should break and crumble up. The only thing that you need to focus on here is that the chuck, along with the bit, is dipped in WD-40 first.
That will create a protective layer around the chuck finish if it is not too tight.
From there, you will have an easier time trying to remove the bit as it is smashed into pieces. Similarly, you need to divert a bit of your focus on bracing the drill bit properly.
If there is space between the metal bracing and the bit, then the vibration can damage the cuck without transferring all impact to the bit.
Hopefully, you will be able to break the bit without damaging the cuck or the drill components.
From there, you can keep track of the lubrication requirements better and won’t have to deal with the same errors again.
- Use a Strap
If you’re not sold on using the wrench, going with steps is a better idea. The strap wrench is pretty decent.
You will be able to stick it around the sides of the chuck without damaging the finish on the chuck itself.
From there, you can follow the same method of turning the chuck in reverse. There are no further methods here, and you will have to force out the bit.
If you’re lucky, the only thing that will get damaged will be the bit.
However, if you are a bit harsh with the unit and don’t seek official support, then you might end up damaging the chuck or the drill itself.
For this reason, it is better to let go of the bit and destroy it first when you can’t seem to isolate the errors here.
On the other hand, you can also forward a warranty claim and demand a replacement in this situation.

Reaching out to the dealer about the new unit is not a bad idea when the drill is damaged.
However, you need to make sure that your claim is valid and that you didn’t break any protocol.
Be sure to reach out to the dealer for more details, and he will guide you on how to best get through the error with the drill bit getting stuck inside the system.
Wrapping Up
Nine times out of ten, you will have to force the bit out of the unit, and there are no other methods around it.
However, being too harsh with the unit can cause permanent damage to the system. So, to avoid those situations, we suggest that you try to fix the issue by asking a professional for help.

He will have all the accessories necessary to help owners get through these errors.
All you have to do is to engage these professionals, and getting through the fix should be fairly simple.
However, if you don’t want to pay the hiring fees or go through any extra hassle, try the methods mentioned above.
You’ll be able to save a fair bit of time trying to bash the drill and using the WD-40 route.
That way, the bit will come right out if it is not lodged completely into the system. So, be sure to keep that in mind and test out all the methods mentioned here.

Lastly, if you find the unit to be defective, then you will be able to get a replacement in no time. It all comes down to how you plan on getting a replacement.
So, be sure to reach out to the customer care team, and they will provide you with the new unit after you verify the warranty claim.