Kobalt is not only offering you cordless tools and their batteries, but you also get some of the best chargers that are perfectly compatible with all their batteries, and it will help you to enjoy the best possible experience with them.
These chargers are designed to securely charge your batteries without affecting their health or damaging the batteries for you.
So, if you’re new to the market and don’t know which brand to go for, you will get the ideal performance from the Kobalt charger.
However, you need to keep in mind that even the best brands can often run into a few snags.
Issues with the devices are imminent when you’re not aware of the proper maintenance routine. So, you might run into issues with the charger if you don’t keep track of the maintenance cycle.
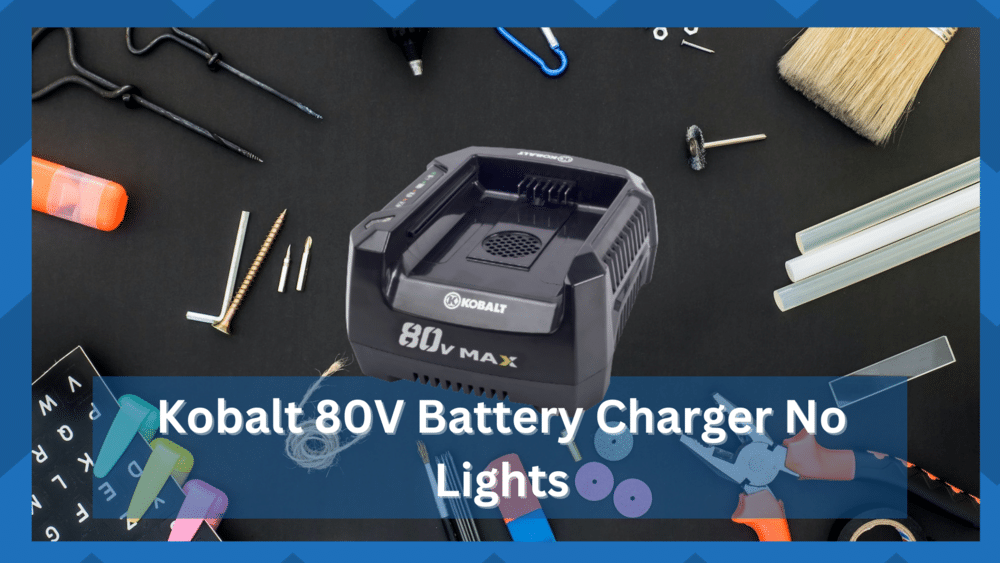
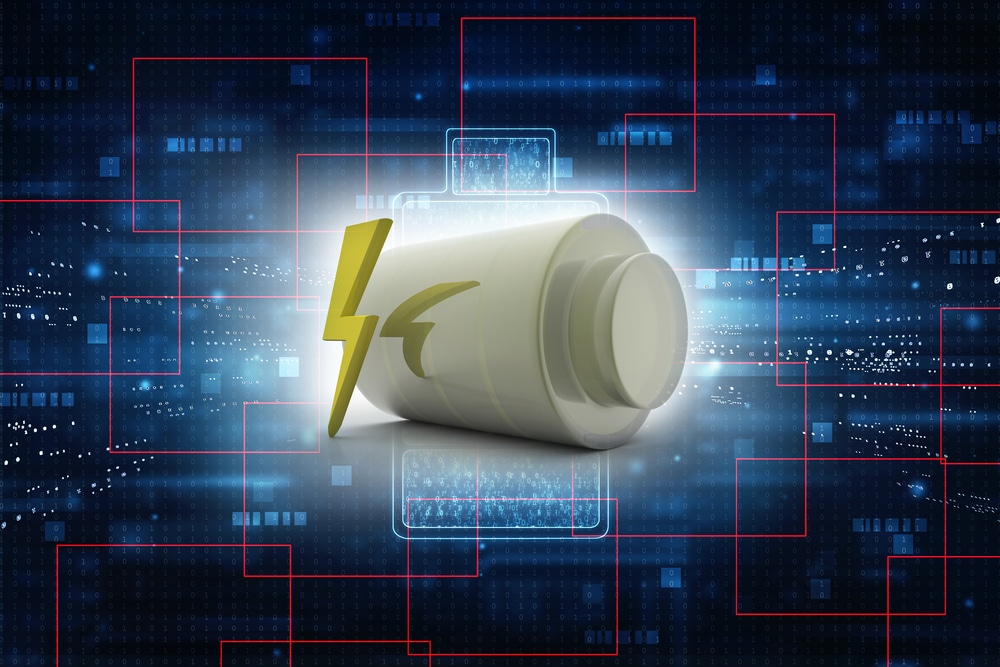
The 80V battery charger from Kobalt is one such charger, and it also has lights on it that will indicate the battery and charging status for you.
If those lights are not glowing or blinking after you have them charged, here are a few things that you will need to take care of.
Kobalt 80V Battery Charger No Lights
- Check the Power Cord
The first thing that you will need to check up on is the power cord. If the power cord is somehow damaged at some point, sharply bent or broken, that will disrupt the flow of current to the charger.
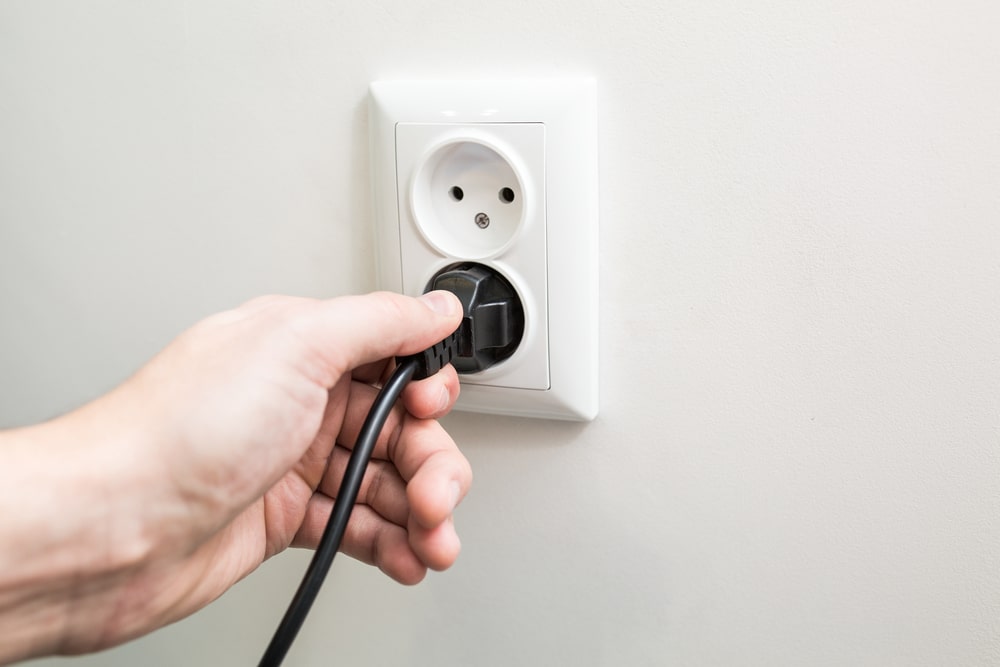
You also need to ensure that it is properly connected to the charger.
So, checking on the power cord would help you to get the issue sorted out. First, disconnect the power cord and then connect it again properly.
If that doesn’t get the problem sorted out for you, you will need to replace the power cord, and the problem will be solved for good.
- Check the Fuse
There is also the main fuse on the charger that protects the charger components from any damage in case of short-circuit, power surge, or any other similar problems.
The fuse gets blown if your charger gets any power surge, and then the flow of current to other components of your Kobalt 80V battery charger is disrupted.
That is why if you see no lights on the charger once it is connected to the power and you have installed the battery on your charger as well, you will need to inspect the fuse.
If the fuse is blown or damaged, you should replace the fuse with the same size, and that will do the trick for you.
- Check Lights
The LED bulbs on the Kobalt 80V battery charger can also go bad at times, and that will stop them from glowing.
The easy solution to take care of the problem should be checking on the bulbs to see if everything else seems to be in order, and having them replaced.
Replacing the bulbs should be enough for you to get rid of the issue that you have been facing with no lights on the Kobalt 80V battery charger.
- Connect Battery Again
If the battery is not connected properly, you will not be seeing those lights on your charger either. So, take the battery off your charger, and then connect it again properly after cleaning the terminals and locking the mechanism on your charger.
That should help you to figure out the problem that you have been facing earlier, and you will not have to deal with any such issues again.
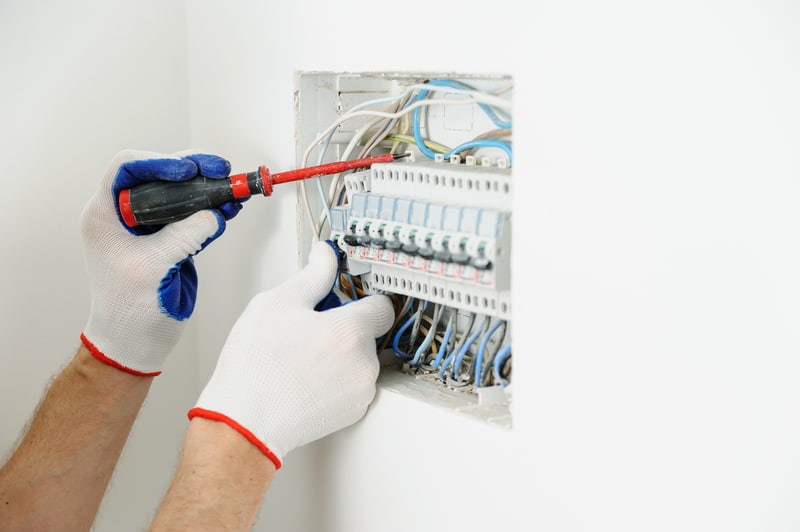
- Check Power Source
You need to also check up on the power source one more time to isolate these issues. The power cord or the plug is not always to blame here, and you need to shift your focus toward the power source to isolate these issues.
All that you’re trying to do here is figure out the errors with the outlet. Now, you might think that using a multimeter to check on the outlet will be a smart thing to do.
However, that is not always the case. You will only be putting yourself at risk while checking for power issues.
Instead, you need to hire a local expert or try a different outlet entirely to check on the power issues.
If the different outlet does work with the charger and you are able to get a response from the LED lights, then you’ll be sure that the previous outlet is damaged.
Now, you can hire an expert to help you fix the power connections. He will charge you a minimal fee, but you will be sure that your appliances, as well as the power tools, work perfectly for the coming months.
You should also schedule more maintenance cycles after every six months. That way, you will be able to avoid the same situation in the future.
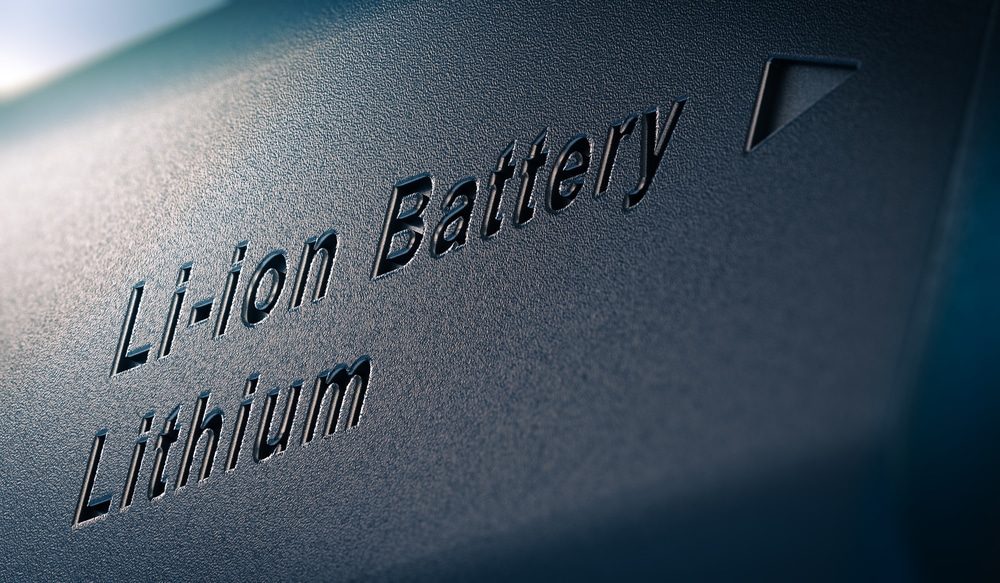
- The Battery Might Be Completely Discharged
The situation with the battery being completely discharged will lead to a ton of issues down the road. This situation is too common for owners that don’t pay any attention to the battery levels or the storage of the battery.
If you’re in the same boat and like to use the battery below the 20 percent mark, then you’ll have to jump the battery.
This means that you need to grab a pair of wires and then connect the terminals of your discharge battery with a charged unit for 20 minutes.
Leave the units connected for about 20 minutes and then check up on the system one more time. You will be able to then get a response from the charger after you connect this pack to the unit.
From this point forward, be sure to charge up the battery when it falls below the 20 percent charging level. Similarly, you need to also keep track of the storage, as leaving the battery out in the cold will only lead to more issues down the road.
For this reason, you should invest in a proper storage box that will keep the battery pack away from moisture and extreme weather conditions. Ideally, that will be it, as you’re trying to secure an optimal response from the unit.
- Check For Water Damage
Checking the unit for water damage will also help you get a better hang of the situation. We all know that the conditions around the workshop can get a bit rough at times, and some liquid might make its way to the battery charger.

Sadly, these chargers don’t withstand water damage.
If you see any discolored sections on the unit, then you’re in the same situation. You are pretty limited in the number of methods that can be used to fix this situation. So, be sure to inspect the unit through and then leave it out to dry.
A couple of hours in the sunlight will be enough to evaporate most of the liquid, and then you can check back on the performance one more time.
If you’re lucky, the situation will be fixed right here, and you will not have to bother with more errors.
- Ask Kobalt Help Center
On the other hand, if you’re still not able to isolate the issue at this stage, then you are just dealing with a defective charger. You’ve done everything from checking the power source to the battery pack and the charger hardware itself.
However, if you still can’t figure out the cause of the error, then you will need to call the experts. There is simply no gain in going through all of these methods on your own when you can get help from a complete panel of experts.

They will make your life much easier, and you will not have to bother with more errors once you get through the pointers listed by these experts. All you have to do is to explain your end in complete detail, along with the fixes you’ve tried so far.
From there, these experts will take charge of the situation, and you will not have to deal with more errors down the road.
Wrapping Up
Can’t seem to get a response from the Kobalt 80V charger? You’re likely dealing with power-related issues where there is no power going into the system. You will struggle with the power supply when the power source is to blame, or there are hardware issues.
Sadly, this situation is a bit more complicated to solve, and you will have to go through quite a few methods to get the desired response. Most of the time, all you’ll need to do is to try a new outlet and replace the cable.
However, if you find that the unit itself is damaged, then you will have to claim the warranty.
There is simply no gain in trying to make a damaged unit work. You can further improve your perspective of the situation by checking for cracked sections, frayed edges, and discolored parts.
Ideally, it won’t be that hard to get a replacement from the dealer. You will just have to provide him with proof of purchase, and he will take charge of the situation.
From there, you can test out the new unit for yourself without worrying about more errors down the road.