Ryobi doesn’t only make some of the best and most durable tools when it comes to getting the job done, but there is a lot more than you can enjoy from Ryobi and that includes all the batteries, chargers, and other parts and tools that you can possibly be needed for getting the job done for you.
Ryobi Intelliport charger is one such 18V ONE+ charger that comes with plenty of great features for you to enjoy.
So, if you’re looking for an upgrade or just want a charger that will not give out on you during demanding projects, then going with this option is not that bad an idea.
Well, you might ask yourself “are there any cheaper options?” The answer here is “yes.”
However, the cheaper options will only bring cheap performance and you can’t realize anything out of the cheaper units. So, we suggest that you stick with the Ryobi Intelliport.
Yes, you will have to take the first sting to the budget. However, in due time this cash investment will help you with a better response from the batteries. Moreover, you will be able to avoid so many delays and errors when sticking with this option.
However, if the charger stops working for some reason, you will have to ensure that you get it fixed up properly to have the things sorted out for you.
Ryobi Intelliport Charger Not Working
- Inspect The Power Cord
The first thing that you will need to check up on is the power cord. The power cord can get damaged due to many reasons, and if it is sharply bent, has some damage to the cord’s protective layer, or anything like that, it will not work.
That is why, you will have to inspect it thoroughly, and if there are any such problems, you better replace the power cable and get a new one that will be working properly with your charger.
That should allow you to make the Ryobi IntelliPort charger work again.
- Check Terminals
You also need to check those terminals on the charger as they can be bent due to pressure, or have some other issues with them so they wouldn’t connect with the battery properly.
That could be stopping your charger from working and you will not be able to charge those batteries with this charger.
So, you will have to set those terminals straight, and then you will also need to ensure that you are cleaning them up properly.
That should be allowing you to have the best possible utility on the Ryobi Intelliport charger and you can charge those batteries on it.
- Check For Compatibility Issues

You also need to ensure that your batteries are in perfect health, and they are ONE+ batteries. That way, you will be able to ensure that you are not trying to charge some incompatible battery with it.
So, you will need to check on the batteries for compatibility, and afterward, you can check on the battery health as well.
That will allow you to ensure that there are no such problems with the battery that might be causing you to face all these issues that you are facing with the charger not working.
- Limit Battery Temperature
This problem will almost always arise when owners attempt to complete lengthy jobs without taking any breaks. Try being a little more gentle with the instruments and giving them breaks often if you’re in the same situation.
Your progress won’t even be slowed down by this. Instead, you’ll have superior tool responsiveness, and the job will be accomplished much more quickly. So, if you ever find yourself in a difficult position, simply slow down.
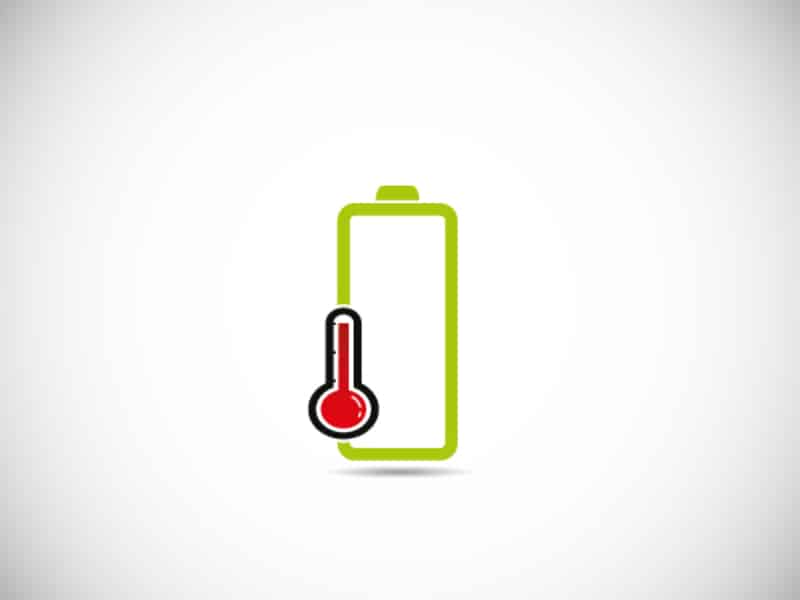
When you’re seeing these issues, all you’re attempting to do is prevent the battery from overheating. Although it won’t be easy, leaving the battery in a shady area will solve your problem.
- The Battery Might Be Deeply Discharged
The issue with the battery being deeply discharged is just as annoying. You will never be able to secure a reasonable response from the system when the battery is discharged and the best thing that you can do is to jump it up.
Luckily, you don’t need any expertise or special skills when it comes to fixing the system. Instead, you just have to connect the dead battery with a charged battery by using a pair of wires.
So, just grab a pair of wires and connect the two batteries. You can leave these batteries connected for about 20 minutes and then check up on the system one more time.
It will not take that much effort on your end, and you will have to go about addressing the situation accordingly.

From there, you can just palace the battery back into the charger and that will be enough to help you through these errors.
Hopefully, you will not have to hassle as much when it comes to fixing these errors and the charger will pick up the battery right away.
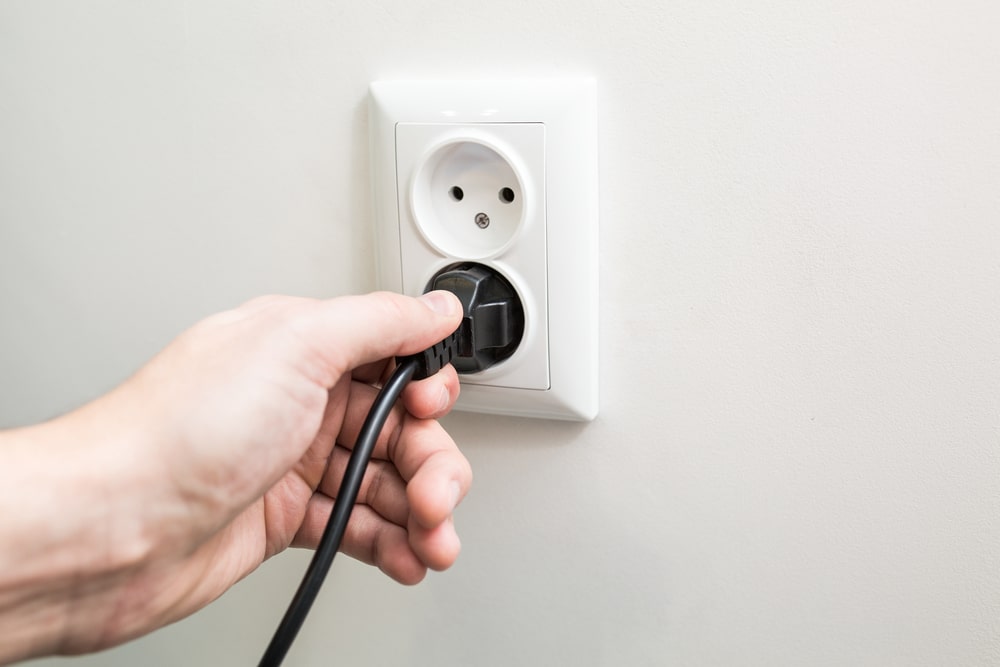
- Check The Outlet
The situation with the outlet can be just as annoying. You will not be able to get any response from the system when the outlet is damaged.
You don’t have to blame the charger for every issue and the power glowing in from the outlet can be at fault as well. So, when you’re stuck, check the outlet.
If it’s been more than a year since you last maintained the power connections or hired a specialist, you should get on it right immediately.
When attempting to reduce these problems, it is essential to get your power connections repaired once every six months.
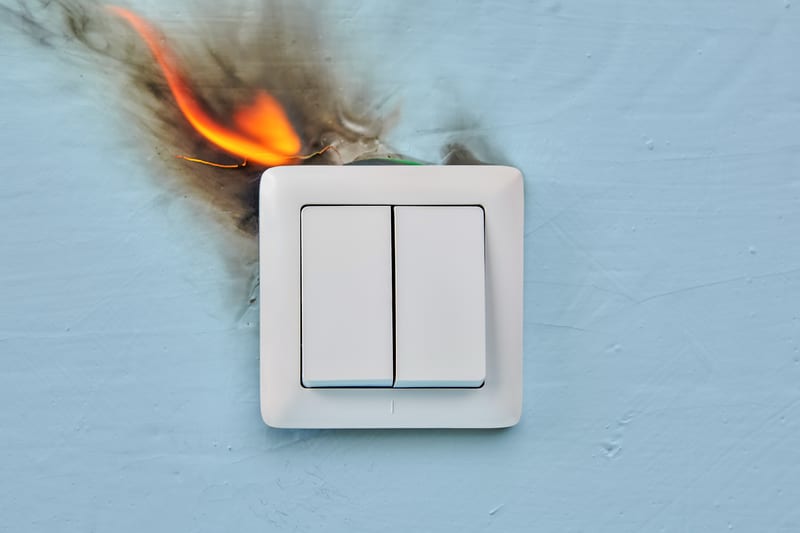
It would be preferable if you could avoid risking electrocution by not attempting to repair the electrical connection yourself. Going cheap or trying your luck here would be pointless. You would be far better to delegate control of this problem.
So, be sure to reach out, explain your end, and then demand some pointers from the experts. Hopefully, you will not have to hassle as much when it comes to getting support from the officials.
Yes, it will take some time, but you will be sorted out accordingly.
- Get Charger Checked
Lastly, if you have checked on all the different factors, then the last thing remaining is the charger.
You have to make sure that you get it diagnosed properly as well since there can be some issues on the charger that might be causing it to stop working optimally.
That is why it would be better for you to make sure that you are getting the charger checked with some Ryobi authorized tech and they will be able to figure out if there is something wrong with the charger.

Hopefully, you will not have to wait long to get the system fixed and working again.
Wrapping Up
The situation with the Ryobi Intelliport Charger Not Working is fixable! Yes, you read that right!
You have complete control of the situation as long as you’re sure that the charger itself is not damaged. So, when you’re stuck or can’t seem to figure out a solution, just test out the methods here.
We’ve included a list of some of the most useful alternatives as a service to you. Putting these techniques into practice could take some time, but once you do, you’ll have no trouble coming up with a solution.
You should know by now that the Ryobi team is always there to help you. As a result, you are not required to handle all of this hassle by yourself.
Instead of trying to figure out an issue on your own, you should contact the authorities so they can help you.
Need a solution to the charger itself, blinking red, with no battery inserted. The charger just blinks red after being plugged in to an outlet.