Ryobi chargers are not only highly durable and affordable, but they also have some of the most advanced features out there that are going to help you out just the way you like it, and after all that, you will have the perfect experience out of these.
There are different indicator lights on the Ryobi battery chargers that allow you to know the status of your battery and charging, and that is certainly highly useful for all the different applications you might be using your battery and charger with.
If you are seeing a green light flashing on your battery charger, here is what it means.
Ryobi Battery Charger Flashing Green:
Reason
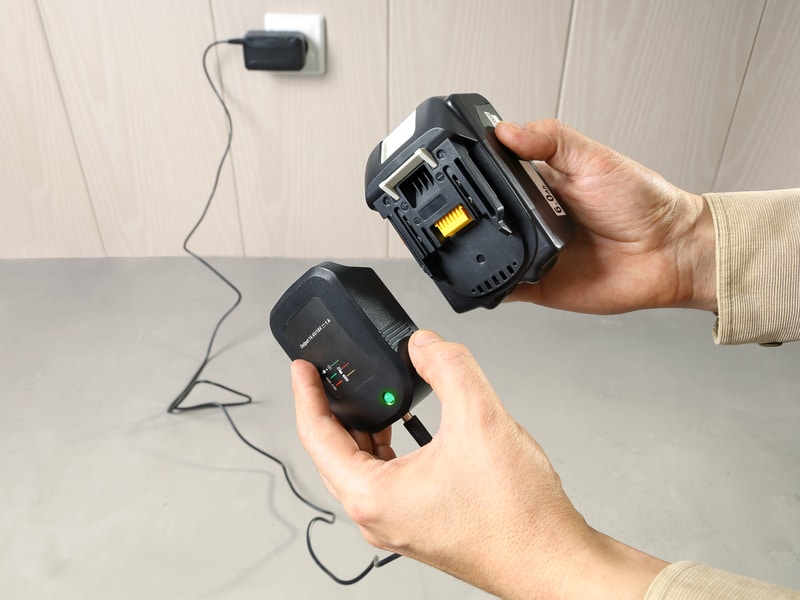
The best thing is that you don’t have to worry about anything at all since the flashing green light means you are getting the battery charged.
The flashing green light is the indication that your battery charging Is in process perfectly and there is nothing that you have to be worried about. However, it can also mean that the battery is too cold or it is overheating.
- Solid Green Light
Now, once the battery has been charged completely, the green light that has been flashing earlier is going to turn solid green, and that is an indication that there is nothing that you have to worry about and the battery is now changed completely.
That is certainly a sight of delight, and you can use the battery once it turns solid green.
- Taking too Long
If the green light on the charger is flashing for too long, that might be getting you a little worried, and you might think that something is off.
Yet, it only means that the battery might be discharged more than it should have been, and you just have to wait a bit more to be able to use the battery. It can take a bit of time for you to be having the battery charged if it is discharged below a certain level.
It doesn’t take more than a few hours to fully charge the battery, and you can easily wait it out to ensure the perfect charge on your battery without having to worry about a single thing.

However, if you are facing some issues with the green light flashing for too long, you will certainly need to ensure that you are getting the battery and charger checked.
- Get it Checked
If there is something unusual, like the battery not getting charged at all or taking over 7-8 hours. You will need to contact the Ryobi support department.
Their certified technicians will be able to diagnose if there is something wrong either on the battery or your charger, and not only that, but they will also be able to get it perfectly fixed for you to ensure that you can make it work out perfectly as you want
By offering you the perfect repair or replacement options on the charger, and that should be enough to get you out of any tight corners that you might be stuck on. With that, you can certainly ensure to have the perfect experience for all the needs you might have.
- Check Battery Temperature
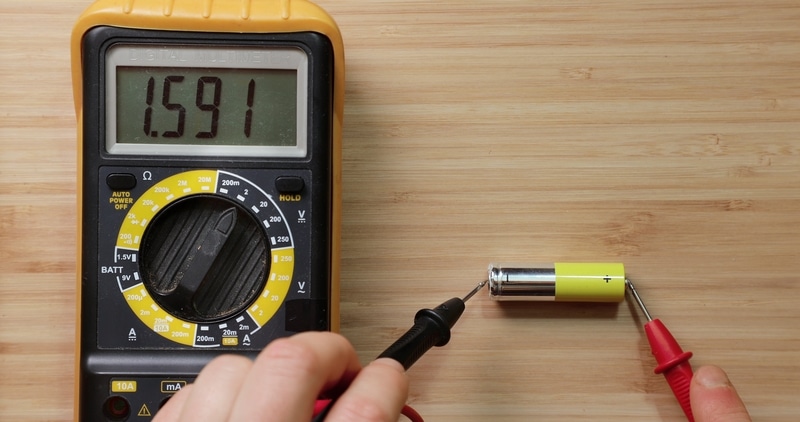
The battery temperature might also be to blame here. If you’re sure that the charger is in good shape, there might be something wrong with the battery. So, the first thing that you need to check is the temperature of the unit.
If you expect optimal performance from the battery packs, make sure to provide them with adequate temperature. The blinking green light will show that the battery is too hot or too cold. So, you need to adjust the temperature accordingly.
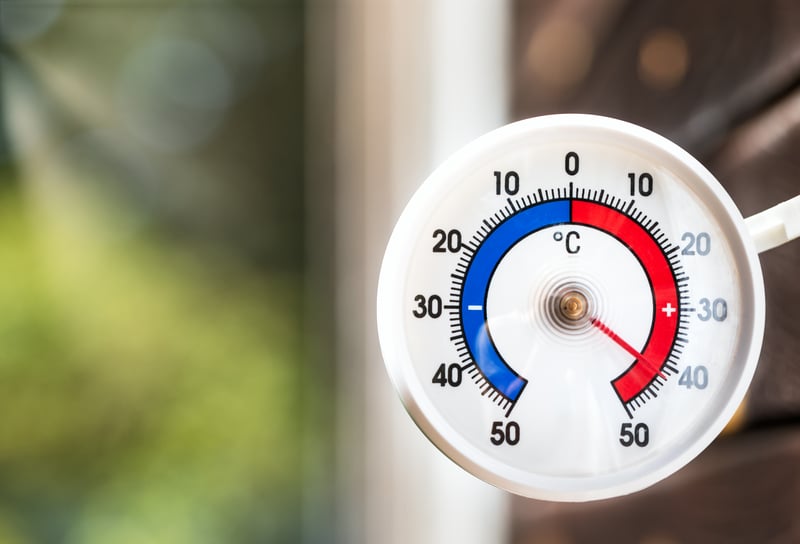
There is no point in keeping the battery in extreme temperatures, as that will only harm the unit. So, if you’re in the same boat as the battery, now might be a good time to get a new one. Some users said that adjusting the temperature fixed everything.
Hoover, if you’re not too sure about the rough condition of the battery, you will have to purchase a new one. It all comes down to the condition of the battery, and you can’t expect the unit to perform when the battery is in poor shape. So, keep track of the temperature.
- Make Sure The Battery Is Properly Inserted
If the battery does not feel cold or hot to the touch, then the problem might be with the placement of the unit.
You need to make sure that the terminals are engaged properly when it comes to the battery. So, if you’re not getting any response, just check the adjustment.
Once the terminals or the contact points are properly aligned, you won’t have to worry about a thing.
The issue is more with how you install the battery and not with the battery. So, go through the owner’s manual one more time to isolate the issue.
Most of the time, that will be it when you’re dealing with minor bugs. However, if the battery is leaking or the unit is damaged, no quick fix will help you through these errors.
- There Might Be Something Wrong With The Terminals
If you’ve yet to secure a response from the terminals, your best bet is to check for corroded sections. The situation around the workshop can get a bit problematic from time to time.
The best thing you can do is to clean up the extra gunk and readjust the system.
Usually, the cleaners from the market are enough to help you through these errors. However, if you’ve been unable to find a good cleaner, just make one yourself with a dash of diluted vinegar.

It all comes down to the condition of the connection points, and you need to keep them clean.
Once the gunk or the debris is removed, just readjust the terminals, and your battery will pick up the charge. Ideally, the issue will be fixed right here, and you won’t have to deal with any more errors.
- Check For Hardware Issues
At this point, you need to check the charger for damage. You can’t make use of a defective charger, and there are no quick troubleshooting methods here. So, thoroughly check the device for cracks and frayed sections.
If you do find cracks and the terminals are in rough condition, your best bet is to get a replacement. You won’t be able to secure any response from the unit, and it is best to save your time.
In most situations, the warranty is valid for more than one year. So, if the purchase was recent, it shouldn’t be that difficult to get a battery. From there, you can readjust the performance of the unit.
- No Harm In Servicing The Charger
Lastly, if you can’t find any hardware damage, then you need to just service the charger. You won’t believe how far a bit of maintenance will take you with this issue. So, go through the basic servicing routine, and that will be it.
You can further on the owner’s manual to keep track of the maintenance requirements. From there, it is just about keeping track of the maintenance cycles, and you will notice a much better response from the charging unit.
Wrapping Up
These are a few pointers that will help you through these issues with the charger. So, if the Ryobi battery charger is flashing green, just keep these solutions in mind. Almost ninety percent of the time, the issue is with the battery being too hot.
If you keep running into these issues, then you will know for sure that the battery unit is defective. You need to slow down on the usage of this battery and then switch to a different option.
From there, it would be much easier to isolate and fix the battery-related issues.
On the other hand, if you can see cracks on your charger, the only solution is to get a new unit.
There aren’t any quick fixes or work arounds that can help you with a defective device. So, keep that in mind and inform the dealer about these issues while claiming the warranty.
Bought a royobi battery drill charger for my black and decker drill which had not been charged for 2 months. The charger flashed for around 20 hours before the led showed red . It took about 12 hours until green showed.