Ryobi is undoubtedly one of the best manufacturers that you can choose for all the different tools, and they are certainly pretty great with the manufacturing.
You will find every type of tool and accessory on this brand, and you’re sure to get the value you pay for here.
It might be a bit more expensive than some of the less popular brands on the market, but at least you will get the advertised benefits from the unit.
These systems are easy to maintain and will only require a few moments out of your weekly routine to get through the basic maintenance.
Fix Ryobi Drill Stopped Working
Ryobi is not only the best when it comes to durability, efficiency, and performance, but you will also be enjoying the perfection of utility on these tools when it comes to choosing since there are tons of different tools that you can enjoy with Ryobi.
They are also making certain drills that one can use for drilling holes into a number of materials. These are mostly cordless drills, and if it stops working, here are a few things that you need to check on.
- Charge the batteries
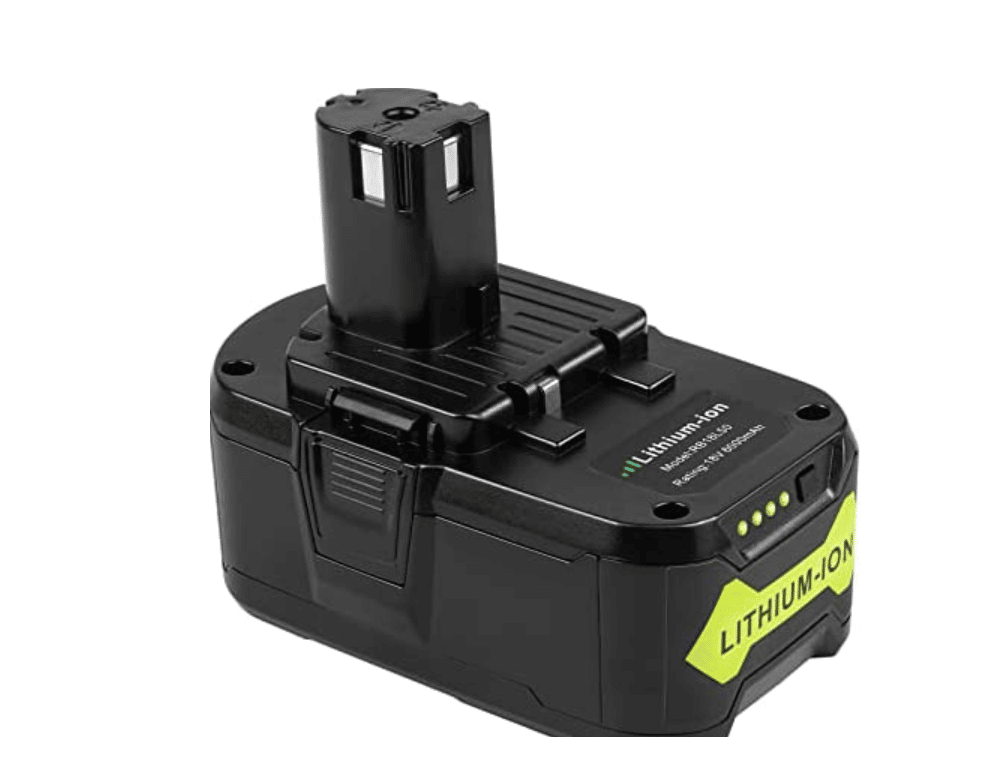
The most common and simplest reason for the Ryobi drill to stop working on you while you are using it for any of the reasons has to do with the batteries. The batteries can run out of chargers, and that will cause you to have the drill stop working.
It is pretty easy to be dealt with, and you will only need to charge the batteries to get this over with. Once you have ample charging on the batteries, you will be able to make it work, and the drill will be working out pretty great for you.
- Replace the batteries
Battery health is bound to deteriorate over time, and that could be causing you to have these issues with your Ryobi Drill stopping to work out of nowhere.
That is why you will have to ensure that you are checking on the battery’s health too.
If the battery health on the drill is down, you will need to get these batteries replaced in order to solve the issue. The newer batteries will have proper health on them to power the drill, and you can get the drill running again.
- Clean the Chuck
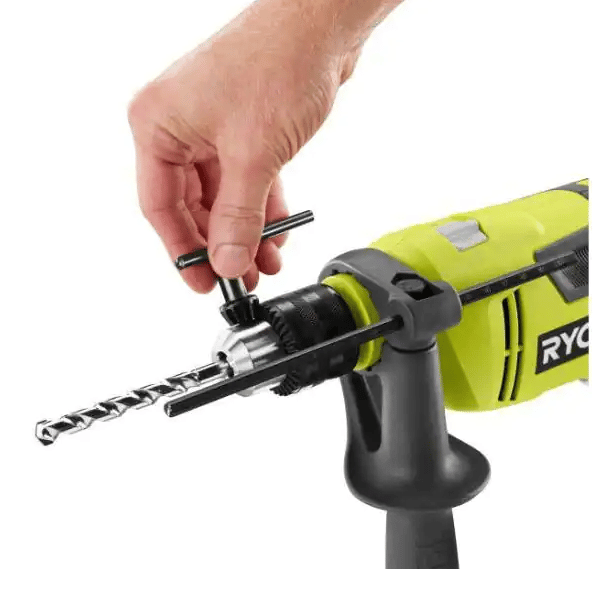
The chuck has to deal with a lot of dust, and at times, that dust is being caused as you are getting the concrete or some bricks drilled.
That dust, combined with the moisture, will also cause you to have gunk build up, and at a certain point, it can stop your chuck from working at all.
For all such problems, you will need to clean the chuck properly and make sure there is no dust or gunk on it to be causing you these problems.
Once you get the chuck cleaned up, you will be able to move it freely, and that will allow you to enjoy the perfect utility of the drill.
- Check The Trigger
Checking the trigger should be the next thing on your list as you try to figure out the issue. It will take a few moments to check the trigger as you try to engage it again and again.
If the engagement is pretty fluid and you don’t notice any resistance, then there is something wrong with the trigger.
You will have to reach out to an official about a replacement. There are no quick methods that can help you here.
However, some users did say that they cleaned up the trigger to adjust the response. So, you can give that a shot as you try to clean the sides of the trigger.
Sometimes, reinstalling the trigger and checking the wiring connections will also do you well. However, you will need a bit of expert knowledge here, as replacing the trigger is not the easiest job on the market.

So, be sure to either seek help from an expert or go through the manual. From there, you can test out the trigger one more time, and it should respond better to your input.
However, if you’re not that lucky and the issue persists, then you need to get a replacement. There is no other way around it, as you’ve exhausted your options.
- It Might Be Heating Up
If the Ryobi drill stopped working during normal operations, then it might just be heating up. While Ryobi systems can help you get through some of the more demanding projects, they still need a few breaks to cool down.
There is no single tool on the market that can withstand rough usage for hours on end. So, if you’re in the same boat, it might be time to let the drill cool down. There might also be issues with the unit’s maintenance that will play a role here.
The drill will heat up much faster when you’re not paying any mind to its maintenance. If you’re in the same boat with the drill, all you have to do is to let it cool down a bit. Then, you can test out the performance of the drill one more time.
If it does work and you’re sure that the temperature is to blame here, then you can go forward with the cleaning cycle.
Make sure to remove all of the gunk from the sides as well as the main section. That will be more than enough to help you get through the majority of issues with the drill.
- Check For Hardware Damage
At this point, there is a good chance that you’re only dealing with hardware issues with the drill. It can be a bit hard to manage these issues at times, and you should avoid fixing the drill yourself.
Everyone knows that the situation around the workshop can get a bit rough at times.

So, if your drill is not in the best shape, you need to engage the dealer about the warranty claim. Inquire about the policy on your specific model, and he will guide you through the details.
From there, you can choose to forward a claim, and he will start verifying your purchase on his end. Providing the dealer with a receipt will speed up the process, and you will have the new unit within the same week.
- Ask An Expert

Lastly, there could be some electronic issues on the drill, such as some wires having short circuits on them, or there could be some blown a fuse in the drill.
That is why you will have to make sure that you are getting it all checked with the Ryobi authorized service center, and that would be the best thing for you to make the drill work again in the right manner.
Wrapping Up
Everyone can run into issues with the power tools from time to time, and the Ryobi system is no exception.
This is especially true for owners that are not really sure about the basic maintenance requirements and the care routine for the tools. So, if you’re in the same boat, try some of the solutions offered above.
Most of the time, you will find that the issue with the Ryobi drill not working will be linked to the power connections.
You can’t expect the drill to work when the connection points are corroded and there is no power going into the system. So, if you’re in the same boat, try to isolate the issue to the power points.
From there, you can either replace the battery or clean the contact points yourself. It will barely take you a few moments, and you will notice a better response from the system in no time.

It all comes down to the hardware status, and you will have to go through some of these methods to figure out the issue first.
However, if you’re not on the lucky end, and the drill seems to be in poor condition, you should leave this job to the experts.
Just take the drill to your local repair center, and an expert will take charge of the situation. From there, you will just have to wait for the drill to get fixed.