
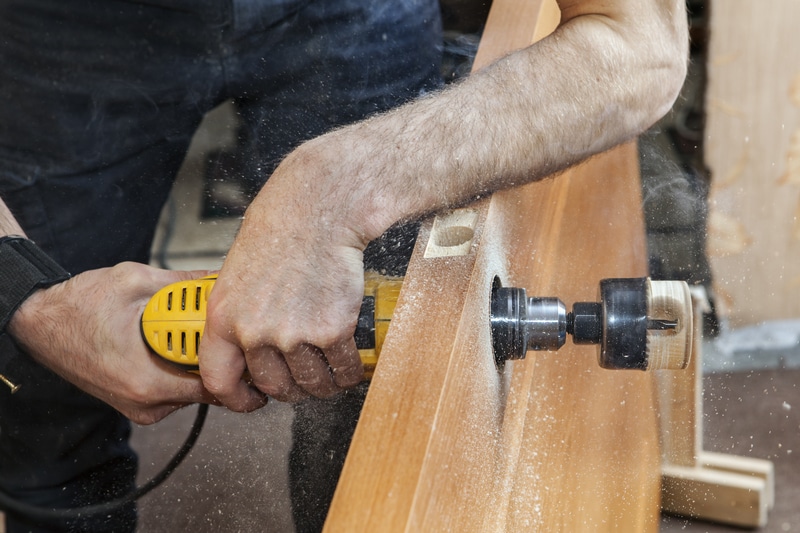
Drills are pretty easy to use, and all you will need to do is make sure that you are pointing it at the right object, have the appropriate drill bit on, and just press the button to make some holes in any material that you might need to.
We all know that each product brings a set of unique requirements, and you will need to rely on a variety of tools to get through the project.
This is true for the drills as well, and you can choose between hammer drills or the traditional options depending on the type of material you will be using.
However, if you’re not that sure about which system to pick for your project, then asking the experts will help you find the right fit. There is no shame in seeking help from a professional, and he will save you from a bad purchase over the long run.
Similarly, there are some key factors that you will need to be careful about if you are trying to make it work in the right manner, and you don’t want to be messing up on something.
Essentially, you should know how to install the drill bits and replace them and how you can remove the chuck from your drill.
How To Remove Chuck From DeWalt Drill?
What is Chuck?
Chuck is the thick part at the end of the drill that is round, and you install the drill bits in its jaws. Chuck is installed on the drills to ensure that the drill bits hold onto the drill properly and don’t fall off.
Moreover, the chuck might close at times, and it won’t open. If you are facing a problem with the DeWalt drills, there can be several reasons behind it, and here is how you can get it fixed.
- Rotate it Right
At times you might not be rotating the chuck right, and that can cause you to have a problem. You will need to make sure that you hold on to the thicker part tightly and then rotate the chuck counterclockwise.
That should be easy enough, and once you apply the right force towards rotating your chuck, that should do the trick for you your chuck on the DeWalt drill will open as you want to, and you can change the drill bit or just install a new one on the chuck without worrying further about it.
- Keyless Chuck
At times you might be getting a keyless chuck that is pretty common these days on compact cordless drills from DeWalt, and that is something that you will need to check.
If your drill has a keyless chuck and it refuses to open, that means the chuck has gone bad, and there is no option but to have it replaced.
That should be easy enough for you since DeWalt makes all their parts, and you just need to make sure that you are sourcing the Chuck from an official DeWalt retailer to get the right efficiency and durability on the product as well as the right safety and peace of mind.
- Torqued Chuck
If you’re stuck with a torqued chuck, then the situation can be a bit hard to manage at times. This is especially true if you’re not that experienced. However, there is no need to get alarmed.
If the condition of the chuck is not rough, you will be able to remove the chuck pretty easily.
All that you need to do is to tighten up the chuck properly around a hex key. Be sure to stick with a larger size here, and going above the 6.4mm range is the only reasonable option for you.
From there, you can tighten up the cuck properly around the hex key and then get a hammer to help you remove the chuck.
You can firmly tap the key in the counterclockwise direction to rid the drill of the chuck.
However, if you use a hard hammer, it will break the key before you’re able to access the cuck. For this reason, you need to rely on options like a mallet to help you apply the right pressure.
This will help you create enough force to remove the torqued chuck without damaging the key or the chuck. From there, you can go about the basic maintenance routine to clean up the chuck.
The presence of sludge on the chuck will also lead you to the same situation. If you’ve not cleaned the drill in a while, then follow through with the steps mentioned below.
- Check For Sludge
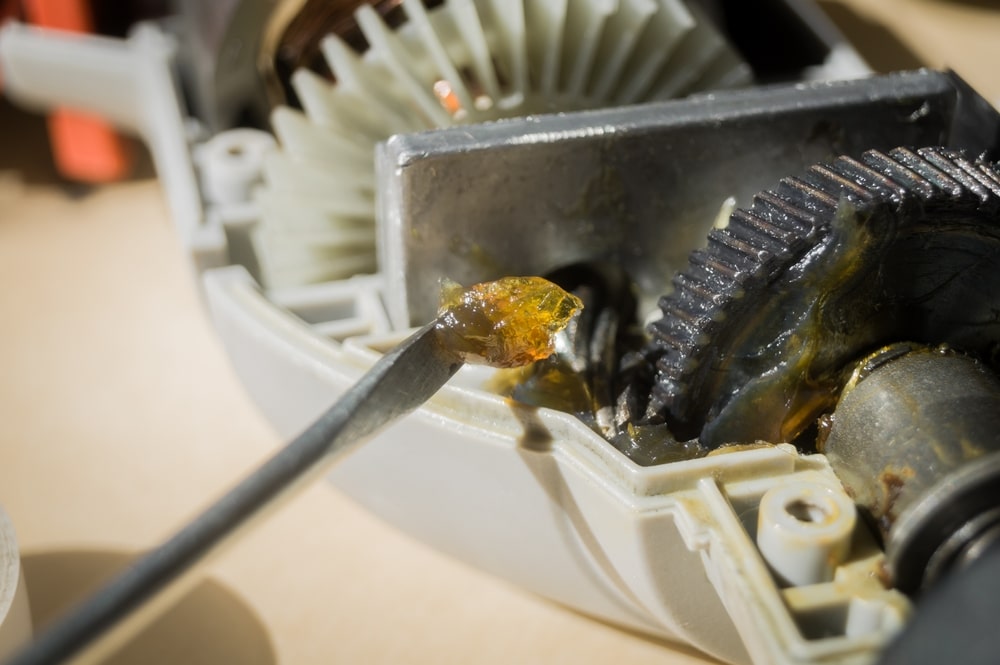
The regular use of dust on different materials such as wood and metal combined with dust and water or humidity from the air can cause sludge to be created on your drill, and you need to fix that.
The best way to get around that problem is to ensure that you are checking on the sludge, and if you find some sludge or rust on your drill chuck, you will need to spray it with WD-40 or any other anti-rust lubricant and let it sit for 15-30 minutes.
After that, you can simply clean the chuck with a cloth, and it should open right up.
- Damaged Chuck
Sometimes, users just ignore the proper maintenance and storage requirements of their units.
This is too common for first-time owners as they are not aware of the maintenance cycles. This can lead to a ton of issues with the chuck getting damaged during basic projects.
If you’re in the same citation and find that the chuck is damaged or deformed, then freeing it from the drill can be pretty hard at times. All that you need to focus on here is to keep the drill in optimal condition and avoid damaging the hardware.
The best thing you can do here is to rely on WD 40 and keep the chuck fully covered with this lubricant. From there, you have to wait for the chuck to loosen up as you rely on a hex key and a mallet to slightly free up the chuck.
Most of the time, a few taps will be all that you need to get the chuck free. However, leaving the lubricant to get into all the cracks will help you get a better response. Ideally, you should be able to get the chuck free at this stage, even if it is damaged.
Otherwise, you will have to force it out by leveraging the chuck with a more robust key and hammering it out firmly to get the system free.
Just focus more on keeping the chuck clean from this point onwards, and you will not have to deal with the same errors in the future.
- Refer To the Local Service Center
At this point, you should just reach out to the local DeWalt-certified service center. This brand is one of the most prominent names on the market and will serve you with the ideal performance and maintenance support all around the nation.

Even if you live in an isolated region, a few minutes of drive will be all that you need to get to a local certified repair center.
From there, you can ask these experts to help you sort out the situation. They will have all the right tools and accessories to get the damaged chuck free from the drill.
There is a good chance that you will end up damaging the drill if you try to force the check out on your own.
Spending a few minutes driving to a certified repair center will save you a ton of money, and you will be able to get some pointers on how to keep your unit maintained.
So, don’t hesitate to make the trip, as it will serve you far better than spending hours of your time trying to get through the chuck yourself. Hopefully, all errors will be fixed at this point as you’re dealing with the hardware.
Wrapping Up
Removing chuck from the DeWalt drill doesn’t require any expert skills or knowledge. It is pretty easy to maintain this system as long as you’re keeping track of the basic hardware status and storage of the drill.
Otherwise, you’re bound to run into situations where the drill bit will remain stuck in the system.
There are no other methods around it, and you will have to pay a bit of attention to cleaning and adjusting the hardware here.
However, if you’re already running into issues with a stuck chuck, then fixing it will be a bit difficult without lubricants like WD 40.
All you have to do is to keep the chuck covered with this lubricant and then use a hex key along with a mallet to get the chuck free.
Most of the time, you will be able to free the chuck without damaging the unit. So, if you’re in the same situation, be sure to get some lubricant.
However, if you can’t seem to get the chuck free on your own, then your best bet is to hire an expert for help.
There are no quick methods that can help you free the chuck. So, you will need to leave this job to the professional, and they will guide you accordingly.