Milwaukee is a renowned brand that is popular for providing plenty of power tools to its customers. They offer high-quality products that give a lasting experience to the user. On top of that, their products are readily available in most regions.
How to Fix Milwaukee M18 Vacuum Not Turning On?
Many users have been reportedly facing issues with their Milwaukee M18. According to them, their Milwaukee M18 is not even turning on, due to which the device is practically useless.
In case you have also been experiencing a similar issue and have no idea what to do now, then you have come to the right place!
In this article, we will be giving you a complete guide on how you can easily troubleshoot the Milwaukee M18 vacuum not turning on. So, here is everything that you need to know:
- Switch Might Be Defective
The reason why your vacuum is not turning on could have something to do with the switch being defective.
First, you will have to confirm whether that really is the case or not. Luckily, if you have access to a multimeter, then you can easily check the switch on the device.
All you have to do is to use the multimeter and test the switch for continuity. In case the multimeter fails to detect any continuity on the switch, then that means that your switch is defective, and you will have to replace the switch.
- Check the Motor
The second thing that we recommend you check is the motor on the vacuum. Make sure that you have performed step one before you move on to checking the motor.
Start by making sure that there isn’t any type of obstruction inside the blower wheel.
Also, you can use a multimeter in order to check whether the motor is getting the required power in order to operate. If there is no obstruction and the motor is getting power, then you might have to replace the motor.
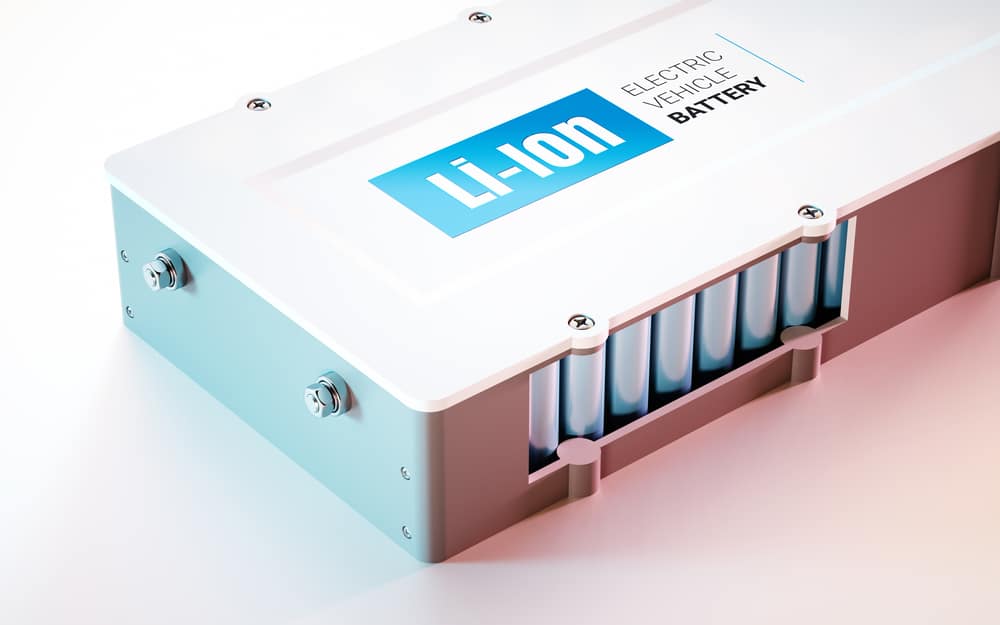
- Recharge Battery For A Few More Hours
![]()
If the issue with your unit is not turning on at this stage, you need to recharge the battery for a few more hours. Over time, the battery uptime can drop substantially. So, leaving the unit on the charger for more hours will do the trick.
Depending upon the battery that you’re using, it can take over 2 hours to charge the system. Even if you’re using a fast charger, it will take around 70 to 80 minutes.
However, if you have an old battery, it is a better idea to leave the unit to charge for one more hour. Usually, the problem will be fixed right here when you’re using the Milwaukee M18 vacuum.
- Check For Compatibility Issues
This issue with the Milwaukee M18 unit not turning on usually presents itself after owners install a new battery.
There is a good chance that you’re using a battery pack that is not compatible. So, make sure to narrow down compatibility issues with the Milwaukee M18.
Instead of only looking at the power requirement, make sure to stick with the battery packs recommended by the dealer. Otherwise, you will be struggling to get any performance from your vacuum.
Furthermore, it is a good idea to check the installation of the battery. Make sure that there is no gunk or debris stuck in the compartment.
A bit of servicing has never hurt anybody, and you should clean out the unit thoroughly. Hopefully, that will be it when it comes to battery issues.
- Inspect Unit For Water Damage

While Milwaukee M18 brings a durable frame to the owners, you will still need to keep it away from any and all liquids. So, you need to check the unit thoroughly for water damage.
If the unit is indeed damaged, you can’t do much about the situation. Your best bet is to leave the unit out to dry.
Don’t touch the unit, and keep the battery out for around 6 hours. From there, try to turn on the unit one more time as you install the battery.
However, if there is no response from the unit, just call the dealer. You will have to forward a warranty claim here. There is no point in trying to work with a water-damaged unit, and you’ll need a replacement.
Other than that, you can also try a new battery pack for your unit. So, if your unit is indeed defective and the warranty is expired, just get a new battery. If you’re lucky, the unit will be fixed right here.
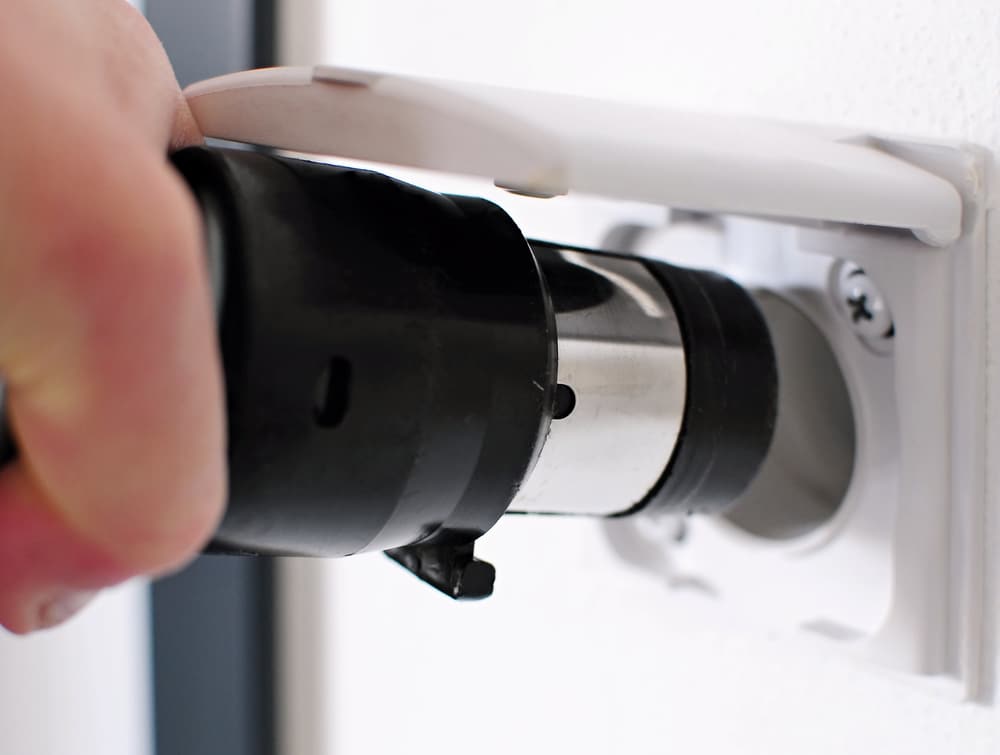
- Check For Adapter Issues
The issue with your unit might also be fixed by changing the adapter. Either the cable will be damaged, or you’re using a faulty power source. Here, you can either call an electrician to help you isolate the power connections or get a new adapter.
The adapter replacement is usually not that expensive. So, if you’re not that opposed to the idea of spending a few bucks, buy a new adapter. However, you need to make sure that there is visible damage to your existing unit before making the purchase.
- Try Installing New Filters

The filters might also be to blame here. If there is power in the unit and you’re sure that the battery is in good shape, just check the filters. Your main focus here is to narrow down the issue with the airflow.
In most situations, it is a good idea to clean out or replace the filters after the first six weeks. However, that can vary depending on your usage. So, if you’re using the vacuum over time and it won’t turn on, just get new filters.
In the meanwhile, you can always rinse out the current filters. This will have a positive impact on the performance of your device. However, you will still have to put some time into adjusting the airflow.
- Make Sure That Tank Latches Are In Good Shape
The tank latches can get damaged after extended use. You need to be especially careful with these sections to keep your vacuum working. So, if you have not been able to narrow down the issue, just check the tank latches.
You have to make sure that the tank is in its proper place and latched down. Any wiggle room here will indicate that your device is in poor shape. So, act accordingly to fix the Milwaukee M18 system.
- Check Inlet For Blockages
The inlet might also be blocked here. The unit might be powered up in this situation, but the suction power will be low. This points towards ignored maintenance, and you need to service this Milwaukee system.
It can take a few moments to check for blockages. So, thoroughly inspect the unit and make sure that nothing is obstructing the airflow. From there, recheck the placement of the filter and the tank.
Ideally, the issue will be fixed as soon as you fix the blockages and streamline the airflow. So, make sure to test out each component and then follow a quick maintenance routine.
- Getting Professional Help
At this point, there really isn’t anything else that you can do all by yourself. Instead, what we recommend is that you start seeking professional help.

You can either get the vacuum checked in a repair shop, call in a professional, or try contacting the support team for further guidance on the matter.
Following any of the above should help you get a better chance of being able to resolve the issue. There is no point in wasting more time trying to isolate the issue. So, if you don’t have the time to go through more hassle, then just contact your local expert.
The Bottom Line:
Is the Milwaukee M18 vacuum not turning on? While the switch might be one of the prime reasons behind the vacuum not being able to turn on, there are still a few other things that are worth checking as well.
In order to learn more about them, refer to the article above. For hardware issues, the best thing is to call an expert, claim the warranty, or go to a repair shop.
Similarly, you can change the battery to fix hardware-related issues or adjust the placement of the pack.
However, if you’re sure that there is no hardware damage or battery damage, just check the airflow. You won’t be able to get any response from the device when you keep missing the maintenance cycles.
Hopefully, going through all of these fixes will help you through the situation. You can further contact the customer support experts to ask for their help. They will make the troubleshooting job much easier for you.