Milwaukee M18 battery is a compact battery pack that allows you to enjoy the best of both worlds since not only is it small in size, but it is highly efficient among some other batteries that you can get, and you will certainly be getting the best possible experience with this one.
However, if you are unable to charge it at some time, that can be inconvenient, and you would definitely want to have the problem fixed. A few such things that you can try out to get the problem solved and not face it over and over again while you are trying to use the battery would be:
Milwaukee M18 Battery Not Charging:
- Connect the Charger Properly
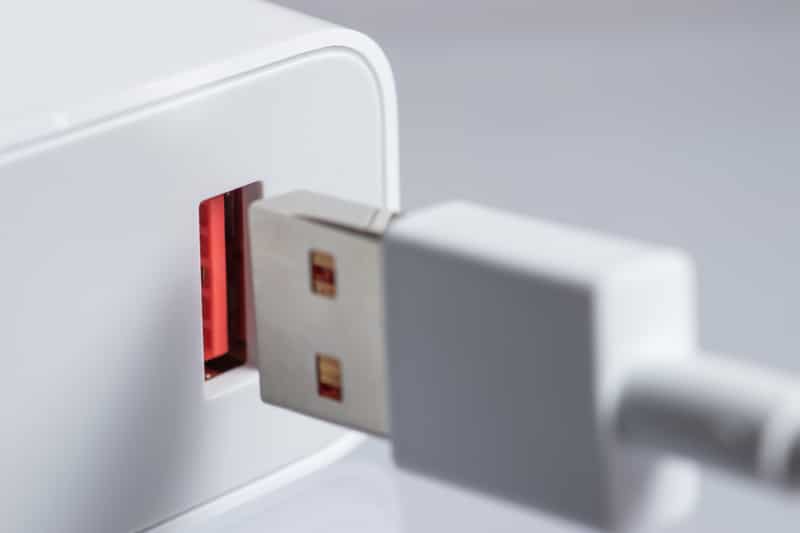
The m18 battery from Milwaukee doesn’t get a traditional charger, but you have to connect it with wires to the battery. Now, if the connectors are not connected properly on either end, you will not be able to charge the battery.
That is definitely something that you must consider while trying to charge the battery and if you are having such problems with the battery that it might not be charging.
The optimal way to go through it is to disconnect all the connectors and then connect them again properly on all four terminals. That should solve the problem most of the time, and you will be able to get the issue fixed for good.
- Jump Start
Like all the other batteries out there, m18 would not be able to charge if you have not used the battery for quite some time and the voltage level is dropped below a certain point.
So, what you will need to do here is make sure that you are connecting the battery to a bigger charger or jump-start it if you are confident in how to do that.
However, if you are not so sure about jump-starting a battery, it could be potentially dangerous and not recommended to be done on your own.
The best way would be to take the battery to an authorized service center in case you have not charged the battery for quite some time, and they will be able to safely jump-start the battery for you, so you don’t have to face any more problems with it, and you get to enjoy the perfect experience on your battery.
- Replace the Battery
Batteries are wearable components, and lithium-ion batteries tend to lose their lifespan over time. They can work for several years, but that is all, and after that, they should be replaced.
So, if you feel like the battery has outlived its days and now it refuses to charge, you will definitely need to consider recycling the battery properly and then get a new one for the applications that you have on your mind.
That should be the best way since getting the batteries repaired, or something like that, is not only not worth the trouble but could be potentially dangerous as well at times since these batteries can explode if not in the right condition.
- Check For Hardware Issues With The Charger

At this stage, you should also check for hardware issues with the charger. The cord might be damaged, or there might be some cracks on the unit, restricting the power flow to the battery. So, instead of blaming the battery, you need to directly check the charging device.
It will take a while, and you can recheck the condition of the power cable. If there are any kinks or grayed sections, it is probably safer to get the cable replaced. It won’t cost you anything, and your local experts can help you with a replacement.
On the other hand, if you can’t seem to narrow down the issues and the unit is in pretty rough condition, claim the warranty immediately. There is no point in investing more of your time with this device. If it has not been 12 months since the purchase, you can grab a fresh unit within the same week.
All you have to do is to provide proof of purchase to the dealer, and he will help you secure a fresh piece. Hopefully, that will be it when it comes to hardware-related errors.
- Use A Multimeter
After checking the condition of the charger, you need to check the condition of the outlet next. A multimeter of a voltmeter is more than enough to help you get an accurate reading of the voltage output. So, all you have to do is to judge the response from the outlet.
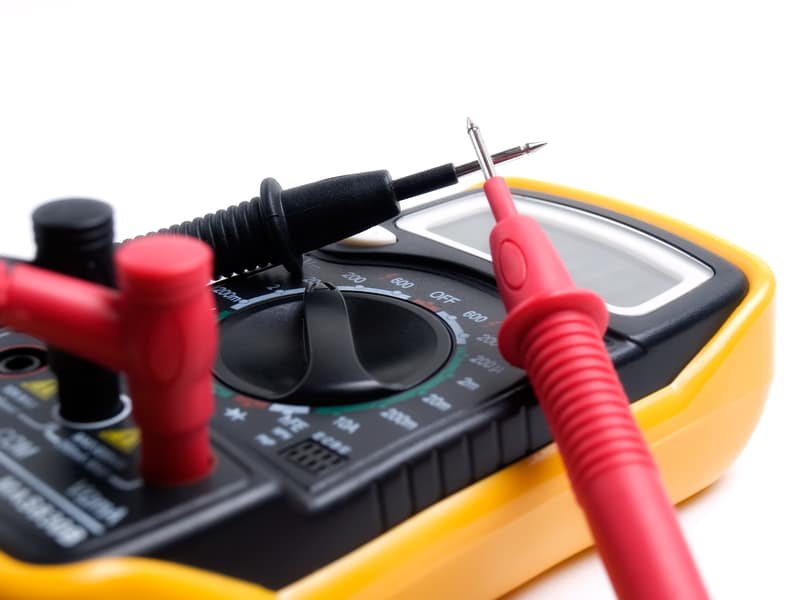
If you’re not that experienced with these meters, just hire a local contractor or an electrician. You might just be putting yourself at risk, and it is always a better idea to get help from an expert. There is no point in electrocuting yourself while checking the voltage output from the device.
All you have to do is to call an electrician and have your electrical connections checked. Ideally, you should be hiring these experts twice every year. That will extend the life of your appliances and save your house from fire hazards.
So, if the voltage from the outlet is not enough or the outlet is in rough shape, just seek help from an expert. He will help you through these errors, and you can try a different outlet in the meanwhile.
- Remove Foreign Objects
At this stage, the problem might just be related to the presence of foreign objects around the charger terminals. If you’ve yet to clean or service the charger, just make sure there is no gunk around the terminals. These particles will only interfere with the power flow, and the battery won’t charge at all.

Removing foreign objects is fairly simple, and you can rely on pressured air from a blower to address these errors. However, if you don’t have a blower, just grab a fresh microfiber cloth and get to cleaning.
A bit of your time will add years to the lifespan of the charger and the battery. So, keep that in mind and keep checking the connection points to isolate these errors.
- Dry Out The System
The charger does not hold well to water damage. We all know that some projects can get messy at times. Even when you’re keeping your unit away from the action, water or any other solution can get into the system.
This residue is never good for the unit, and you need to find a dry spot in direct sunlight for the charger. Make sure to leave the charger to dry for a few hours. Don’t try to rub in the residue while it is still wet, and let it evaporate.
Once everything is dried out, you can scrub away the residue and then use an air blower to further remove the debris lodged inside the unit. You won’t have to worry about a thing after drying out the system completely.
- Realign Battery Connectors One More Time
At this point, there is no harm in trying to adjust the battery connectors. You might just be dealing with a placement problem, or the battery might not be compatible with the charger. So, you can realign all connectors and check for their proper engagement.
If the battery is compatible with the charger, you won’t have to worry about much. However, if that is not the case and the battery is not compatible, then you need to get a new charger.
- Call Milwaukee Support
If the issue is not fixed right here, just call it a day and seek help from official support. Milwaukee customer care is the best on the market. These experts will help you through minor errors even when you’re not sitting on a valid warranty.

All you have to do is to reach out to the official support through their phone number or email and then provide details on your situation. They will ask you for further details, and you can test out the system one more time. Ideally, that will be it when you’re dealing with charging errors.
However, if you’re not sold on this unit, there is no harm in trying out options like DeWalt 20V!
Charger for 18v battery for a Milwaukee blower is flashing red and green. Does that mean battery is already charged ? Battery is new
No it means it’s probably dead
Jump it: https://www.youtube.com/watch?v=ffp8Dihn10o
our battery quit charging for our Milwaukee leaf blower so I ordered new ones on ebay and they don’t work either, someone told me that new batteries may need jumped at first or something, is there something I need to do to a new battery to make it work or is there still a problem somewhere?