Snap-on toolbox is one of the best solutions for storing all those tools or other equipment that you might need in the garage.
It comes with multiple drawers, so it is easy for you to use the Snap-On toolbox to organize all the different tools separately.
While it might not seem like the most crucial piece for your workshop, it will still help you keep your tools in perfect shape.
You won’t believe the number of people that complain about their tools malfunctioning because of improper storage.
So, if you’re in the same boat and have ignored the storage side of things for a while, it might be a good idea to invest in a toolbox. It is not that hard to find a decent unit on a strict budget. You’ll surely thank yourself for this purchase within a few weeks.
How to Remove Snap-on Toolbox Drawer Slides?
These drawers are also pretty sturdy, and that is why you can put heavy tools in them without having to worry about a thing.
However, if you are looking to take the drawer slides off, you will need to be a bit more careful about it.
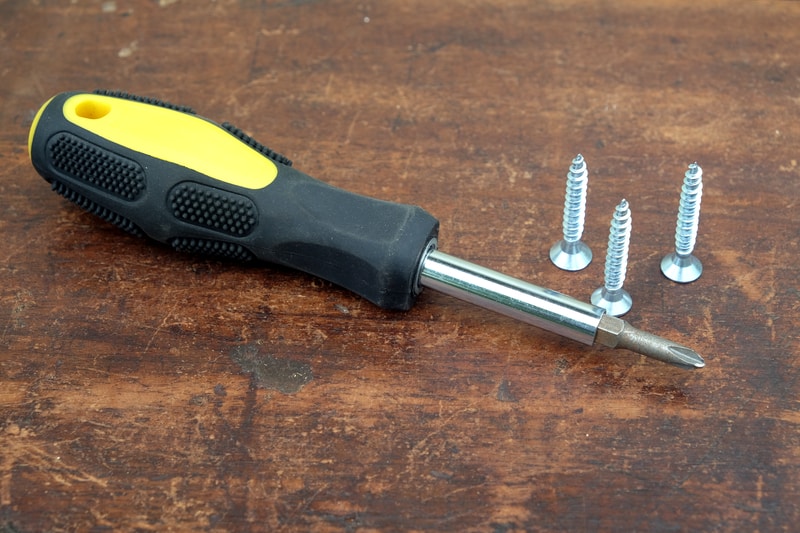
Tools Required
All you’ll need to remove the slides will be a flathead screwdriver bent 90 degrees. This will be perfect for helping you get the slide free from the box. There are no extensive steps involved as long as you have this tool in the kit.
Luckily, it is one of the more common tools, and you will surely find a 90-degree pick in your kit. Some owners also like using a mallet or a hammer to work with bent slides, but we will suggest that you avoid using those options.

Relying on a mallet or a hammer will only hold you back, and you will end up damaging the slides further.
However, if you’re a bit experienced and know how to manage the pressure accordingly, fixing the unit will not be that hard for you.
It all comes down to how you’re planning on addressing the project, and keeping track of these pointers will have you sorted in the long run.
So, be sure to get yourself the right tools if you want to speed through this process.
- Take the drawer out
The first thing that you will need to take care of has to do with the drawer, and you will need to remove the drawer first. It is pretty simple, and you just need to pull out the drawer completely until the slides are out as well.
After that, you will have to make sure that you are pressing on those locks inside the slides once with a screwdriver or some other sharp tool to disengage those locks on the drawer slide. Don’t use excessive force, as that can damage the system.
A slight push with a sharp-edged tool will give you more control here as you press down on the tabs. It will not take that much pressure, and you will be through the fix in no time.
Hopefully, you will be sorted with the system at this stage and won’t have to deal with more complications.
Once the locks are disengaged, you can simply slide the drawers out and keep them in a separate place so they don’t come between the work. Just don’t lose them, as you’ll need them again when installing the new slides in the system.
- Take them off the gears

Now, once the drawers are out of the way, you will need to find those gears that are inside the slide, and they help you to move those slides and drawers.
It is pretty easy to do, and you will need to move them away from the slides a bit. A bit of force is enough to get it sorted out, but be mindful about the amount of pressure you are applying there since too much of the pressure might break those gears made out of plastic.
You will have a hard time getting a replacement if you try to claim the warranty after damaging the inside.
So, be sure to either let an expert take the lead here or be extra careful. That way, you will not do anything that you might regret down the road.
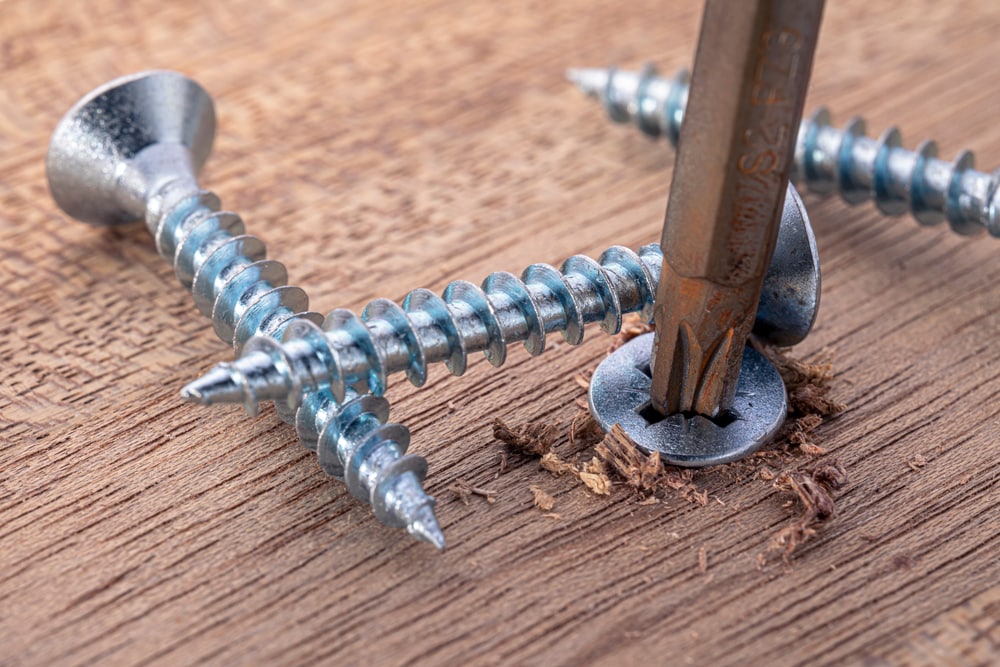
- Locate the screws
The next thing that you will need to do is find those screws that are keeping the drawer slides in place. These screws are generally found on the inner end of these slides.
That is why you will need to get your hand in the drawer slide and find those screws. Once you find those screws, you will have to get a screwdriver that can be used to access those screws.
Depending upon the model of the toolbox you own, the process can vary by a little margin. So, you will have to go about addressing the situation accordingly, and fixing the unit will usually be hard. You can try relying on the manual here to get ahead of the issue.
Lastly, you can also reach out to the official support team to get help on the matter. They will be able to guide you perfectly on how to manage the removing process and you will not have to make any guess work. Hopefully, all errors will be addressed right here.
- Unscrew the slides
Once you have located the screws, you will need to make sure that you are unscrewing those screws with the screwdriver and taking them off gently. As you loosen up those screws, you will be getting the slides to come off along with them, and you can easily get them out.
Be mindful of marking those points where the slides were installed initially, so you will not have to face any issues or problems later with the reinstallation of the slides.
If there is some issue with the calibration on these slides, you will have to face a number of issues, so it is of critical importance that you mark the points to reinstall them later.
Lastly, if you’re not that experienced and believe that you might damage the toolbox in the process, then it would be better to get a local expert to help you out here.
He will make your life much easier, and you will not have to deal with more errors down the road.
Snap-On Toolbox Drawer Slides Won’t Come Out

While the process is fairly simple for most owners, there have been some complaints about the slides getting stuck and not coming out. This situation can be pretty annoying, to say the least, and you will not be able to secure any response from the unit.
So, if you’re in the same boat and the Snap-On toolbox drawer slides won’t come out, you might have to use a bit of force.
Most of the time, the slide will be bent out of shape, and you will have to gently tap the slide back into place.
However, if your unit is under warranty, we will suggest that you avoid messing with the unit yourself. Instead, you should reach out to the official support team, and they will take charge of the situation. All that you need to do is to call them up and explain your end.
It will take a bit of time for them to respond, but you’re not left with many options at this stage. So, be patient and follow along with their instructions. It will not be that hard to get the slides unstuck and working properly.
Lastly, you can also get it checked by a local expert. There are many professionals available at local repair centers, and they bring decades of professional experience to the table.
So, be sure to reach out, and these experts will have you sorted in no time.
Wrapping Up
These were some pointers that you need to consider when you need to remove the Snap-on drawer slides.
Managing the process can be a bit challenging at times, but your life will become much easier along the way. It all comes down to how you’re planning on addressing the situation.

Nine times out of ten, it will not take you more than a few minutes to remove the drawer slides. However, if you’re stuck or the drawer slides won’t come out, then it is best to seek help from a professional.
Otherwise, you might end up damaging the system yourself. Similarly, you can reach out to the official Snap-On support for help or refer to the manual.
The instructions provided there are pretty detailed, and you will not have to deal with much hassle. Hopefully, your situation will be addressed in no time, and you’ll be sorted out.
Lastly, if there are hardware issues with the system, then you need to claim the warranty. All that you need to do is to grab a fresh piece, and that will help you get the desired performance. The warranty policy on these systems is pretty decent, and you will surely be able to grab a new piece.