Drilling is fun, but at times you might have to face certain problems that can get tough for you, and you will find yourself in a fix.
This is pretty common for new users, and these are the projects that will help you grow your skill as a workman.
The best method to tackle these issues is to get help from an expert. Reaching out to a seasoned professional is never a bad idea, and you will be able to get through the situation in no time.
So, be sure to get pointers from an expert.
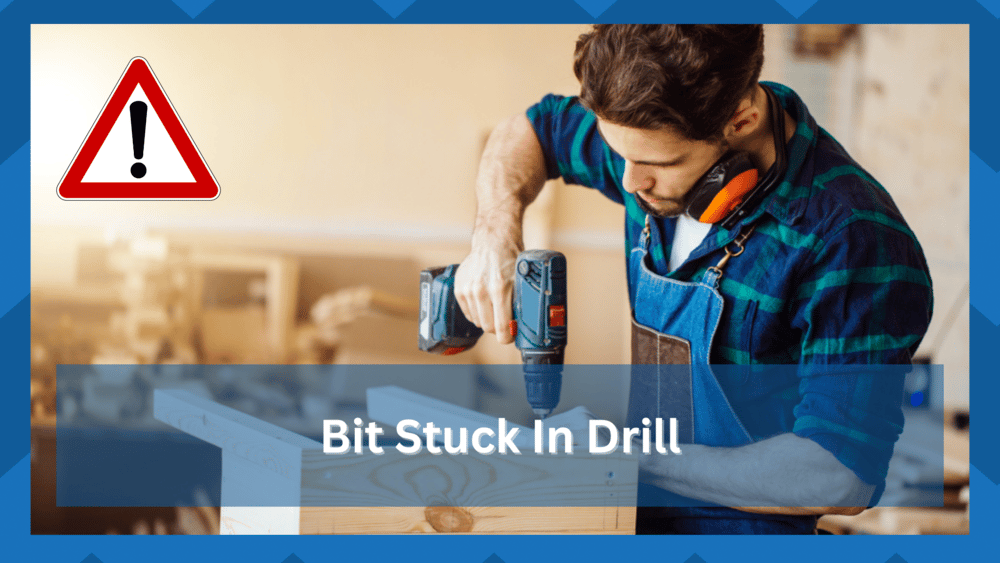
The drill bit getting stuck in the drill is one such problem that you will have to face at times, and there are certainly different things that you can try out to get that stuck bit out of your drill.
There is no debate that this is one of the more annoying situations to deal with, but you’ll have to fix it accordingly.
You can try a ton of things to sort out this issue, from rotating the chuck to addressing the issue with some lubricant and oil.
A few such solutions that you can try out to make sure that you can get out of such tough corners and avoid it from happening in the future are:
Fixing Bit Stuck In Drill
- Rotate the Chuck
The first thing that you will need to try out is to rotate the chuck.
The chuck can get tight at times due to the heat and different particles getting stuck into it, or you might have closed it too tight that you need to loosen it up now.
You can rotate the chuck counterclockwise using some tool if you are unable to do that with your hands, and that will allow you to freely get the bit that is stuck in your drill to be out.
That would get the job done for you, and you can replace the drill bit easier this way.
- Turn the Direction
There are several drills out there that allow you to change the direction in which your drill rotates.
So, you will need to make sure that you are checking on that, and if your drill supports that feature, you just need to change the direction and then point the drill bit towards a flat surface lightly without putting any pressure.
Press the button lightly on your drill, and the friction between the drill bit and the surface will cause the drill bit to loosen up, and you will be able to get it off pretty easily afterward.
- Clean it Up
While you are working with the drill or any other tools, you will need to take care of them and ensure that you are cleaning them regularly.
At times, there can be different particles from the surfaces that you have been drilling into that get stuck on the drill, and that can cause your bit to be stuck inside.
You will need to use some machine oil in the drill bit and chuck to loosen that up, and that will help you to get the drill bit out just right.
If the oil has not worked out for you, it might rust inside, which can also be a major problem for all such cases.
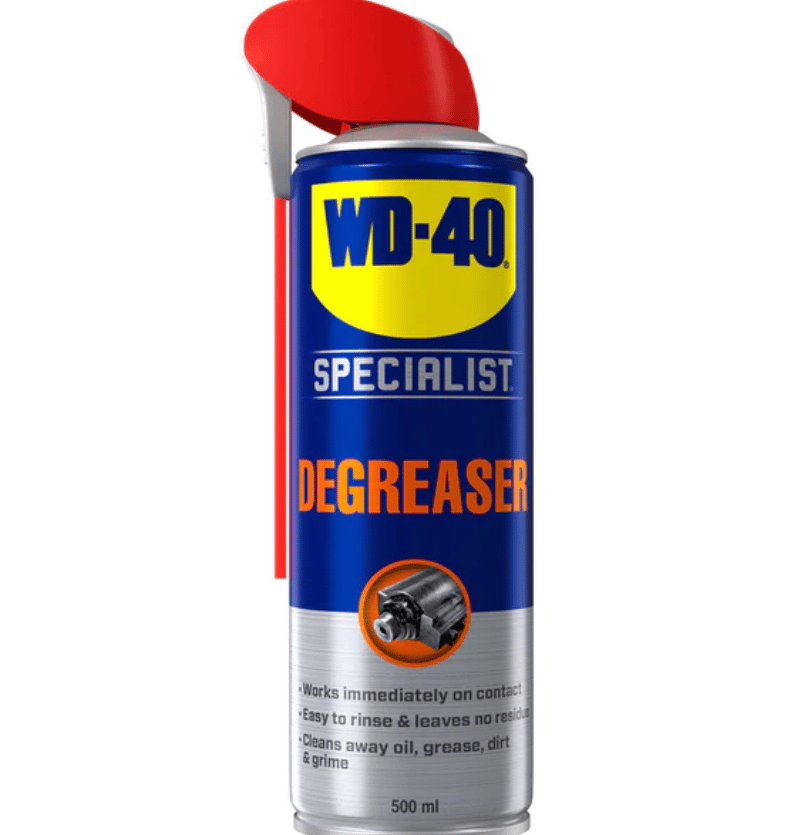
To deal with that, you will need to make sure that you are using some WD-40 or any other anti-rust agent and spray it directly into the chuck of your drill where the bit is inserted.
After you do that, you need to leave the drill for a few minutes, and then you will be able to easily get the drill bit off without having to apply much force or face any issues.
- Use Pliers
Sometimes, you will have to rely on a set of pliers as you turn the chuck. This is especially true for situations when the bit is not in the best shape.
So, if you’re working with a broken bit or the system seems to be a bit damaged, try relying on pliers the next time around.
All that you need to do is to use the pliers to tightly grip the bit and then use the drill in reverse on the lowest setting.
It won’t take any effort out of you, and you will be sorted in no time when it comes to fixing the hardware side of things.
Another thing that you should remember here is to keep your hand clear of the broken bit and always make sure that the speed is limited.
The chances for injury are just too high here, and you will struggle with the bit not coming loose.
Lastly, you should also reach out to local experts. They might be a bit heavy on your budget, but you’re not left with many options when it comes to adjusting the system.
So, be sure to keep track of all of these pointers, and you will surely be sorted in due time.
- Try WD-40
It is also possible that you’re struggling with this issue because of the clogged gunk around the bit.
This is too common for owners that don’t give much attention to the adjustment of the bit, and you will have to go about fixing the situation accordingly.
The best thing that you can do here is to try out some WD-40. All that you’re trying to do is to spray the solvent inside and make sure that the chuck is fully covered from the inside out.
From there, you just have to leave the unit and let the solvent do its job for a few minutes.
After you’re done with the adjustment, getting the chuck will be fairly simple. You just have to grab a steel brush and make your way through the gunk.
Once you’ve cleaned out as much of the gunk as you can, just follow the same routine of using the drill in reverse.
If you’re lucky, the situation will be addressed right here, and you will not have to worry about dealing with a broken bit.
So, be sure to keep track of the solvent, and you will be able to get through the problem accordingly.
- Some Oil Might Help
Next, you can also lube up the system with some oil to reduce the friction between the chuck and the bit.
This is especially true if you have not used lubricant in a while and the unit seems to be a bit rough. So, use some oil and spread it around the bit. It will surely help you get a bit free from the system.
From there, you should focus on keeping the chuck lubricated and use the system accordingly. It will not be that hard to manage the system, and the unit will remain in perfect shape for a long time.
So, be sure to keep track of the oiling requirements when you’re stuck in these errors.
Lastly, you might just need to call it a day and rely on a hammer to get rid of the stuck bit. However, you still have a chance of saving the chuck while gently tapping it with the hammer.
It will take a minimal level of effort on your end and you have to make sure that the alignment is perfect.
However, if the chuck is already damaged, then you will have to make the purchase on a new one.
Now, you can take the unit to get it checked by an expert or spend hours trying to fix it yourself. But keep in mind that the expert will always do a cleaner job.
You might also be better off reaching out to the official support team. They will know how to guide you exactly on these issues, and you will not have to deal with the same errors again.
Wrapping Up
Struggling with the bit stuck in the drill? Just follow along with the pointers listed above, and you will be sorted in no time.
It all comes down to how you’re planning on addressing the issue, and keeping track of these pointers should have you sorted most of the time.
As long as you’re sure that the chuck is in good shape, there is no need to worry about any extensive damage to the unit. You will just have to use a bit of force and adjust the system accordingly to get ahead of these errors.
However, you need to be careful as it is pretty easy to damage the chuck by accident. So, if you’re new and don’t want to risk the chuck, just get help from an expert.
Spending a few bucks will save you a ton of hassle, and you will know how to best manage your drill from this point forward.
Similarly, you need to also engage the officials working the support forums. If the issue is genuine with the unit and the chuck was damaged from the get-go, you will be able to get a fresh piece in no time.
Hopefully, you will not have to deal with much hassle when trying to secure a fresh piece.
