Dremel has become a popular brand in the market, especially when you are in search of power tools. Dremel has an array of power tools for different purposes, including crafting projects and home improvement projects.
What we love about their rotary tools is that they are designed with lock buttons to offer certain functionality and a protected experience for the users.
So, if you’re new to the market or planning on purchasing an upgrade, sticking with this brand will serve you well.
It all comes down to how you’re planning on spending your cash, and going with the Dremel system will serve you well. You just have to keep track of the basic maintenance requirements, and keeping this unit in good condition is not that hard.
On the other hand, there is a fair share of people who are struggling with the Dremel lock button not working. Having said that, if you have the same issue going on, all you can do is change or replace the lock button on the Dremel. So, let’s check out the instructions.
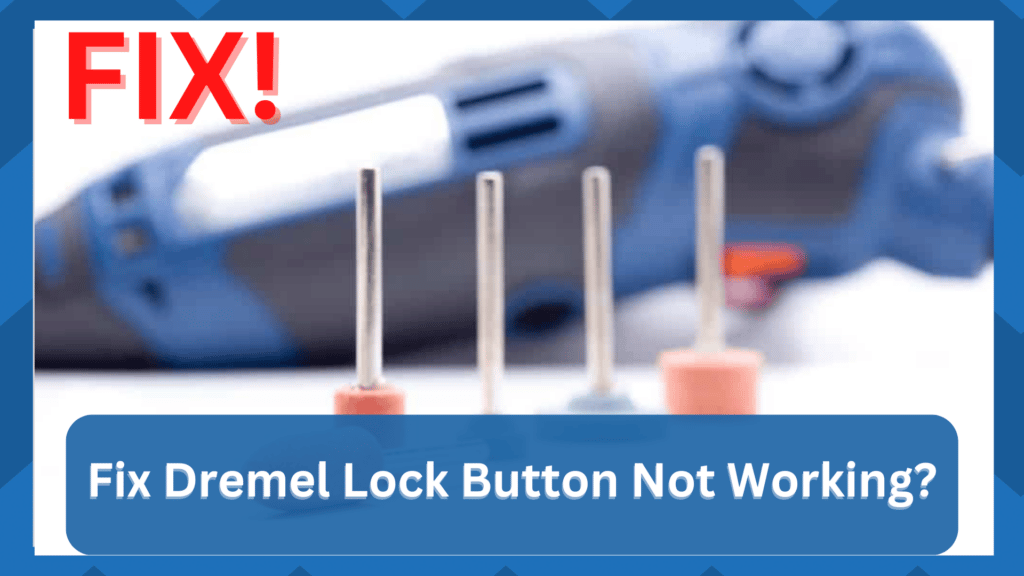
Fix Dremel Lock Button Not Working
This situation with the Dremel lock is mostly caused by the excessive pressure from your grip, and you will have to modify your technique accordingly.
However, if the system is already damaged, you need to change the lock button on Dremel to get everything in order.
Changing The Lock Button On Dremel
We have already mentioned that this is the only possible solution available for fixing the lock button. Similarly, it’s safe to say that this is the simplest option available.
To go ahead with this method, you need to collect a few tools, such as a 2.5mm screwdriver, a Torx screwdriver, and an opening tool for disassembling the Dremel.
Once you have the tools at hand, you can follow the instructions to change the lock button.

- The first step is to take off the back case from your Dremel rotary tool. For this purpose, you must remove the housing cap, and it might need to be taken off by unscrewing. When the housing cap is off, unscrew the exposed collet nut and make sure to hold it down. In addition, you must hold the shaft lock button. As far as removing the collet nut is concerned, you might have to opt for an open-ended wrench that’s provided by Dremel in the package
- The second step is to remove the hanger from Dremel’s casing, and you will need to do it with your hands
- The third step is to take out the brush caps. The brush caps are installed on each side of the Dremel, and you can use the flathead screwdriver for this purpose. Also, keep in mind that the brush caps have a spring-loaded configuration, so be careful around them
- Now, take out your Trox screwdriver and use its tip to remove the screws. There are five 12.5mm screws that are meant to hold down the casing, and you must remove them all
- Then, with the help of a plastic opening tool, you can also take away the hard plastic threads but don’t apply too much pressure because it can damage the plastic threads
- Now, start removing the back casing but keep a light hand to ensure the components of your Dremel don’t fall out accidentally
- At this point, you have to inspect the shaft lock pin (yes, the lock button), and if it is not connecting with the rotary gear, it needs a replacement. You will also have to remove the damaged lock button and spring. Once the old components are out, install a new lock button to streamline the spring functions and make sure the lock button is connected to the rotary gear
These are all the steps needed to fix the lock button on your Dremel. So, try them out! Hopefully, you will not have a hard time trying to cycle through these errors, and it will barely take a few minutes.
Once you’re through with the adjustment, getting a responsible response from the system will be fairly easy.
From here on out, you should just have to focus on keeping the unit in good shape. You might have to slightly modify your grip on the unit and make sure that the lock button doesn’t get engaged in the middle of normal operations.
Otherwise, you will run into more errors down the road and won’t be able to find your way through a fix. Hopefully, you will be sorted out right here and won’t have to deal with more complications.
Just make sure that the Dremel lock button is clean and never under pressure from your grip. A good thing to do here is to reach out to the lock experts.
These professionals maintain years of professional experience and will be more than happy to guide you through a fix. So, instead of spending hours of your time trying to fix the issue, just reach out to the officials.
Here are more details on how to keep the Dremel lock button in good shape.
How To Keep The Dremel Lock Button In Good Shape?

This issue with the Dremel lock button not working or not engaging is one of the oldest problems in the book. Most of the time, this issue is linked to the design flaw in some models. The main grip and the technique require owners to put pressure on the button.
This extensive pressure on the button during operation will create issues with the hardware, and you will not be able to get any response from the unit. Similarly, issues with the attachments being the wrong size can also lead to the same situation.
So, you will have to check up on the collet, the hardware, and your operating technique when it comes to keeping the unit in good shape.
Otherwise, you will struggle to get a reasonable response out of the system. It all comes down to how you’re planning on using and maintaining the Dremel.
Even with the new button replacement, you will run into the same complications after about a few weeks. So, the only consistent thing that you can do here is to check up on the technique. Make sure that there is no extensive pressure on the unit.
Similarly, you have to double-check that the lock button is not depressed during normal operations. This will ensure that you don’t have to deal with the same errors down the road, and fixing the unit will come easily to you.

The company is well aware of this issue, and you will find there to be interlocking features that keep the button in good shape.
However, in some of the older models, the problem is still persistent. For this reason, we will suggest that you increase your budget and get a more robust option.
Spending a few bucks extra on the latest model will help you avoid all the hiccups here, and you will be able to get a decent response from the unit.
It all comes down to how you’re planning on addressing the situation. So, be sure to keep these pointers in mind, and you will be sorted out.
Lastly, you should also just reach out to the official support team about this issue. If you have just bought the unit or it has only been a few weeks, the warranty status will still be valid.
There is simply no gain in trying to fix the unit on your own, and you should reach out to the official support team.

These experts will be more than happy to make your life easier, and you will not have to bother with as many errors when an expert is helping you through every step.
Just make sure to list the issue and then demand a replacement from the dealer. Hopefully, you will be sorted out by the experts.
Wrapping Up
Can’t seem to get a decent enough response from the lock button? Try going through some of the errors listed here, and then you will be sorted out right here.
It will not take much effort to adjust and fix the system, and you can cycle through all of these steps.

From there, you can also be more mindful of your technique and limit the pressure that you’re putting on the button. You will not be able to get any response out of the system when the button is damaged, and it is a good idea to seek help from the officials.
Having an expert help you out through these errors is never a bad idea. Moreover, Dremel support is always ready to have you sorted out here, and you will not have to worry about more complications down the road.
Lastly, if the purchase of the Dremel was recent, then you just need to claim the warranty. The warranty status on these units is not that bad, and you can proceed with a warranty claim within the warranty duration. Hopefully, you will be able to avoid more errors down the road.