Dremel 3000 is a rotary tool that is pretty cool, and you get the perfect application on it without having to worry about a thing.
It will give you complete control of every project without having to put any load on your hands. So, be sure to test it out if you’re aiming for peak precision.
It will take a few projects to get comfortable with the Dremel 3000. However, once you’re used to the motion and know how to get through the material, you will see a significant boost in your skills. So, be sure to rely on the Dremel 3000 accordingly.
How to Fix Dremel 3000 won’t Turn On
The rotary tool allows you to have the right power and a seamless experience since there are no batteries involved, and you can keep on working with the right power without having to change the batteries or even think about anything.
Yet, there are some cons attached to it as well at the same time, and it might not turn on at times. A few things that you will need to try out if your Dremel 3000 won’t turn on are:
- Check the Wall Socket
The first thing that you will need to check on is the wall socket, and you will need to ensure that the Dremel 3000 is connected to a wall socket that works fine and has no issues it.
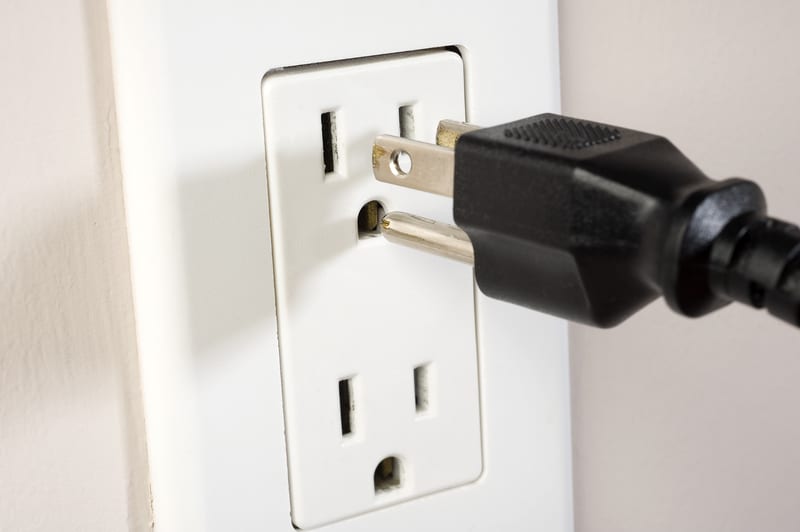
Afterward, you will also need to ensure that you are checking up on the plug and ensure that it is properly plugged into the wall socket so that you can get the right power on it.
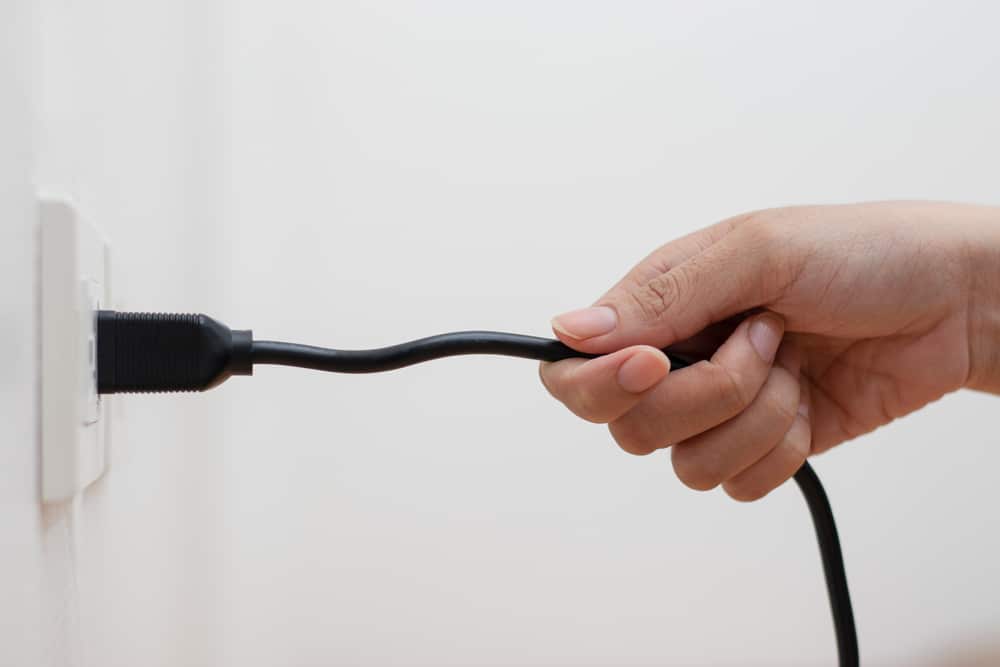
If it is hanging loose, you will need to ensure that you are plugging it out and then plugging it back in the right manner so that it fits properly.
That will help you out in the right manner, and after that, you will be able to make the Dremel 3000 work.
- Power Cord
Since the Dremel 3000 is a corded rotary tool, you will need to ensure that you are getting the cord right.
If the cord might have been damaged, it might be sharply bent or have some sort of problem like that, and you will need to make sure that you are getting it replaced for the proper supply of current to the motor and other components.
So, you should inspect the cable properly, and after that, you should ensure that the chord is in the right condition.
So that will ensure you have the Dremel 3000 turned on, and you are not going to worry about anything after that.
- Fuse
There is also a fuse inside that might have been blown due to some reason interrupting the power supply to the motor.
So, you will need to ensure that you check on that, and if the fuse is blown, getting it replaced will be the best thing for you to ensure that you are replacing the fuse, and that will help you out for making it work.
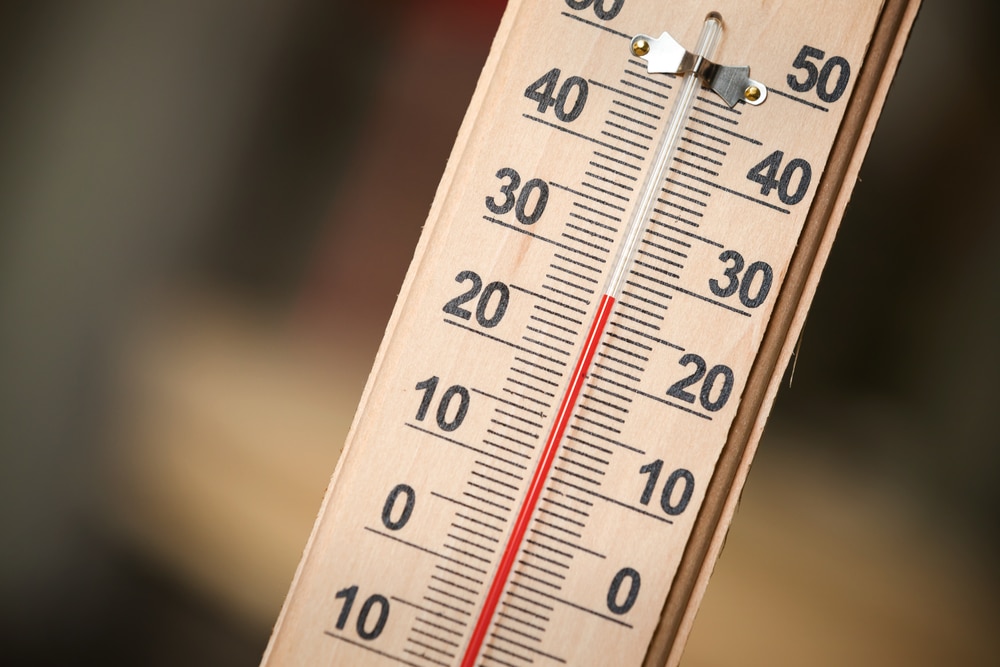
- Let The Unit Cool Down
There is a thermal cut-off switch on the Dremel unit, and you will not be able to get the unit to turn on when the unit is hot.
So, if you’ve been using the unit for an extended period, then you will not be able to get any response out of the device.
The only reasonable thing that you can do here is to let the unit cool down for a few hours.
There is not much that you can do here, and waiting or the unit to cool down for a few more minutes will have you sorted.
All that you’re trying to do here is make sure that the thermal cut-off switch doesn’t get engaged and you’re able to go about the normal operations without any complications.
That will be more than enough to help you address minor errors with the system. Even if you’re not using the unit for hours, poor storage conditions and direct exposure to sunlight for hours will lead to the same outcome.
So, you should just leave the unit in the shaded region for a few minutes and then check back on the performance again.
You will be able to get the desired response from the Dremel 3000 after it has had a chance to cool down.
- Service The Unit

Servicing the unit will also help you with a decent response when you’re sure that you’re following along with the proper technique and storage routines.
Sometimes, the issue is with the lodged debris, and that will create excessive heat. So, if the unit keeps dying out on you after a minute or two and it won’t turn on after that, it might be time to service the unit.
All that you’re trying to do here is to clean the unit and remove all of the grime. It will also help if you add some lubricant into the mix, and that will help you avoid a ton of issues down the road.
It all comes down to how you’re planning to adjust to the situation, and following along with all of these pointers should be enough.
Once the unit has been serviced, you can supply power one more time and then engage the switch. This time around, it should turn on properly, and the motor will start spinning.
However, if that is not the case, then the probability of hardware issues increases by a good margin.
- Replace The Switch
Hardware issues with these units are not that rare, and the situation around every workshop can get a bit rough at times.
So, you will struggle with the same errors if you have not given any attention to the maintenance of the unit.
There is a chance that either the motor or the switch itself is damaged. The higher probability here is that the switch is to blame, and you can purchase a new switch assembly from your local hardware store.
From there, installing the switch and engaging the unit is not that hard to do.
Next, you can also check up on the motor and then order a replacement accordingly.

This is especially true if you’re not sitting on a valid warranty and have been trying to get the Dremel to work again after years. So, be sure to spend a bit of cash to get these replacement parts.
The good thing here is that getting a replacement will not set you back a huge amount. You can still stick to a minimal budget and get a replacement for these units.
All that you will have to do is to reach out to the local dealer and have him provide you with the parts.
On the other hand, if you’re sitting on a valid warranty, then there is no gain in trying to fix the Dremel on your own. Instead, you need to get it checked by the official dealer or support members.
- Get it Checked

If nothing so far has worked out for you, you will need to ensure that you are getting it checked properly. After that, the authorized technicians from Dremel should be able to help you properly.
They will not only be diagnosing the problem, but they will also be fixing the problem with the proper repair or replacement, and that is going to be the perfect solution for you to be enjoying the Dremel 3000 again.
The warranty deal behind this unit is not the most phenomenal on the market, but you can still get a decent response from the dealer.

All that you have to do is to explain your end and have the dealer verify the error on his end.
Once the verification is through and you both come to the conclusion that the unit was defective or got damaged during delivery, you will be able to get a new unit within the same week.
So, there is no point in trying to fix the unit on your own, and you need to reach out to the officials.
Wrapping Up
Struggling with the Dremel 3000 not turning on? This issue is not that serious and usually requires minimal effort from the owners.

So, you should simply start the basic troubleshooting routine and go through the steps mentioned here.
Nine times out of ten, a simple power cycle or adjustment of the power supply will fix the situation for you.
So, if you’re stuck in the same errors and can’t seem to figure out a suitable fix, just follow along with these pointers.
Hopefully, you will not have to go through any hassle when trying to manage the system, and everything will come easily to you.

It all comes down to how you’re planning on adjusting the system, and these pointers should make your life easier.
Lastly, if you come to the conclusion that the issue is out of your hands and the unit is defective, then you need to call the dealer.
He will take charge of the situation and go about adjusting the unit accordingly. Hopefully, you will not have to deal with more errors from this point forward.