DeWalt is definitely one of the best brands that you can find out there, and they would ensure you have the perfection of utility on all the different factors that you might be looking to have on their tools.
Moreover, the price point is well within the price range of most first-time owners.
They are also manufacturing a wide range of tools and devices for you that will make your work a lot easier and more convenient.
These tools are easy to use, will last for decades, and offer amazing dealer support. So, you’ll get the complete package while sticking with this brand.
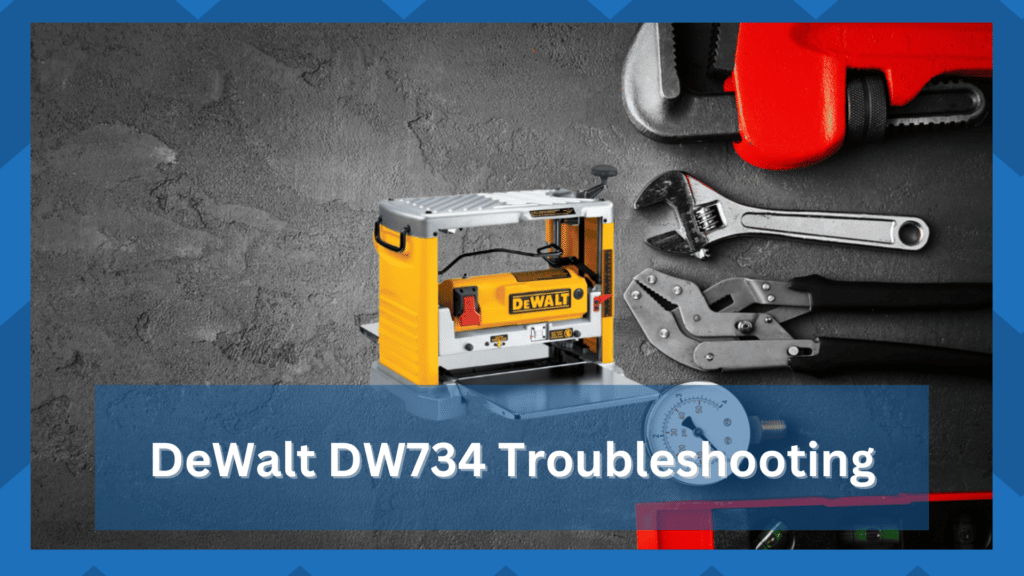
DeWalt Planer Dw734 is one such planer that you can use for a number of woodworking applications. If it is not working for some reason, or you are getting some troubles, here is how you can get it fixed.
DeWalt Planer DW734 Troubleshooting
- Use a Blower
No matter what planer you are using, sawdust is always an issue, and it creates certain problems that you would never want to have.
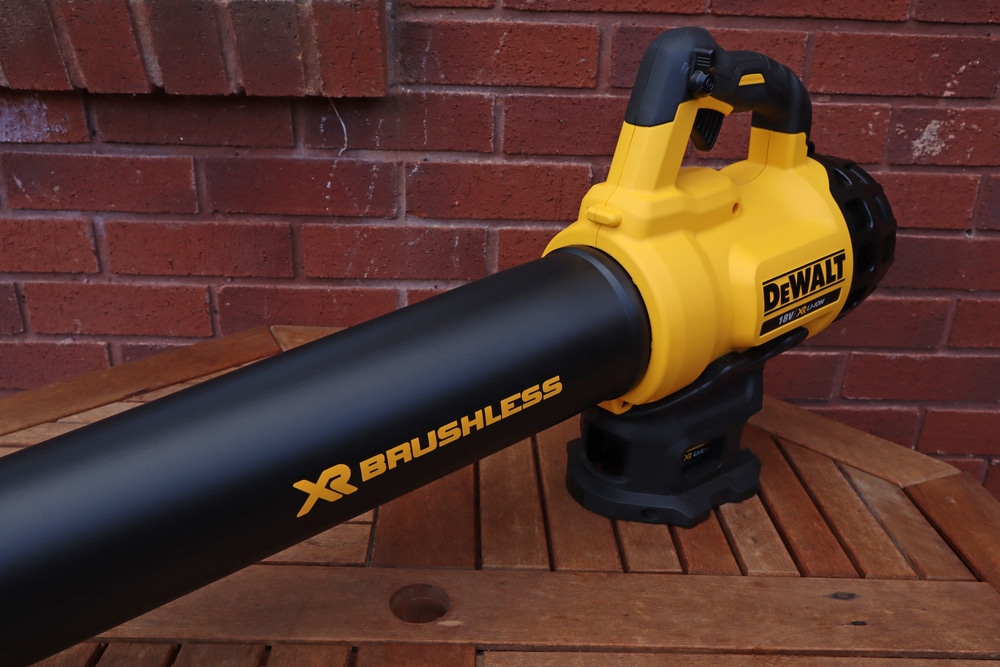
That is why you will need to ensure that you are using a blower on the planer to get rid of any sawdust that might be in there.
While it might look insignificant, the sawdust can cause you to have a number of unwanted issues and problems, including slowing down the planer or simply blocking it.
That is why you will need to ensure that you are blowing it off, and that will do the trick for you.
- Check for Oil Debris
However, there could also be issues with some oil debris or gunk on the planer that will cause you to have problems with improper feeding of the wood, and you will be getting issues in making it work properly.
That is why you will need to check on any gunk build-up or oil debris on your planer.
If you find any such issues, you will need to clean it with some absorbing wipe, and that will be enough to help you get the right experience on your Planer without having to face any such problems with feeding the wood.
- Check the Wiring
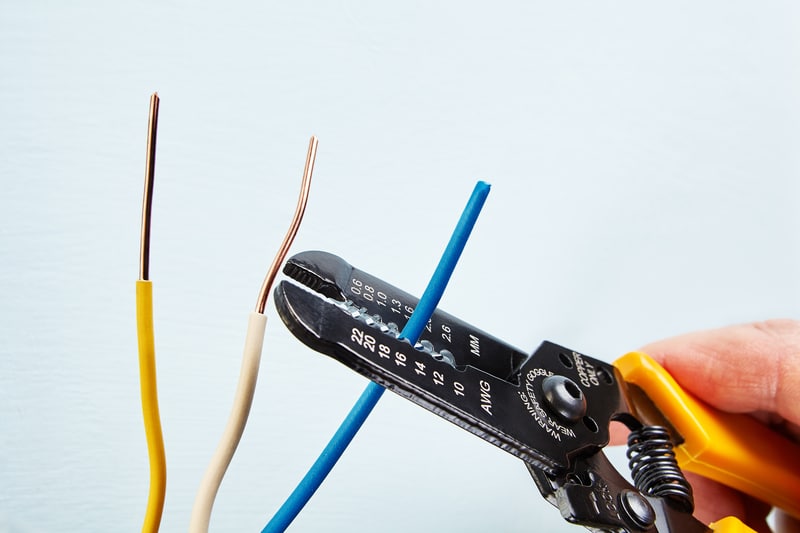
At times, you might also be facing some problems with the planner not turning on or getting turned off on its own.
That could be caused due to some wiring problems, and you will need to ensure that you are checking for all the different possibilities that could be causing you to have these problems.
There might be some cables getting damaged, or there might be some other short circuit on the wiring that you will need to have fixed.
- Sharpen the Knives
If your breaker is tipped more frequently than normal. That could be caused due to Planer getting overloaded, and you will have to get that fixed properly as well.
The most common reason for the overload is knives getting blunt, and you will need to keep an eye on the edge of your blades.
Sharpening the blades properly or simply ensuring that you are changing the knives if they cannot be sharpened should be enough to help you out through any such issues that you might be having with the breaker being tipped frequently.
- Check Drive Belt
Next, you need to check up on the drive belt as well. Extensive use of the unit can lead to hardware issues, and the drive belt will be one of the first components that will get worn out.
So, you will have to make sure that this component is in good shape when the material is not feeding properly.
If the belt is out of place and you find no rough patches on it, then a simple cleaning cycle will be all that you need to adjust the unit. However, if you find the drive belt to be damaged, then fixing it can be a bit harder for you.
You will have to adjust the unit by getting a new belt, and that will take a while to arrive.
Similarly, you can go to your local hardware store to get a replacement to speed up the process. The experts working there will point you in the right direction, and you can purchase a compatible drive belt.
The replacement is fairly easy, and the belt will not be that heavy on your budget. So, you don’t have to worry about spending too much cash when you can’t seem to find the right fit.
- Fix Breaker
The situation with the breaker not working can lead to the unit turning off at random intervals.
This will have a negative impact on the overall efficiency of the project as you struggle to get through the material. So, be sure to check up on the breaks as well.
The situation with the breaker tripping is caused by dull knives or feeding too much material at a time. So, if you’re sure that the breaker is in good shape and it keeps tripping, try slowing down your pace.
There is a good chance that you’re speeding through the project and creating excessive pressure on the system.
This machine will not last long under such pressure, and you will only compromise the efficiency of your project while going through with these pointers.
All that you need to do here is to fix the breaker accordingly, and that will help you avoid more errors down the road.
It all comes down to how you’re planning on adjusting the situation. Slowing down will not only cool down the unit, but you will be more precise with the toolset.
Similarly, you need to also check the depth management. If you’re taking huge chunks of material at one swing, then the system is bound to trip.
So, you need to decrease the depth accordingly and make sure to start slow and take minimal chunks at a time from the material.
- Power Issues
The situation with the unit not powering up will almost always be related to an insufficient power supply to the unit.
Here, you will have to make sure that the power connections are in good shape and that the main source can keep up with the power supply.
You can rely on devices like a multimeter to check up on the outlet, and fixing the unit will come pretty easily to you.
All that you need to do here is make sure that the device is in good shape and that there are no serious issues with the hardware side of things.
Most of the time, resetting the breaker will be all that you need to do to get through this situation.
However, if the problems are a bit dire, then you will have to get rid of damaged connections and change the power source to fix the error.
- Replace Motor Brushes
Lastly, some owners have also pointed out issues with the motor brushes being depleted.
This issue is pretty common and will happen when you’ve been using the unit for years. There is nothing that serious about this error, and you will need to just get a replacement.
Depending upon the usage, the timing here can vary by a good margin.
So, you need to just keep that in mind and adjust the unit accordingly by replacing the motor brushes. It will take a few minutes at max to get through the replacement, but it might take a few days for the replacement to arrive at your doorstep.
You can also get help from the official support team when you run into other issues not listed here. That is true for the damaged units as well, and claiming the warranty is mostly the right move when you can’t seem to find the right fit.
Wrapping Up
These were some of the more common things that you need to keep in mind when using the DeWalt 734 system.
Most of the time, you will be able to avoid all of these errors as long as you keep track of the basic maintenance of the unit. It is not that hard to do and will barely take you a few minutes per week.
However, if you still run into issues with the unit not feeding properly or the breaker tripping again and again, then testing out all of the methods here should be more than enough to help you through the error.
It is one of the simplest yet more robust units available on the market that is easy to use.
So, you will not have to worry about going through extensive setup routines and troubleshooting methods to get a response from the device.
Similarly, you need to keep track of minor hardware issues and be mindful of broken sections and damaged pieces.
All that you’re trying to do is make sure that there are no hardware problems with the unit. That will be more than enough to help you navigate the majority of these issues, and you will not have to deal with these complications again.
However, if you do, be sure to reach out to an expert from official support.
using the 734, which we’ve only had a couple of years with not much use. Today it is repeatedly turning off, but the power light on it is still on. We’ve tried the reset button but it comes back to life when it wants to…five minutes later it shuts down again. And no, the breaker is not being tripped. We are taking very small amounts off each time so that’s not the problem either. We’ve never had this issue before…any help??