Porter-Cable gets you the right edge of having appropriate tools for all the different needs you might have for commercial or residential applications.
This includes the best electrical and rechargeable products that will add the right liberty of portability to your tools at the same time.
Yet, the batteries need to be charged and if the battery charger from Porter-Cable is Blinking Red.
Porter Cable Charger Blinking Red
Here is what it means and how you can fix up these issues that you have been facing:
- Blinking Steadily
Unlike most chargers, a blinking red light that is blinking at a steady pace is something that you don’t have to worry about at all.
That means the charger is doing its job, and it is charging the batteries just fine. The steadily blinking red light will allow you to know that your battery is being charged.
Once it gets stable, that would mean your battery has been charged now, and you don’t need to do anything now.
That is pretty simple, right? Yet, confusion occurs when people are not used to the red light, and you usually get to see the green lights on battery chargers that are required to be charged.
- Blinking Really Fast
If the red light starts blinking really fast and with that, you are not able to figure out what the reason is, it means the battery has one or more bad battery cells.
With that, you will be able to make sure that you don’t end up doing something big.
You can easily replace the battery instead to make sure that you can get it done right. That should mostly be it when you’re running into minor errors with the smart unit.
Batteries that are not charged right or do not have active cells on them could cause some real trouble for you that you wouldn’t want to have on your batteries or face some problems.
- Blinking Too Slow
If the charger is blinking really slowly, you will need to check on the battery terminals and the temperatures.
This means that the battery is not being charged due to the temperature being too cold or too hot on the battery, or the terminals might not be connected properly.

So, you will need to ensure that you are able to make it work by checking the terminals and connecting them up properly to ensure that you are able to make it work in the right manner.
After that, you will also need to ensure that you are checking keeping the battery away from direct exposure to the outside extreme weather conditions and at room temperature.
Once you get that sorted out, you can easily fix the problem that you might have been facing with the battery charger from the porter blinking the red light really slowly.
After that, you can easily make the battery charger work in an optimal manner.
However, if the unit is still not responding, you can get through more troubleshooting methods mentioned here to get everything right.
- Try Jumping The Battery
Jumping the battery is one of the more consistent fixes that can help you in this situation.
All you have to do to narrow down this issue is to get some wires and a fresh battery pack for your current drained unit.
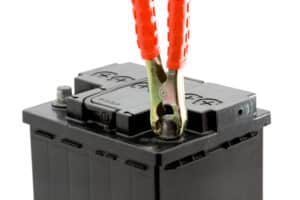
From there, you can connect the terminals of both batteries and leave them as is for a few minutes.
After about 20 minutes or so, you can remove the wiring and then connect the drained unit to the charger.
At this point, the charger will be able to pick up this unit, and you won’t have to bother with the same errors again.
It all comes down to how you’re planning on maneuvering through the issue. First of all, it is never a good idea to use the battery when it is below 20 percent.
So, be sure to charge up the battery as soon as it drops close to the 20 percent mark.
Secondly, the storage of the battery can also play a huge role here.
If you can’t seem to sort out the issue after going through some of these fixes, then finding better storage for the new battery will serve you well.
This is especially true if the environmental conditions are a bit rough in your region.
The battery won’t last for more than a week out in the open, and you need a dry storage box with optimal temperatures.
From there, it is not that hard to keep the battery working for the next few years.
- No Harm In Cleaning The Terminals
The main thing that you need to focus on is engaging the battery terminals with the charger.

Obstructions like rust and debris can build up over time and restrict the power flow to the unit.
If you get into the same situation as well, the best move is to clean up the terminals.
You can first remove the charger from the power and then check the condition one more time.
From there, you can use some rust cleaners from the market or rely on a homemade solution like diluted vinegar.
Most of the time, that will be it when you’re trying to isolate the issue. So, be sure to keep that in mind and adjust the terminus on the unit accordingly.
Otherwise, you won’t be able to get any power to the battery, and these issues will persist as you try to eliminate these errors.
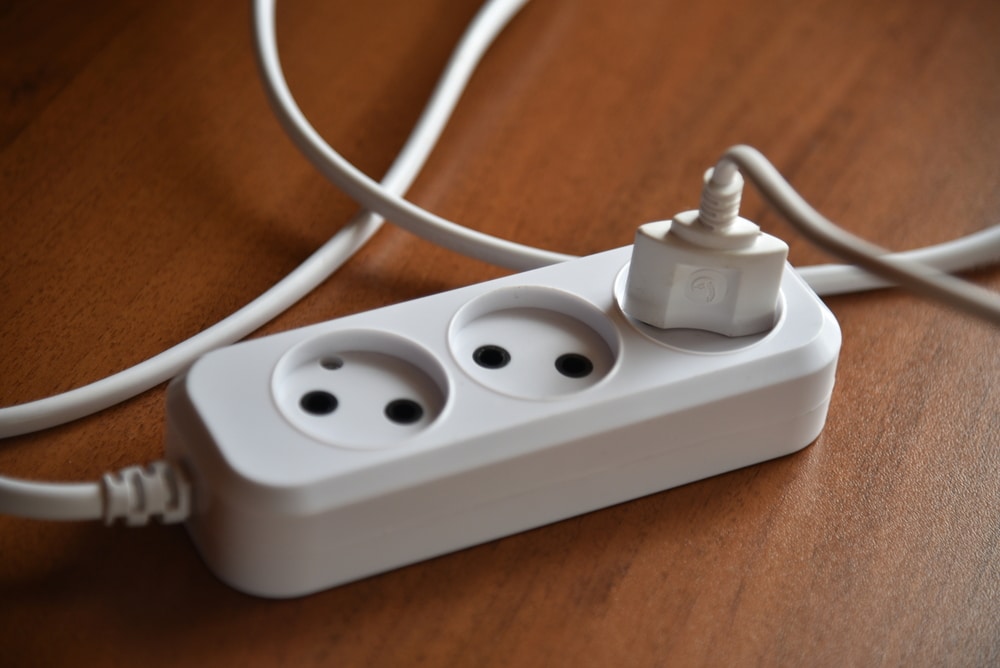
- Try A Different Outlet
Sometimes, the issue is not with the charger or the battery. You’re just dealing with a defective power source that is not supplying any power to the system.
If you’re in the same boat and can’t get the charger to work, then you need to try a different outlet.
Most of the time, this issue stems from owners relying on damaged power connections that have not been serviced for years.
This will only create safety concerns down the road as you struggle with this error.
So, if you’re in the same boat and can’t seem to narrow down on this error, try to find a new outlet. However, the safer option here will be to hire an expert.
There is simply no point in trying to make use of damaged connections, and hiring an expert will help you through this error.
Ideally, you need to get the power connections serviced at least once every six months. It might seem like a hassle, but that will save you thousands of dollars down the road.
So, be sure to spare some cash and hire a local expert that will help you get through these errors.
- The Charger Might Be Damaged
The issues with the charger hardware can also play a role here. If you’ve not been lucky with any of the fixes mentioned here, then Porter cable charger is damaged.
There is nothing that you can do at your end to fix the charger.

This is true for situations where the charger got damaged during delivery. So, if you’re in the same boat, your best bet is to contact the dealer.
There are no quick methods that can help you here, and getting a replacement is the only logical thing to do.
Luckily, the warranty climbing procedure is not that extensive when sticking with this brand.

So, you will just have to provide proof of purchase, and the dealer will take care of the rest. From there, you will have the new unit within the same week.
So, be sure to engage the dealer and have him provide you with a fresh piece. That will make the troubleshooting routine much easier.
Just make sure to keep good care of this new unit to avoid more issues down the road.