The most desirable brands do nonetheless cost more money. But they also provide a premium value. So, instead of concentrating just on the money part of things, attempt to extend your perspective. Think of all the chances and time you might save!
Milwaukee makes some of the best tools out there, and they get you the perfect durability, right power, and all that it takes to be enjoying a seamless workflow across all the needs you might be having.
There are also a number of cordless tools that you get to enjoy from Milwaukee and they all will be getting you the right perfection with the portability, mobility, and all that at the same time while having the right power in your hands to get the job done.
Yet, you need to charge batteries on these tools as well, and if the charger is not working for some reason, here are a few things to keep a check on.
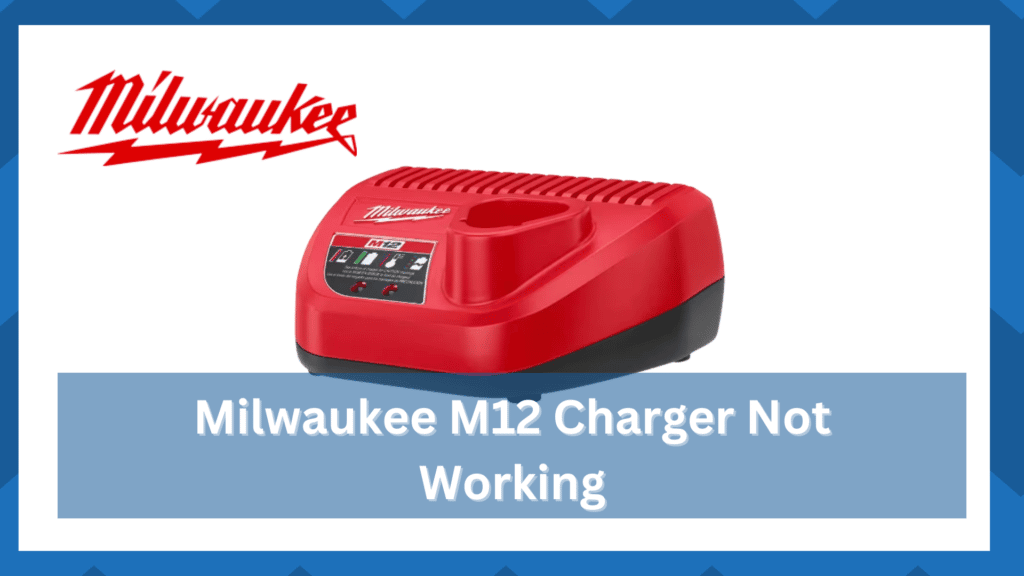
Milwaukee M12 Charger Not Working
- Check Connection
The first thing that you will need to check on is the connection to the wall outlet for the power to be transferred to your batteries and that is really something that you need to be particularly careful about.
That is why, you will need to ensure that the charger is properly connected to the wall outlet that is working, and you will need to check on the power cord connection with the charger as well.
Once you ensure that the power cord is connected to the wall outlet properly and that it is also properly connected to the charger, that should be solving your problem most of the time. Yet, you will also need to inspect the power cord and ensure that it is in proper health.
- Check Battery Connectors
The next thing that you will need to check upon is the battery connectors since they play the main role in transmitting all that energy from the wall outlet to your batteries and then storing them.
So, all you will need to do is ensure that you are simply checking the connectors and ensure that they are connected with the batteries you have installed on the charger properly.

Afterward, you will also need to ensure that you are checking the condition of the connector since if a connector is loose, has some rust on it, or any other similar problem.
That can cause you to have issues with the working of your charger and simply ensuring that you are keeping that all in check should be enough for you to make your Milwaukee M12 charger work again without facing any other similar problem that was there earlier.
- Try Jumping The Battery
Still stuck in the same error? Your battery might be at fault! If you’re someone who doesn’t give much attention to the battery levels, then it is likely that your battery is completely discharged. Is that a good thing? No!
Now, you might think that the whole point of having a charger is to charge up a discharged battery.
Well, you’re not wrong, but the battery still requires a bit of charge to receive power flow from the charger. So, every expert recommends that you keep the battery above the 20 percent mark.
Ignoring these requirements will not only reduce the lifespan of the battery, but your charger will also malfunction.
So, when you’re stuck in these errors, just make sure to jump the battery. That will have you sorted out in the long run, and you will not have to worry about as many errors.
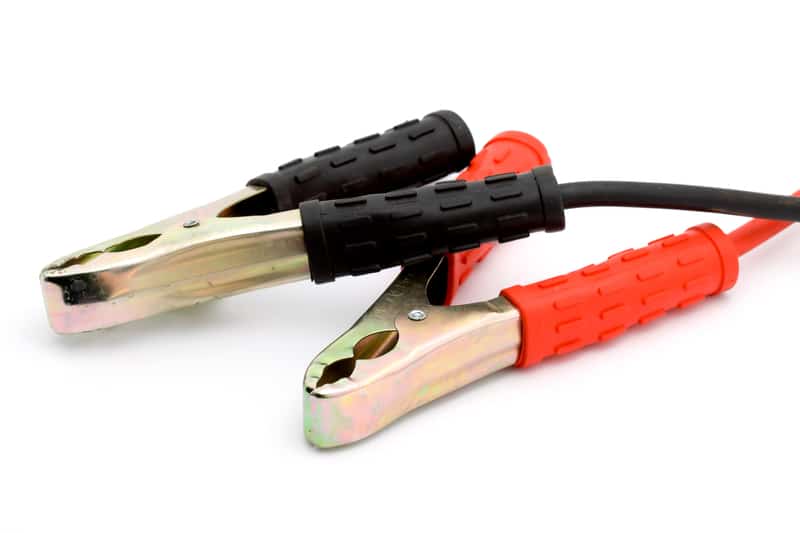
All that you have to do is to jump the battery. Yes, you still have a shot at charging the battery, if you jump it correctly.
Now, to jump the battery, you will need a few items. These items include a pair of wires and a different battery that is completely or partially charged.
The concept here is to use the pair of wires to connect the terminals of both batteries and then leave them connected.
So, follow through with this routine and leave the battery connections in good shape. Once you’re through with the basic connection, you can proceed to wait for about 20 minutes.
After this time is up, you can place the discharged battery in the charger and then the charger will pick it up. It should start charging perfelty at this point, and you need to be more mindful of the battery levels from this point forward.
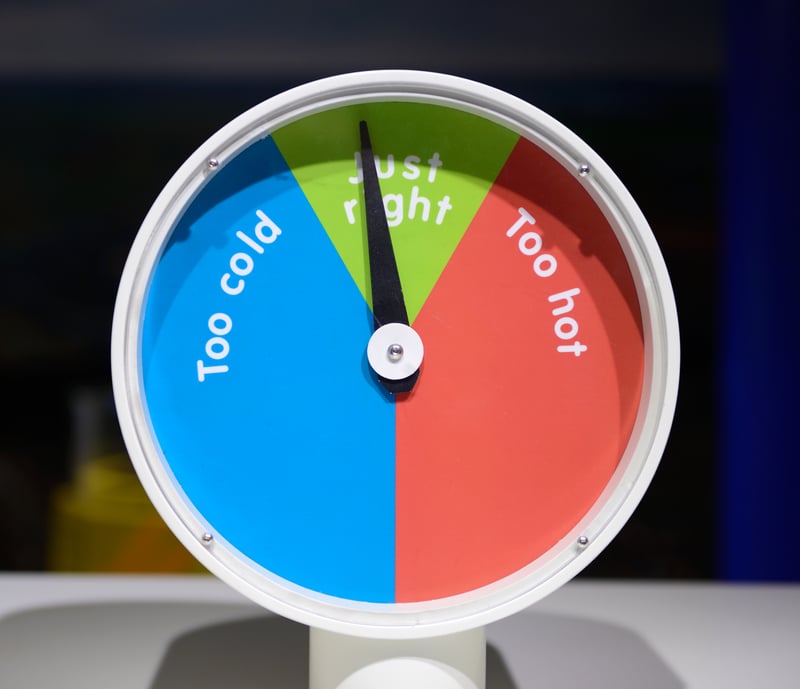
- Let The System Cool Down
Another factor that might be the problem here is the temperature. You will not be able to charge up the battery if you’ve been putting too much pressure on the system. Yes, using the battery too much will cause it to overheat.
So, what can you do about this situation? You can let the battery cool down for a few minutes. About thirty minutes should be enough and you can leave the battery in a shaded region to cool down.
There is no need to palace the battery inside the freezer or do anything crazy with it. Simply putting it in shade will be enough, and you will be able to avoid many challenges down the road.
So, be sure to let the system cool down, and you can test out the battery again after that.
Just try to be more mindful of the temperature. The same thing can be said about extreme cold. When the battery has been sitting out in the open overnight, it will be too cold to receive charge.
So, in this situation, you’re not left with many options but to wait for the battery to get to the room level. Here, you can leave the battery close to the fireplace and then check up on the charger one more time.
Hopefully, the situation will not be that hard for you to handle and fixing the system will be pretty easy for you. So, be sure to let the device cool down when you’re struggling with the responsiveness.
- Clean Up The Charger
At this point, you should just grab a can of compressed air or a blower and just blast the charger. The gunk or debris on the charger and the terminals will lead to a ton of errors with the power not flowing into the battery.
So, you need to avoid this situation. You can do that easily by blasting this system with compressed air and then checking up on the response from the main unit one more time.

It will not be that much of a hassle when you’re keeping track of the basic maintenance.
You won’t believe how far basic maintenance will lead you. You can go so far by sparing a bit of time and checking up on the system maintenance.
So, be sure to keep that in mind and track the maintenance side of things if you’re aiming for a better response from the Milwaukee charger.
Wrapping Up
Are you concerned that the Milwaukee M12 charger won’t work? So stop worrying now! We’ve discussed a few strategies that might support you. Will trying out each of these approaches be a hassle? Yes! However, there aren’t many choices left for you.
You can think of your charger as the key unit that keeps your workshop running.
So, it is necessary that you need to keep track of the maintenance of your chargers and keep them in perfect shape. You can’t really afford to have issues with the charger not working as that will stop your whole workflow.
When you’re worried about the workflow, the best thing that you can do is to have backups.
Yes, the methods we’ve listed above will help you get the Milwaukee M12 charger working again. However, having some backups will be much better as you’re aiming for a more stable response.