I was just recently reusing some old wood when I got stuck with three pieces with a hanger bolt stuck inside each of them. I was foolish enough to throw these pieces away, thinking that they were ruined. However, I had no idea how easy it was to remove the hanger bolt and patch up the wooden piece.
Luckily, I’ve gained a fair bit of experience over the last couple of months, and it was a breeze to get rid of the hanger bolts. The good thing was that at least the hanger bolts were correctly installed, which is why it was simple to remove them.
I can only imagine how much of a hassle it can be to get around using hanger bolts when you’re first getting into woodworking. So, if you’re also dreading the use of wooden pieces with hanger bolts stuck inside, don’t worry! All you need is a drill and a bit of precision to remove the hanger bolt.
How To Remove A Hangar Bolt?
Depending upon the condition of the bolts, it is usually not that challenging to get rid of the hanger bolts. As long as you’re confident that you or the previous owner installed the hanger bolt correctly, you won’t need anything more than basic tools and a power drill.

Materials Required
- Thread Nuts
- Pliers
- Wrench
- Drill
- Safety
Before you get all excited, be sure to have the proper safety gear at hand. These will include your gloves, the face shield or goggles, and foot protection. Starting out the project without having these on your person is the stupidest mistake that you can make all week.
Step 1 — Remove Mounted Objects
If you’ve been a handyman or a woodworker for a while, you’ll know that the hanger bolts are always used to link wood pieces or to mount (hang) different objects. So, you gotta start by removing the mounted thing. Make sure that you do a clean job and don’t leave any accessories behind.

From there, you can grab a metal brush or even a cloth to wipe away the gunk. The metal brush will do a better job here, but if you don’t have that in your workshop, then relying on a cloth piece is not that bad an idea.
Step 2 — Assess The Bolt Condition
At this stage, your only focus should be on picking the correct method for the hanger bolt type. Most of the hardware stores offer threaded hanger bolts on both sides, while some also provide woodworkers with hanger bolts that are threaded on one side only.
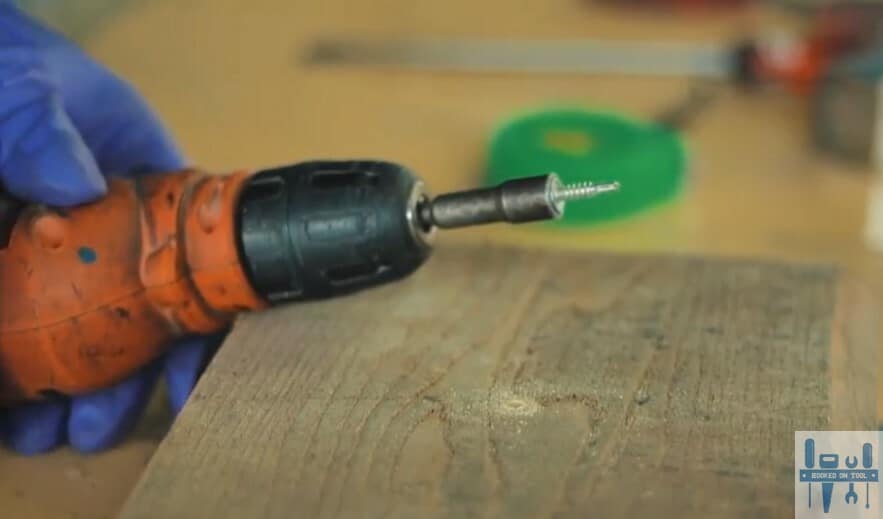
If you lucked out and the hanger bolt that you have to remove is only threaded on one side, then you can grab the other side with a nut driver and put the drill in reverse mode to drive the bolt out. Sounds simple, right? Well, it doesn’t have to be complicated!
Just make sure that the drill is doing most of the work and you’re not pulling the nut driver away after every few seconds. As long as the torque on your drill is decent, a simple reverse action (counterclockwise movement) will get rid of the hanger bolt.
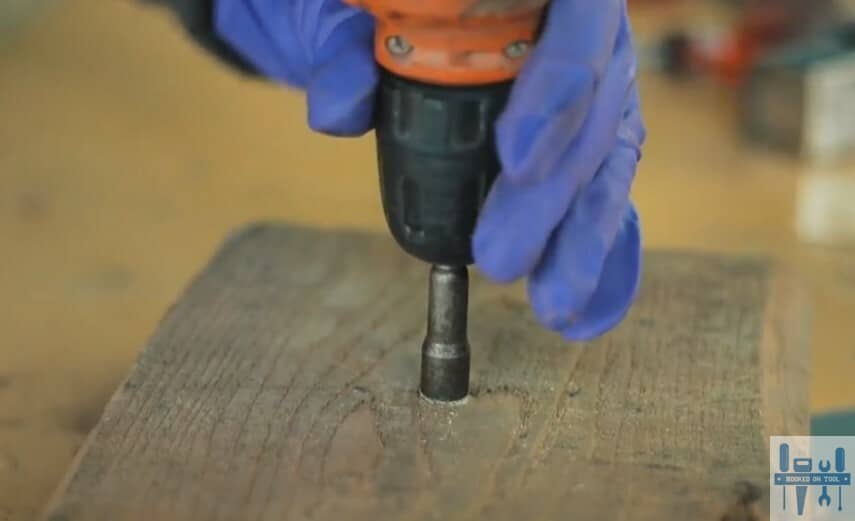
Step 3 — Removing Double Threaded Hanger Bolts
If you’re not that lucky and the hanger bolt that you have to remove is not double-threaded, then your job can be fairly difficult. You will have to first establish a grip using two nuts. Simply grabbing the threads with a drill or pliers will damage the hanger bolt and might just create more issues.
Instead, you can just thread in two nuts and then create tension between them by screwing one anti-clockwise and the other one clockwise. This tension won’t damage the threads while still creating a strong grip with the hanger bolt.
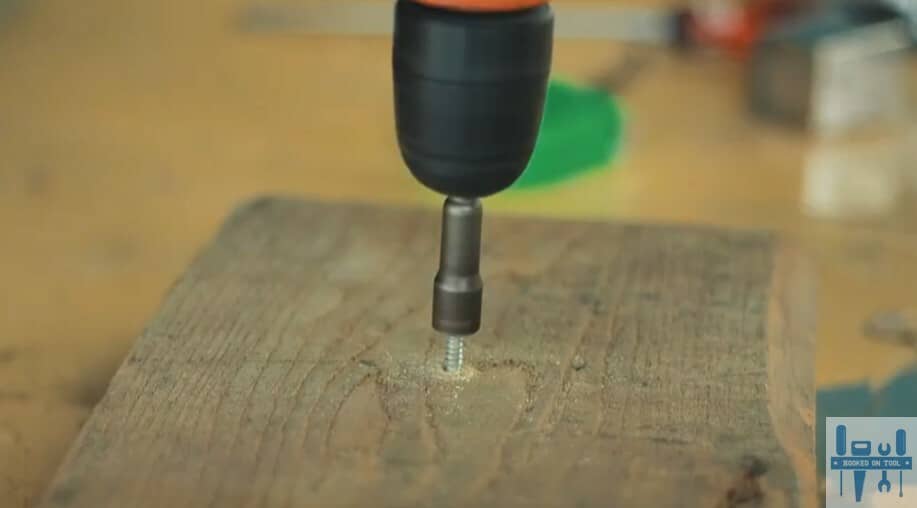
Now, you can use the same method of installing a nut driver bit on your drill and then driving out the hanger bolt. As long as the hanger bolt is not damaged or lodged pretty deeply in the wood, it will only take a few seconds to get rid of the nut.
Step 4 — Finishing Up
After the nut has been removed, you will still be left with an ugly hole in the wooden piece. Luckily, it is not that hard to fix this hole, as you can use a ton of things, from epoxy to glue and a simple wedge. So, depending on the availability of items in your workshop, be sure to get creative.
The more straightforward method would be to always use epoxy to patch up these holes. You can create some pretty, unique designs as long as you’re creative enough. However, if the hole is fairly big, then you will have to resort to using a wedge along with some wood glue to patch it up.
Everything boils down to the current condition of the project. I would suggest that you try different methods and figure out what suits you best. There is no “one” perfect method for every job, and sometimes, you just have to get a bit creative.
Sticking to strict instructions can be good when you’re working for a client. However, if you’re working on a DIY project for your home, just go ham with the ideas. Otherwise, this job will get bland and outright dull for you.
Tips
A few mistakes that might ruin your wooden piece is hammering down the bolt to loosen it up. I’ve seen too many people complaining about cracks and damaged chunks falling off their furniture after they were hammered in a hanger bolt.
Even if the bolt is stuck, your only option is to bring a more powerful drill that has enough torque to drive out the bolt. Keep in mind that the hammer bolt is secured in a wooden piece with metal threads.
These threads are not hammered into the wooden piece but rather drilled into it. So, trying to hammer the hanger bolt will damage the furniture from the inside, creating more problems in the long run. The only hand that you can play is to drill it out.
Lastly, if you’re working with a delicate piece and can’t risk any damage, just ask an expert to do it for you. There is no shame in seeking help when things seem a bit out of your hands. So, be sure to reach out to the local workshop and have them guide you.
You will learn a lot more by asking for help, and spending a few sessions with an expert will always do you good. So, don’t hesitate and visit your local workshop once in a while to get a rough idea of different techniques.
The Takeaway
It won’t take you years of woodworking knowledge or expertise to get rid of a hanger bolt, but it will take you a fair bit of practice to do it without damaging the wooden piece. What I’ll suggest is that you get a dummy piece and do a few test runs.
That way, you can get a fair bit of practice without damaging the actual project. Just focus more on driving out the hanger bolt with the drill and not using any excessive force with a hammer or a mallet to loosen up the grip of this bolt.
The drill will do most of the work, even when you’re using the double nut method. Everything comes down to how you’ll be using your power tools, and trying to rush through the process will only leave you with a damaged piece and hours of wasted time.
Still, if you can’t afford to make any mistakes and are just trying to figure out how to get rid of the hanger bolt, then it will be better to ask someone from your local workshop. You don’t have to do everything yourself, and sometimes, getting an expert to chime in is the right idea.