Whether you’re working with a safety railing or any other wooden piece, being proficient in using hanger bolts is a must. The most common mistake that I find people making is that they will try to force the hanger bolt into the wooden piece.
Well, this method will help you get through the job quickly, but you will just end up destroying the wooden piece. Instead, you gotta master control here and make sure that the wood thread slides easily into the wooden piece.
That way, you will get better reviews on your work, and it won’t be that hard to retain clients. However, if you’re new to the game and don’t know much about precision, then let me help you with how to install hanger bolts.
How To Install Hanger Bolt?
When installing hanger bolts, your only focus should be on not damaging the wood. It wasn’t the easiest for me either, and I ruined a lot of my pieces while trying to perfect my technique. You just have to be patient and not try to rush through the drilling routine.
Required Materials
- Measuring Tape
- Drill & Bits
- Masking Tape
- Hanger Bolt
- Wrench

Keep in mind that most hanger bolts feature double-threaded sides (one for the machine and one for the wooden piece). The threads that have smaller spaces in between are meant for the drill, and you shouldn’t try to force the machine end into the wooden piece.
Lastly, before you get started with the actual procedure, make sure that you have the necessary safety equipment. These include safety goggles, gloves, and foot protection.
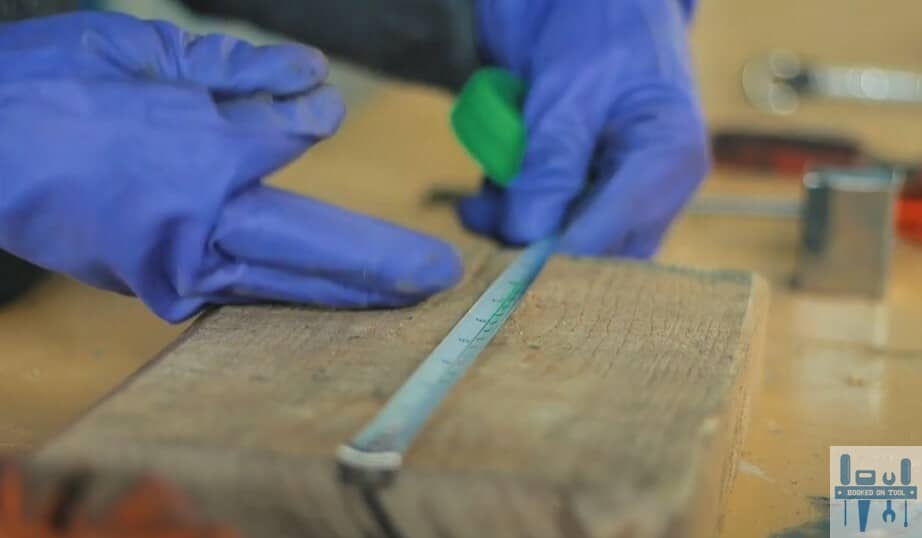
Step 1 — Mark Insertion Point
Skipping the measurements will only leave you scratching your head in the end. So, start by taking a measuring tape and then mark the exact spot that you wish to drill. You can use masking tape or a prominent market to mark the insertion point.
Make sure that you’re not putting the hanger bolt near chipped wood or anything of that sort. If the wooden piece is in poor shape, then you will likely damage it further when trying to use the power drill. So, make sure that you’re marking a healthy piece with minimal damage if you wish for a clean finish.
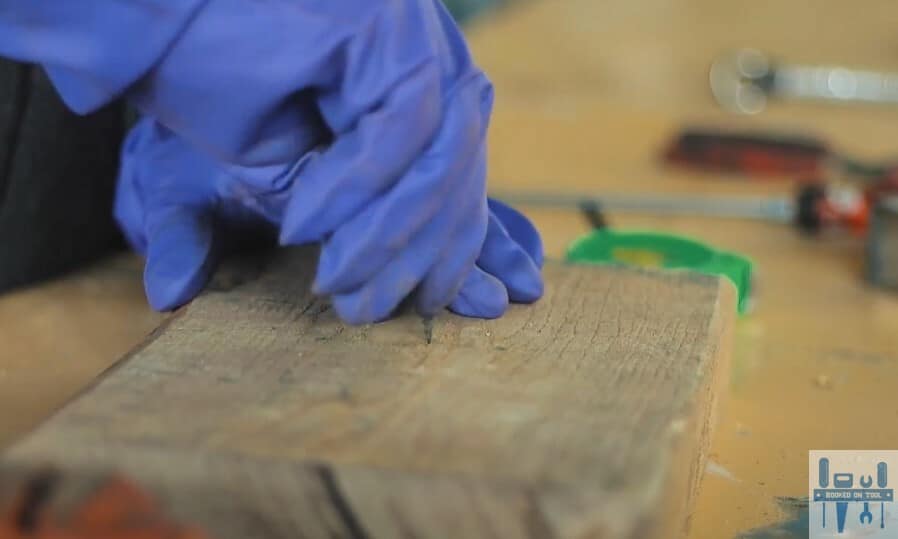
Step 2 — Create A Pilot Hole
Once you have a rough idea of the insertion point, you can rely on the pilot hole method. It is a beginner-friendly method, and experts would just rather drill the hanger bolt directly into the wood. So, depending on your experience, I would suggest that you start by creating a pilot hole.
Make sure that the drill bit that you’re using is smaller than the hanger bolt, and you can even start with the smallest and work your way up. That way, you will not have to deal with any accuracy or management issues, and managing the insertion point will be rather easy, to say the least.
Keep in mind that you need to drill the pilot hole relative to the depth of the hanger bolt. Creating a larger pilot hole will only loosen up the grip, and the wooden piece won’t be able to get any performance.
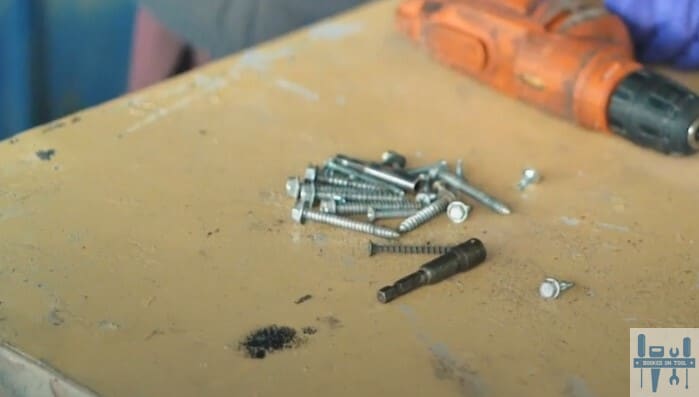
Double Nut Method
You can also use the double nut method to secure the hanger bolt. Just thread two nuts onto the bolt and then tighten them against each other to develop a strong grip. You can use pliers or wrenches for this process, and the tension between these nuts will ultimately dictate your success.
Once the nuts have been secured on the hanger bolt, get yourself a nut driver bit that attaches to the drill and holds the nuts properly. That way, you won’t have to worry about any precision issues when driving the hanger bolt into the wooden piece.
If you don’t have a nut driver kit, then I would suggest that you spare some budget. Trying to aim for a “make-shift” solution will only leave you confused. So, don’t waste more of your time, and get yourself a nut driver if you don’t have one in your workshop.
Step 3 — Drive Hanger Bolt Into the Wooden Piece
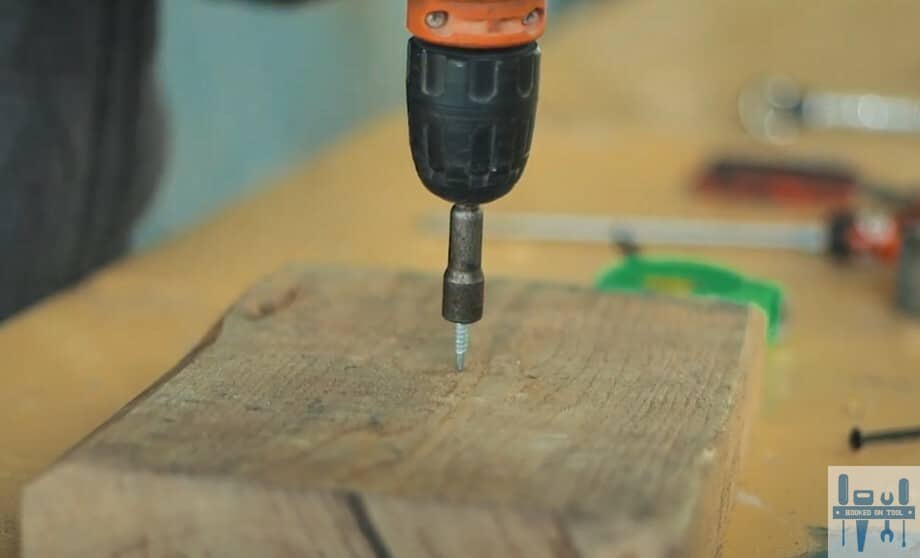
After securing the wooden piece, marking the insertion point, and creating the pilot hole, you can just drive in the hanger bolt. Don’t put too much pressure on the bolt as you’re driving it in, and let the drill do most of the work.
Trying to force the bolt into the hole in one go will only damage the wooden piece. So, take it slow and let the torque drive in the bolt. That way, you will have a much cleaner finish, and the wooden piece won’t look distorted or warped.
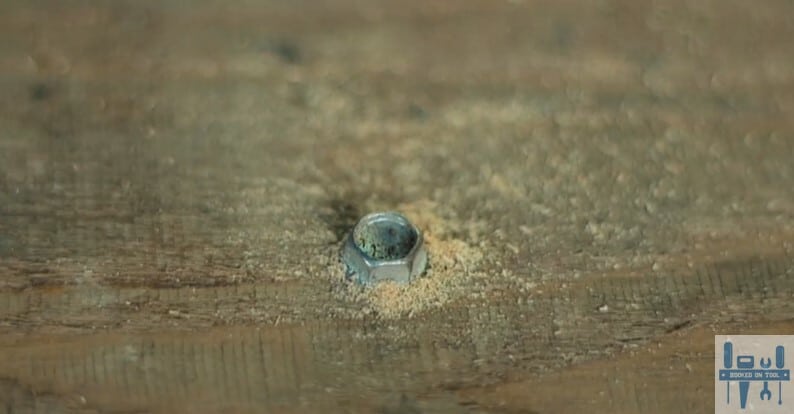
Step 4 — Clean Up The Dust
After you’re done driving in the hanger bolt with the nut driver, you can go ahead and remove the bolts with a wrench. Don’t tighten up the seal further, and make sure that both the nuts are removed. That way, it will be easier to attach a metal plate and other parts to your hanger bolt.
Lastly, you can just clean up the dust, use some polish, and patch in any chipped sections that were created. Leaving the mess unattended will only leave you with more work in the end. So, be sure to clean up the dust as well as the hanger bolt when you’re stuck in these errors.
Common Applications
The weird threaded patterns on both sides of a hanger bolt might leave you confused about its application, but you’ll be primarily using this bolt to attach things to wooden structures. Whether you’re hanging a picture or assembling a table, using the hanger bolts will be the ideal option.
While it might seem overwhelming to handle hanger bolts in the beginning, you’ll get used to these bolts in no time. Just keep track of the safety requirements, practice with smaller bolts, and focus more on precision.
What helped me the most was spending a few sessions with local woodworkers. So, if you can go to your local hardware store or workshop, that’d put you far ahead in the learning curve.
Tips
Some common mistake that I’ve found people making is that they will not match the size of the hanger bolt with the drill bit. Similarly, you’ll also see some people moving the masking tape on the drill when creating the pilot hole. These issues can be a hassle to manage in the long run.
So, you need to double-check the depth of the pilot hole, and don’t try to force in the hanger bolt. The drill should be doing most of the work, and if the pilot hole is of the correct diameter and depth, installing the hanger bolt will be rather simple.
The Takeaway
Whether you’re creating a new furniture set for your workshop or working on some decoration pieces, knowing how to manage the hanger bolt is necessary. You can’t call yourself a woodworker if you can’t properly install a hanger bolt.
Luckily, if you’re just starting out or don’t know how to install the hanger bolt, going through the details here should help. I’ve listed how you can use the double nut method along with a nut driver to install the hanger bolt perfectly.
If everything goes well, you don’t have to worry as much about the chipped wood or damaged sections. However, it would be foolish to assume that you’ll get the perfect finish on the first try. Just grab a rough wooden piece to practice with at first, and then you can move on to the project.
Lastly, if you’re not confident in your abilities, then learning from the experts is the best idea for you. Just get some local handymen to show you the ropes, and they will help you through each step of the process. You’ll be able to make a lot of progress within a minimal timeframe.