Unistrut maintains a simple metal structure, but it can be a hassle to work with when you don’t know how to cut it properly. Before anything else, we will encourage you to pursue proper protection equipment.
The use of safety glasses, gloves, and boots can make all the difference when working at a construction project.
Preferred Tools
The Unistrut can be cut with a variety of different tools, ranging from a hacksaw to an angle grinder and a dedicated chopping unit.
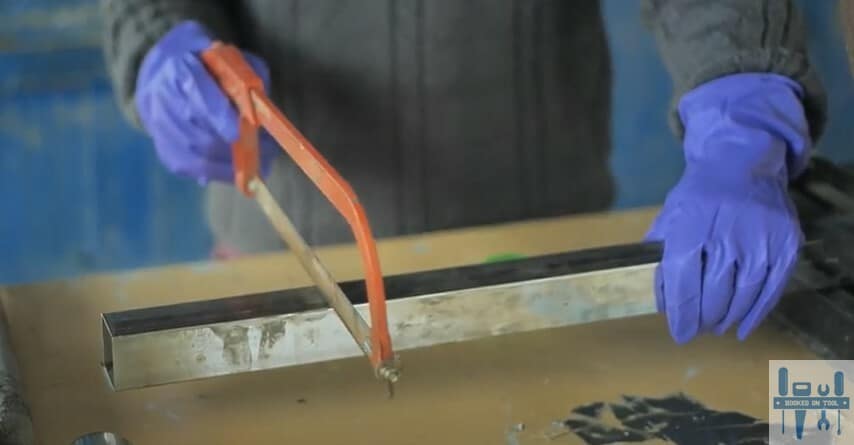
Using Portable Hacksaw
More and more contactors are now using a portable hacksaw to cut the Unistrut. While the finish is not the cleanest with an electric hacksaw, your skill as a workman will ultimately define the final presentation.
Working with an electric bandsaw is more efficient when you know your way around this tool. Once you’re confident enough, follow the pointers here.
- Clamp down the Unistrut
- Take measurements and mark the exact length (multiple times if necessary)
- Firmly grip the saw and start cutting down the marked line
- Clean up the rough edges with a quick trim on the side
Some professionals do also recommend sanding down the edges for a cleaner finish. However, this step relies only on the presentation that you’re aiming for. If you need a cleaner finish, then, by all means, do sand down the sides.
When using a traditional hacksaw, you can follow the same steps to cut the Unistrut. However, you’ll have to switch off a lower TPI (like 18 or 24 teeth per inch) and then start cutting the metal channel.
It will take you a hot minute to cut through the Unistrut with your traditional tools. Investing into some power tools will help you get ahead of the schedule in many projects.
Even though the price point on the power tools is expensive, you should spend the cash to get better efficiency.
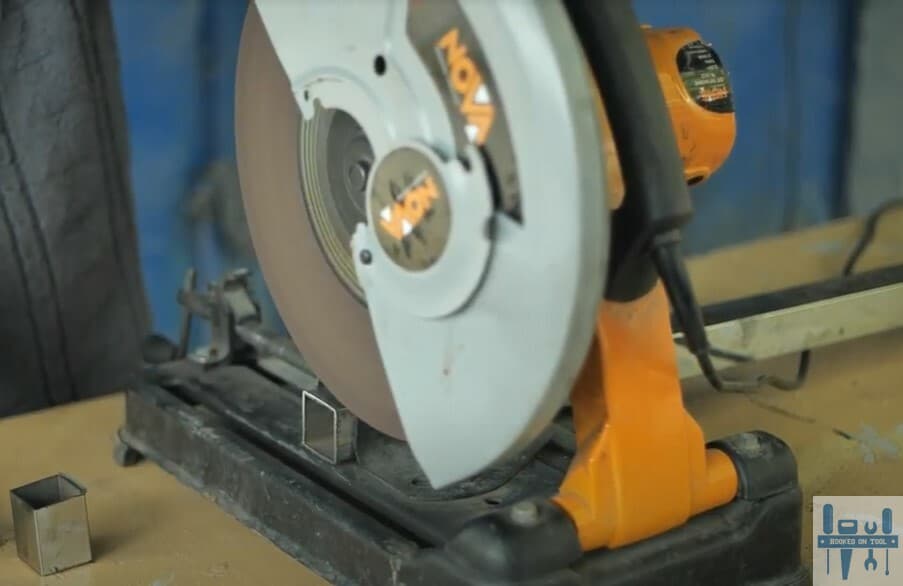
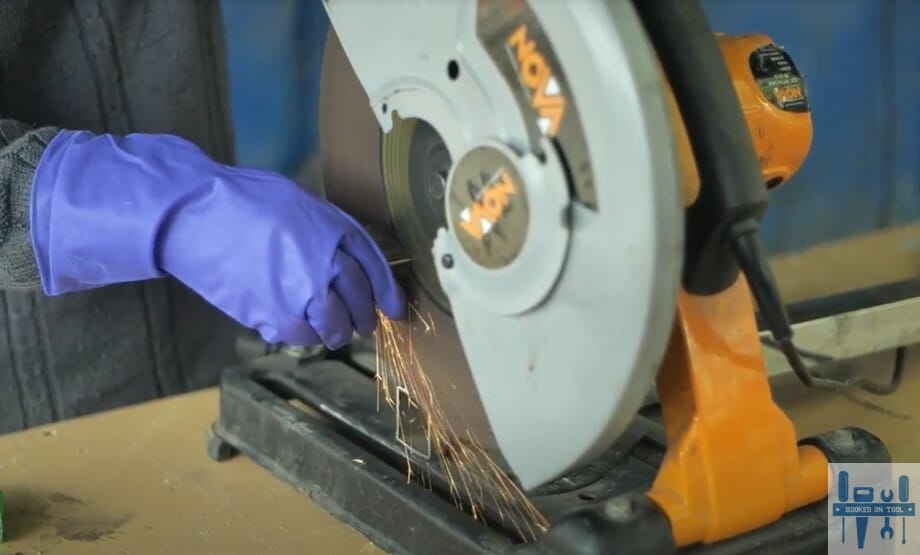
Using Chop Saw
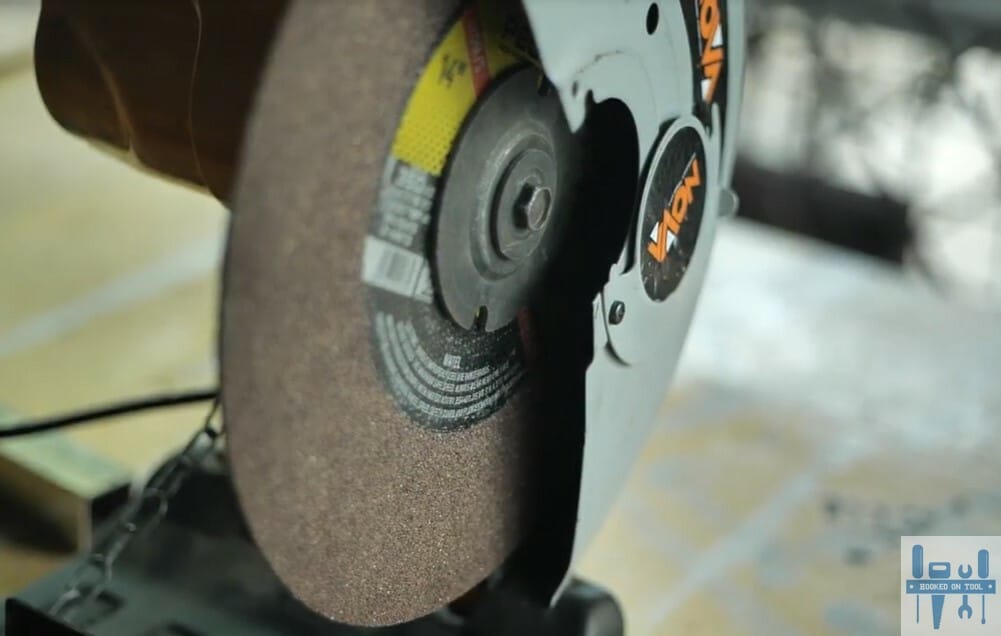
Using chop saw is more convenient and allows for a quicker finish on all of your Unistrut frames. The majority of contactors rely on a chop saw for more demanding projects, and you should follow the same routine.
One mistake however that we’ve found people making is that they will use an abrasive disk. While this disc is cheaper on your budget, the finish is just not clean enough. You’ll also run the risk of fire hazards and other complications when using this disc.
Instead, relying on the TCT (tungsten carbide tipped) disc will help you develop a much cleaner finish.
We understand that it can sting your budget to go with the more expensive option. However, that’s the price that you gotta pay for a better presentation.
The method will include
- Replacing the disc
- Marking the Unistrut
- Aligning the markings with the cutting direction
- Pulling down the lever and slowly cutting into the Unistrut
Try using more torque and lower speed configurations to avoid friction issues. Otherwise, the blade will get worn out and the Unistrut will get deformed (enough to ruin the project).
Using Unistrut Chopping Unit
If you’re not too worried about the budget side of things, investing in a dedicated chopping unit (cut-n-strut tool) is not that bad an option. It is undoubtedly the best cutting tool when you’re working with loads of Unistrut metal frames and channels.
The pros of using a “Cut-N-Strut” tool span beyond the basic efficiency and cleaner finish.
You’ll further enjoy benefits like minimal wastage, limited burrs, no spark, no debris, and less prep work. The adjustable end of this chopping unit is used to define the length of the Unistrut.
From there, the cutting routine is as simple as engaging the chopping machine and waiting a few seconds for the Unistrut to get to the proper size.
Keep in mind that you’ll also have to rely on a separate hydraulic power source for a more robust experience.
Removing Burrs
Finishing or cleaning up the burrs is sometimes ignored, but it can be the differentiator between an exceptional finish and novice work.
Luckily, it is not too hard to remove burrs, and you’ll have to use a wire brush or a hand file to clean up the edges.
It might take a minute or five at max. You’ll find that the clients are much happier when you put in this time to remove the burrs.
This statement is especially true when you’re working with or for medical professionals that need something to hold their lab equipment.
Preventing Corrosion
The job is not finished even after you’ve removed the burr. Every expert is aware of the fact that the exposed metal has no protection and is more susceptible to corrosion.
The last thing that you’d want is for the metal edges to corrode.
To prevent this corrosion a thick coat of galvanized paint should be applied to the edges. This layer of paint might steer off your measurements by a little margin.
However, you’ll be much better off with this method and won’t have to worry as much about the corrosion or rust.
The Takeaway
The Unistrut can be cut in a variety of different ways (depending upon the tools in your workshop). Using power tools is always preferred as they will help you be in control (even when you’re not that experienced).
From there, it all comes down to the measurement, the deburring process, and the coating process to finish up the cutting procedure.
Ignoring the finishing steps will only hold you back as the clients will leave a bad review or ask you to start from scratch.
Instead of saving a few minutes (or a few dollars) try striving for service excellence. This will boost the number of projects you’ll be considered for, and you’ll get more contracts the next season.
Learn more about how to cut the Unistrut by visiting your local workshop and asking some local handymen.
They will shower you with knowledge, and you won’t have to struggle as much with the cutting process. Hopefully, you’ll be able to create a phenomenal support structure!