Now, getting a stripped screw out of wood is the easy part. However, when it comes to restoring the wooden plank back to its original state (or at least a presentable state), you will have to go through a lot more hassle. So, be prepared to spend a few hours trying to fix your DIY project.
What worked for me was a plaster solution, but you can also try an epoxy solution. Depending upon the availability and the severity of the issue, both of these can help you fix a stripped screw hole in wood. So, don’t worry too much if you’re sitting on these materials.
While plaster is easier to manage most of the time because of its consistency, I’ve seen people develop some crazy designs with an epoxy mixture. So, if you’re trying to challenge yourself, be sure to stick with epoxy instead of plaster. It will take more expertise, but you’ll surely get better results.
How To Fix A Stripped Screw Hole In Wood?
Personally, I always use a thin wooden piece along with plaster to seal up the hole that is left by a stripped screw. It is simply quicker, and I can get through the DIY project pretty easily when relying on this method. So, if you’re also new to the game, just try out the method I use.
Safety
While there is no serious risk here, I’ll still suggest that you use foot protection ( In case you drop the wooden plank on your feet), and also, having rubber gloves will keep your hands away from the mess. So, get yourself some gloves and a pair of work boots before starting the patching routine.
Materials Needed
You don’t need a ton of things to get through the patching cycle. Just use some
- Plaster
- Hot water
- Plastic Bowl
- A Wooden Stick
- Cutter
- Sandpaper
- Paint
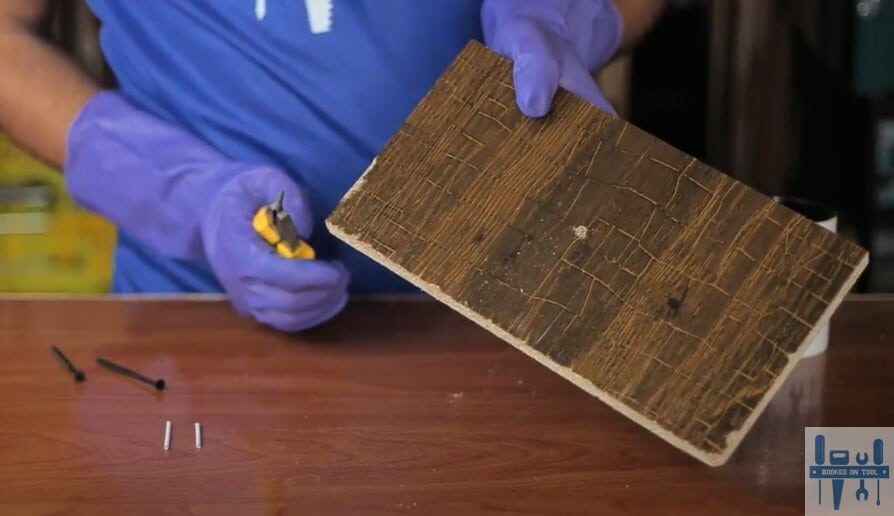
Step 1 — Prep The Surface
Before you speed through the patching routine, I’ll always suggest that you prep the surface. Get rid of any gunk or lose pieces that might come out, and then start fresh when it comes to patching up the hole. If you have a can of compressed air, just blast that into the hole.
That will surely get rid of the gunk, and you can create a better bond with the wooden piece and plaster. From there, just clean around the hole with a dry cloth, and you can get started with the patching cycle. Hopefully, you won’t have to go through as much hassle when the foundation is strong.
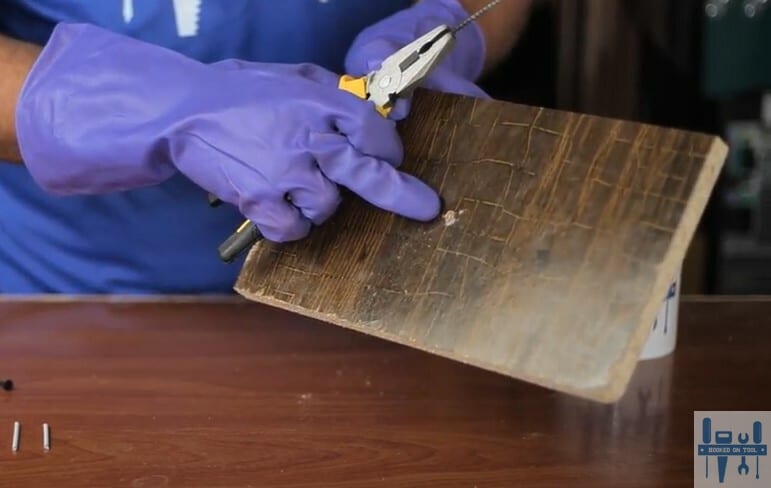
Step 2 — Stick In A Thin Wooden Piece
At this stage, you can just grab a thin wooden piece that is slightly smaller than the hole left by the stripped screw. Most of the time, a toothpick is enough, but you can create a new piece of a thin wooden stick with a plank. So, have that in mind when you can’t find a stick.
From there, just lodge that fully inside the hole. You can also create a wooden nail-type structure and make it thinner at the bottom. That way, the grip with the surrounding will be much better, and you won’t have to hassle at all when it comes to using the wooden piece.
Some people also like to hammer down the wooden stick, but all that comes down to how you’re planning on addressing the situation. So, keep a hammer or a mallet ready if you wish to push in the wooden piece with some extra force.
From there, you can just grab a blade or a cutter to gid rid of the excess stick that is above the wooden surface. Make sure to get the wooden stick flush with the surface, and that will make your job easier from this point forward.
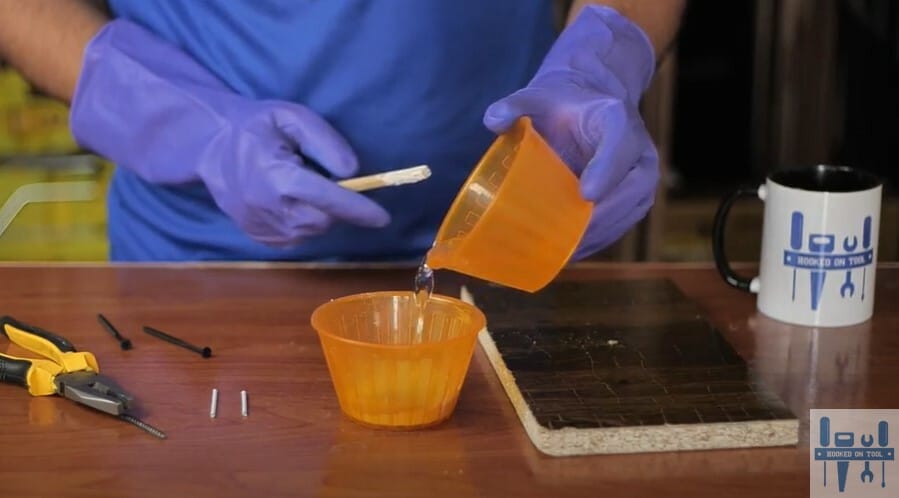
Step 3 — Mix Plaster
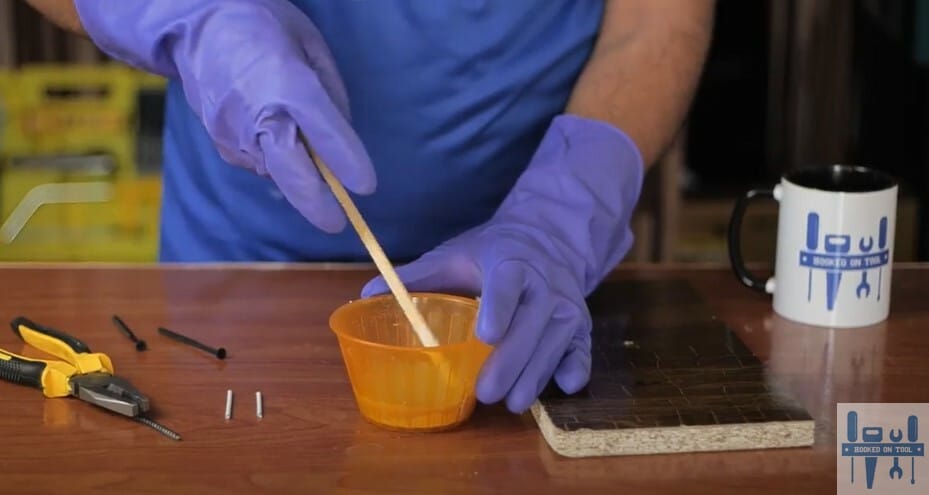
Now, you can start mixing in the plaster with some hot water and keep stirring it with a wooden stick. Put some plaster into a plastic bowl, then add some hot water, and start stirring. Depending upon the consistency of the plaster, you will have to keep stirring for a while, so be prepared.
You should aim for slime-like consistency. Stirring the plaster with water for a long time or adding too much water to the bowl will only complicate the situation for you. So, you gotta avoid doing that and only focus on getting the plaster to the desired consistency.
The thicker the plaster, the easier it will be for you to address issues with consistency. So, have that in mind, and don’t add too much water to the plaster. Otherwise, you will just be complicating the situation for yourself, and managing the plaster layer will get a bit harder.
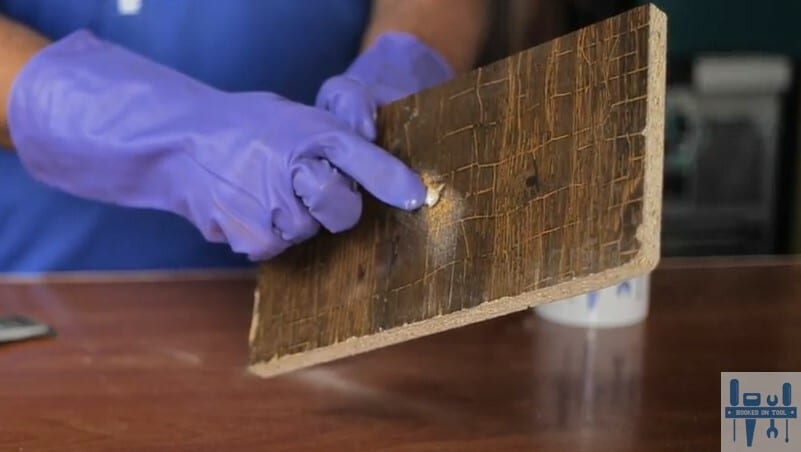
Step 4 — Apply Plaster
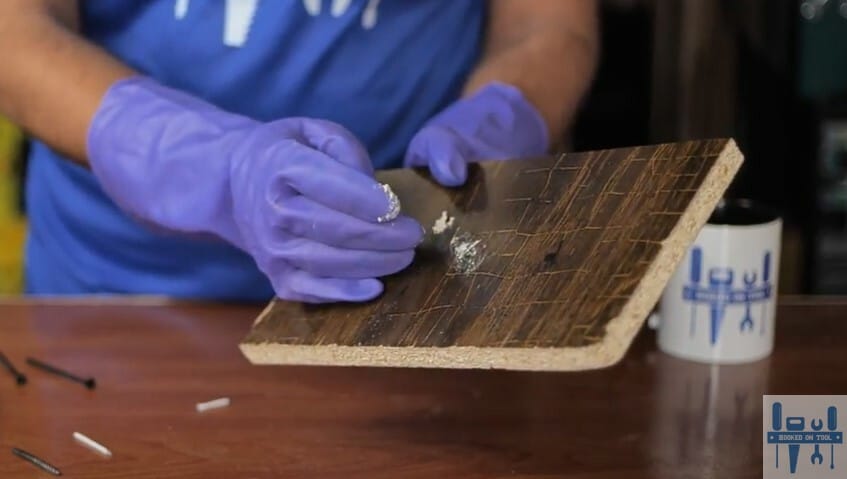
You can now get some plaster on your fingers and apply a thick coating of this plaster on the hole to seal it up. I am assuming that you’re wearing some rubber gloves here to protect your fingers from the mess. However, if you’re not, then it would be better to apply the plaster with a wooden stick.
I personally like to apply the plaster with my fingers as it gives me more control. Still, if you’re confident that you’ll be able to get the plaster into the crevices with a wooden stick, then there is no need to struggle too much with the rubber gloves method.
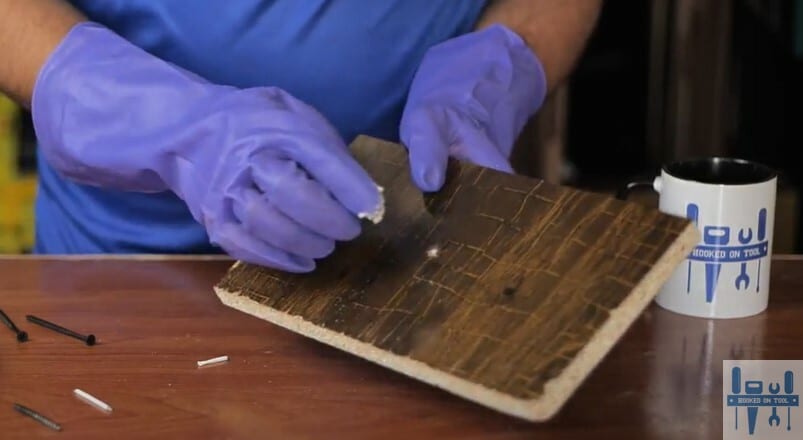
All that you’re trying to do here is to get as much plaster into the hole as you can. So, be patient and cover all the sides thoroughly when it comes to applying plaster. That will save you a lot more time down the road.
Step 5 — Let It Cure
The plaster won’t take that long to cure, but you will still have to leave it for a while to let it cure. Depending upon the consistency of the plaster, the final waiting period can vary quite a bit. So, check back on the plaster and make sure that it has solidified.
If it is still a bit gooey, then I’ll say that you let it rest for a bit more time. It won’t be too much of a hassle to manage the finishing touches when the plaster has been solidified properly.
Step 6 — Sand Down The Excess
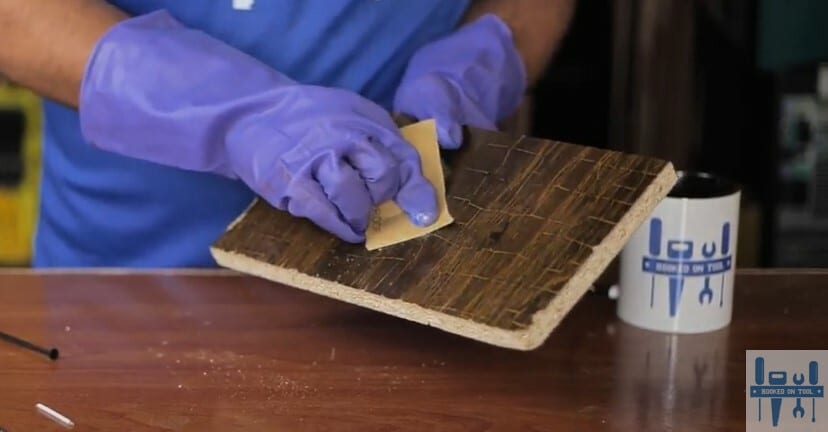
Approaching the final steps of this method, you can just sand down the excess with the sandpaper. Using sandpaper is more than enough to help you get rid of the solidified plaster. You need to make sure that the plaster is flush with the wooden surface.
It will take a bit of effort, and you should try not to damage the surroundings as you’re sanding down the plaster. Otherwise, you will create an uneven texture, and you will have to sand through the whole wooden piece to get a reasonable final product.
Step 7 — Finish Up With Paint
Lastly, you will need some paint that matches the color of the wooden plank you’re trying to patch up. It will take a bit more time to manage the color perfectly, but even if you’re not able to get the perfect shade, a bit of paint will do a great job of blending in the plaster.
So, don’t worry too much if you’re not able to find the exact match. Just try your best, and you won’t be able to tell the difference after the paint cures. From there, you can get on with the project without worrying about the hideous holes left by the stripped screws.
Note: While this method with the plaster might sound great, you will still be missing out on a lot when using this method. If the hole is big enough and the damage is a bit too much, then I’ll suggest that you go with the epoxy resin.
You can create some great designs with the epoxy resin mixture and some dye. The only con of the epoxy resin is that it takes much longer to cure, and you will have to deal with air bubbles. However, if you have a bit of experience, that won’t be too hard of an option for you.
Just use a heat gun or a blower to get rid of the air bubbles. From there, you can enjoy the cool designs presented by the epoxy resin. Hopefully, that won’t be too much of a hassle, and you will be able to develop an amazing piece with resin.
The Takeaway
Getting rid of the holes left by stripped screws can be too much of a hassle for beginners. However, it is a necessary skill to learn when you’re working with wood and want to increase your experience as a woodworker. It will not take that much of your time when it comes to managing the wooden piece.
All you have to do is insert a little piece of wood into the hole, then cover the top with some plaster. The plaster can then be allowed to set and harden before being sanded with sandpaper to make it flush with the hardwood surface.
The final step is to simply purchase paint that is the same hue as the plank and apply it to cover up any minor imperfections. If you are talented enough to match the hue exactly, you won’t even notice the difference. Therefore, give it your all here.
If you’re confused or can’t seem to get through the process on your own, getting help from local professionals is never a bad idea. Just ask the locals to help you out and they will make your life much easier when it comes to developing a great final project.