Whether it is garden work or you’ve just secured a construction project, knowing how to tie steel wire will help you a ton. The versatility of these wires makes them perfect for any project, and I’ve just seen too many beginners getting confused about their use.
While the technique and the tying method are fairly simple, it is not uncommon to see people mess up the project. Issues like excessive slack or damaged wires can often risk the integrity of your whole project. So, although it might seem simple, learning the proper tying method will be better for you.
It took me a while to get comfortable with the steel wires as well, and at least I don’t have to worry about the metal structure falling apart or slipping out of the grip after I’m done. So, if you’re new to the game, let me walk you through how to tie steel wire.
How To Tie Steel Wire?
You don’t need a lot of things or tools to get through the tying routine. All you need are regular wire-cutting pliers, and you’re sorted. Keep in mind that the wires come in different diameters, and handling some can be more difficult than others, so be prepared for that as well.

Safety
As far as safety is concerned, you’ll still need your gloves and foot protection. While the steel wire might look delicate, it can be sharp, and you don’t want to put all the strain on your fingers. Similarly, foot protection is necessary to avoid injuries in case something falls from your grip and lands on your feet.
Step 1 — Measure Wire Length
Just like every other project, you gotta start by taking the measurements. Depending on the width or the dimensions of the metal objects you want to tie together, the length of the steel wire can vary. However, being more generous with the use of steel wire at first is not a bad idea.
Especially when you’re a beginner, just don’t worry about the wastage and grab more than you think you might need. From there, you can use the wire-cutting pliers to remove the required wire from the loop.
Step 2 — Tighten Steel Wire
Once you have the required wire length, fold it from the middle and give a few turns to intertwine both ends. This will add to the structural integrity, and you can then use this wire to tie up the steel or metal structure.
Don’t worry about the wires breaking, as the steel wire has amazing tensile strength. As long as you’re confident that the wire is not rusted and you’ve just bought a new batch from your local hardware store, it is not that hard to make use of this wire in your projects.

Step 3 — Wrap & Tie The Steel wire
After tightening up both ends of the wire piece and giving it a few turns, you can then wrap the steel wire across the metal structure. Make sure that the metal structure is firmly in place and that there is no space between the wire and the metal structure.
You need to make sure that the metal structure is placed on a solid surface and there is no wobble. Any inconsistency in the tying routine will only create more problems for you down the road, as the metal will just start slipping out of the wires.
From there, you can just take both ends of the steel wire and start wrapping them around each other. Make sure that the wire is almost flush with the surface and there is nothing pulling apart the metal structure at this point.
Step 4 — Check For Slack
After wrapping the ends of the steel wire and tightening them up correctly, try to jiggle the metal structure. If you can see gaps or the wire is not flush with the structure, then you need to tighten up the steel wire a bit more.
All that you’re trying to do here is ensure that the metal structure is not able to move about freely and that there are no spaces in between. If you’ve messed up the initial placement of the wires, then there’s no other option left but to start from scratch. So, have that in mind when you’re stuck.
Similarly, some people make the mistake of wedging in more metal pieces or objects to make it a snug fit. While this makeshift solution is indeed “creative,” I would advise against it. There is no telling when this wedge will come out, risking the integrity of the whole structure.
So, even if you have to go through the hassle of starting the tying project from scratch, don’t look for the shortcuts. Otherwise, you’ll be left with a defective finished product at best.
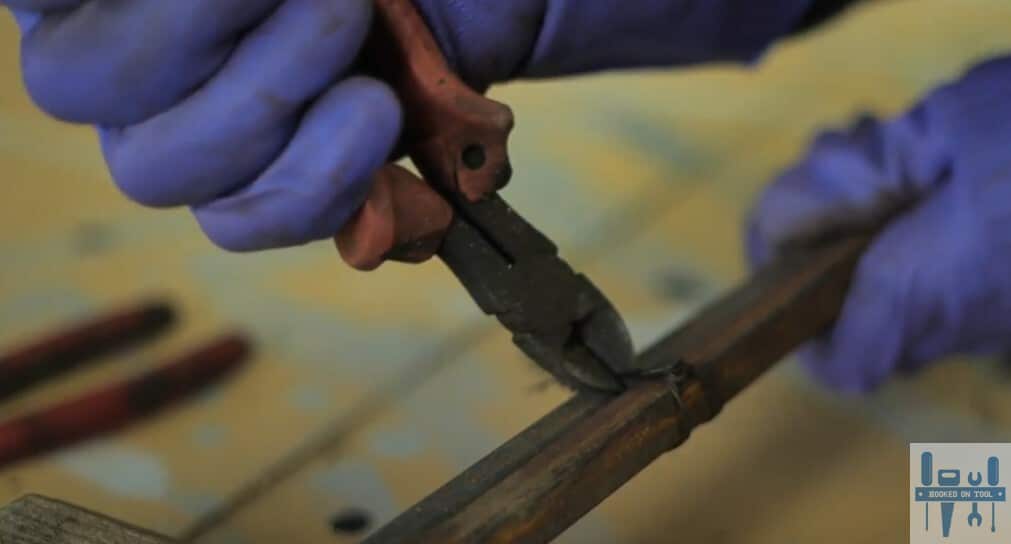
Step 5 — Cut The Excess
Lastly, when you’re happy with the tighter fit, just get rid of the excess. This might not be necessary for all projects, but it does look cleaner, especially when you’re working with a new client. So, if you’re new to the game, just grab your wire-cutting pliers and get rid of the excess.
Make sure don’t to cut the turns or the knots, and only cut above the knots. That way, the integrity of the knot will not be affected, and you’ll have a perfect knot to present to your clients. So, have that in mind when you’re trying to secure more work.
Similarly, if you’re working on a DIY project and still don’t know how to work with steel wires, then it might be a good idea to ask your local experts. They will help you a ton when it comes to getting rid of the slack and making sure that the metal structure is secured fully.
Visiting your local workshop once in a blue moon will help expose you to many innovative techniques. So, if you want to spark your creativity or improve your skills as a handyman, just spend a few sessions with the experts working in your local workshops.
The Takeaway
Knowing how to work with steel wires is a must when you’re getting into DIY projects. I struggled a fair bit when it came to creating a tight and secure knot with these wires. There was just too much slack, and the metal rods just wobbled around the steel wire knot.
If you’re struggling with a similar issue, be sure to lay the metal rods on a stable surface and then use a thinner wire. It is much easier to work with thinner wires, and you can double up on the use of thin wires when you’re just starting out.
From there, the wire will easily wrap around the metal rods and create a nice fit. Everything boils down to how you’re planning on managing the project, and working with thinner wires will give you more control.
Similarly, you can first use a pair of thin wires and then switch over to thick wires for more integrity. Personally, I find it fun to work with these wires as they are pretty malleable and soft. Hopefully, it won’t be much of a hassle for you to work with steel wires after practicing a few times on DIY projects.