We all know how to tighten or loosen screws using basic pliers, despite the fact that there are many different types of pliers available on the market. It might be aggravating to learn how to use hog ring pliers because they are less common than the other types.
I had to struggle a bit with these pliers as well as I kept messing up the hog ring placement inside the pliers. So, if you’re new to the game, then there are chances that you will have to go through a similar issue when trying to perfect your technique.
However, I am confident that you’ll be able to get the hang of hog ring pliers after a couple of projects. So, don’t hesitate to use the hog ring pliers and just get to work with them. Just be patient and try your best, and you’ll get better in no time.
How To Use Hog Ring Pliers?
The key factor that plays into using the hog ring pliers is how the hog ring is placed inside the pliers. From there, the rest is simple as you squeeze down on the handles to create an O shape with the hog ring. So, focus more on the initial step.
Safety
Just having simple hand and feet protection is enough, and there is no serious risk involved. However, be mindful of your fingers, as the last thing that you want the hog ring to pierce is your fingers. So, make sure that your hands are away from the hog ring at all times.
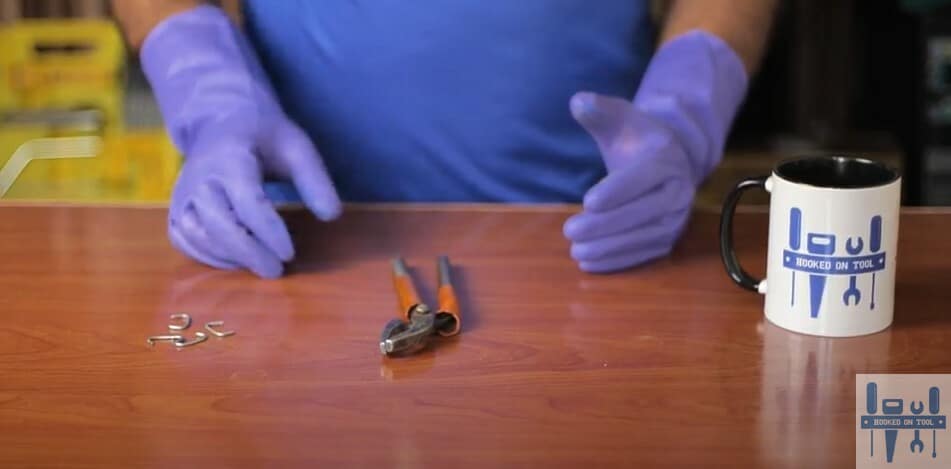
Materials Required
- Hog Ring Pliers
- Hog Rings
- Fabric/Metal
Step 1 — Put Hog Ring Inside Pliers
I suggest that you start by putting the hog ring inside the hog ring pliers. You can find grooves inside the hog ring pliers that will provide the perfect placement for the hog rings, so don’t worry too much about the hog ring slipping out.
Usually, the hod ring will be in a C shape, and you can point the open end of the hog ring outwards with the closed end being on the inside of the pliers. However, this can vary depending on the type of hog rings that you’re using.
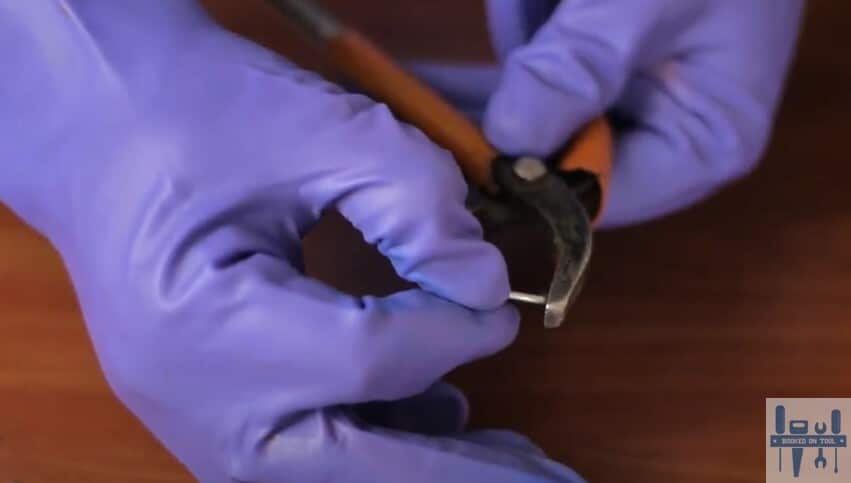
Still, the most common type of hog ring is the C type, and I use it personally as well in my projects to get through different projects. So, try and specify to the dealer that you need to get a C shape hog ring for your projects.
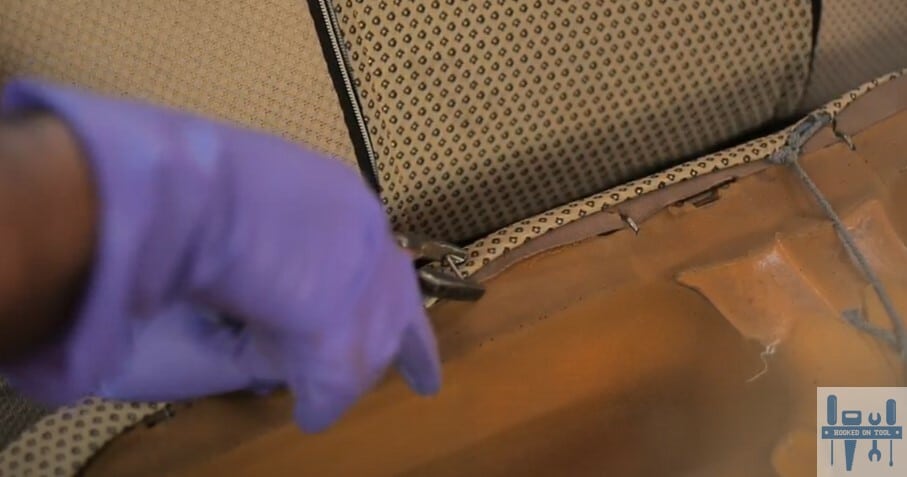
Step 2 — Prep & Align the Material
At this point, you need to start focusing on prepping and tightening up the material. I personally use the hog rings to clamp down the cushion covers on my sofa. So, if you’re in the same situation, just make sure that the fabric is sung with the foam and that there aren’t any loose gaps.
You need to pull the fabric or the leather as far as you can on the cushion and then use the hog ring pliers (with the hog ring inside) to create a bond. Everything boils down to how well you prep the material, and having too much slack in the leather or the material will only create more complications for you.
You can start with one side and then move to the next. There is no need to do every side at once, as that will only increase your work while also creating unnecessary slack in the cushion cover. Hopefully, that will not be too much of a hassle for you.
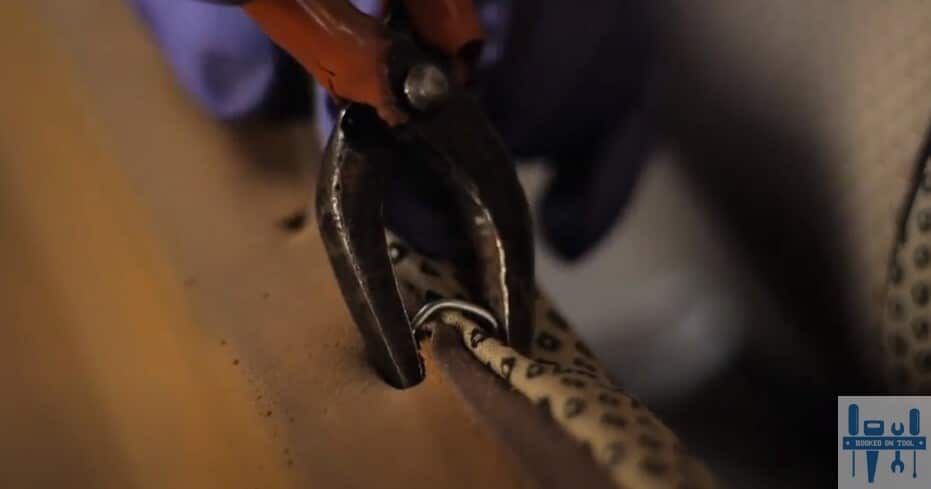
Step 3 — Squeeze The plier
Now, you can squeeze the pliers while also driving them into the material to pierce the leather as well as the foam. It might put a bit of strain on your forearm, but there is no harm in a bit of forearm workout. So, squeeze down on the handle firmly to close up the metal ring.
The ring will form an O shape, and you have to make sure that the ring is pierced through the fabric, leather, and foam. Otherwise, you will not be able to develop a strong enough grip for the metal ring to be impactful. So, be firm when you’re going through the material.
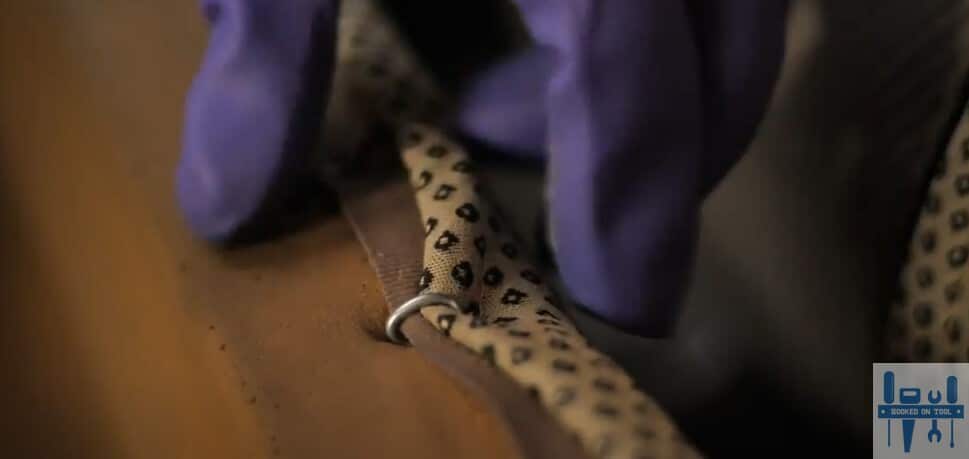
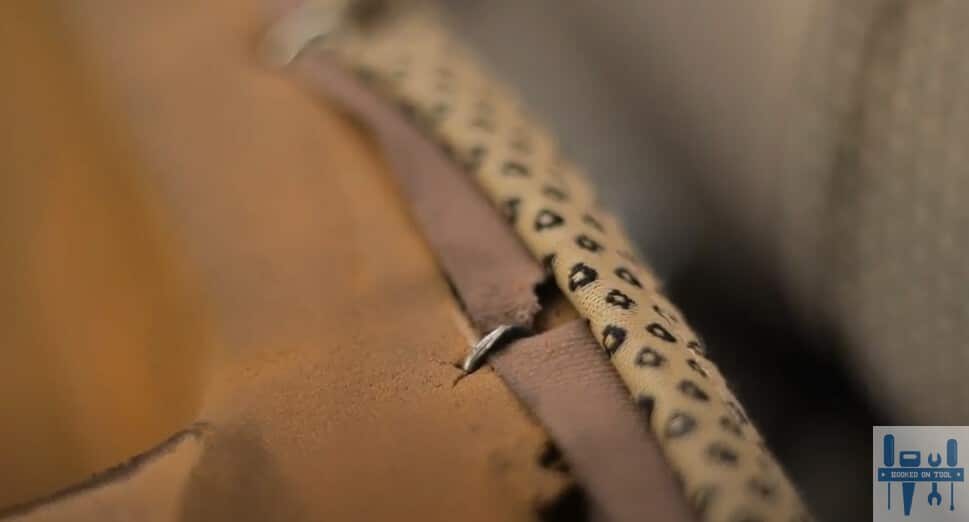
Step 4 — Check The Grip
At this stage of using the hog ring pliers, you need to check the grip of the hog ring with the materials. If the material has slipped out of the hog ring and didn’t pierce through the material, then you will have to get started from scratch.
There aren’t any other steps, and you need to make sure that the grip of the metal is strong enough. You can try yanking on the metal ring a few times. If the fabric is firmly lodged inside the ring, then there is no need to worry about anything.
However, if the fabric does come out of the ring after yanking on it a few times, then you’ll have to remove the ring and get started with a new one. So, make sure to test the hog ring thoroughly.
Step 5 — Repeat
Now, you just gotta repeat all of the steps I’ve listed here a couple of times. Ideally, two or three rings on each side should be enough when it comes to having a good grip between the foam and metal. So, have that in mind when you’re stuck and can’t seem to figure out the right quantity of hog rings.
Still, your key focus should be on making sure that the rings have pierced through the material correctly. Similarly, if you’re working with a larger cushion, you can even use five rings per side. Everything comes down to how you’re planning on addressing the project.
Note: I’ve seen a fair bit of people trying to use regular pliers to get the hog rings installed. However, you can’t do that to get through a larger project. Using the regular pliers is much harder as the grooves inside the regular pliers will not hold the hog rings properly.
The upside to hog rings, besides the specific grooves for the hog rings, is that these pliers are not that expensive. So, you shouldn’t worry about the budget too much, and get yourself a pair of hog ring pliers from your local hardware store.
The Takeaway
It is not that hard to use the hog ring pliers once you’re aware of how to palace the hog rings inside the pliers. You just have to make sure that the open end of the hog rings is pointing outwards and then align the material for the hog rings.
From there, you can squeeze down on the handles to pierce through the fabric as well as the foam to establish a solid bond. You will not have to bother with any loose grip issues if the rings do pierce through the fabric/leather.
Ideally, you should need about three hog rings per side, but that can vary depending upon the size of the cushion as well as the hog rings that you’re using. So, be creative and experiment with different quantities. You’ll know the grip is strong enough when there is no slack on the cushion covers.
Lastly, you can also finish things up by yanking a few times on the hog rings. If the hog rings don’t come out and the cushion cover stays snug with the foam, then you don’t gotta worry about anything. The cover will remain in place and you will never have to deal with baggy sections.