We have all broken a screw or two when working with wooden planks. However, I didn’t realize how hard it is to get rid of a stripped screw when it is stuck inside the wood. I mean, it took me a couple of hours to safely take the screw out of my plank.
Similarly, I’ve also seen a couple of queries on online forums where people would mention the same issue with stripped or damaged screws on their cupboards or cabinets. So, if you’re into DIY projects, chances are that you will run into the same issue at some point.
However, once you’re aware of the basic method of how to get a stripped screw out of wood, then the problem becomes fairly simple to address. You just gotta figure out how to develop a good grip around the screw, and the rest is simple as you pull it out.
How To Get A Stripped Screw Out Of Wood?
Now, I’ll be going over how to get a stripped screw out of wood where the screw head is completely detached or broken off. Obviously, you can’t just grab a screwdriver and start poking at the screw body to get it out, as there is no screw head for the screwdriver tip to engage with.
For this reason, my go-to tool for this process is pliers. I rely on pliers to get rid of the broken or stripped screws, and you can do the same. So, instead of looking towards screw extractor bits and a drill, you should use pliers as well.
Safety
When working with planks, there is a good chance that they might slip up and land on your toe. The last thing that you’d want is to go on bed rest for weeks to fix your swollen foot when trying to get the broken screw out. So, get some proper foot protection along with rubber gloves to avoid the mess.
Materials Needed
- Pliers
- Wooden Piece
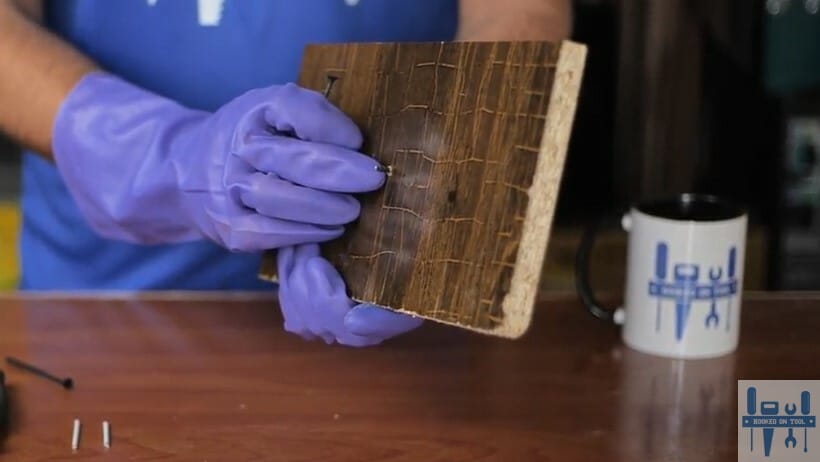
Step 1 — Check The Damage
Just like every other project, I’ll suggest that you start by assessing the damage. Jumping right into the extraction routine will only damage the wooden piece further, and you need to check for loose chunks around the wood.
One common mistake that I’ve found people making is that they’d start hammering down on the wooden plank from the other side. While it might make sense in your head, the threads on your screw won’t disengage, no matter how hard you hammer the plank.
So, don’t damage the wooden piece as you’re trying to get rid of the screw. Instead, focus more on establishing a decent grip and rotating the screw to get it out. Otherwise, you will just be wasting your time and damaging the wooden piece further.
If you do find there to be any loose chunks, just get them out at this point. There is no point in trying to salvage the damaged wood at this point, and you can patch up the broken section with plaster or epoxy resin.
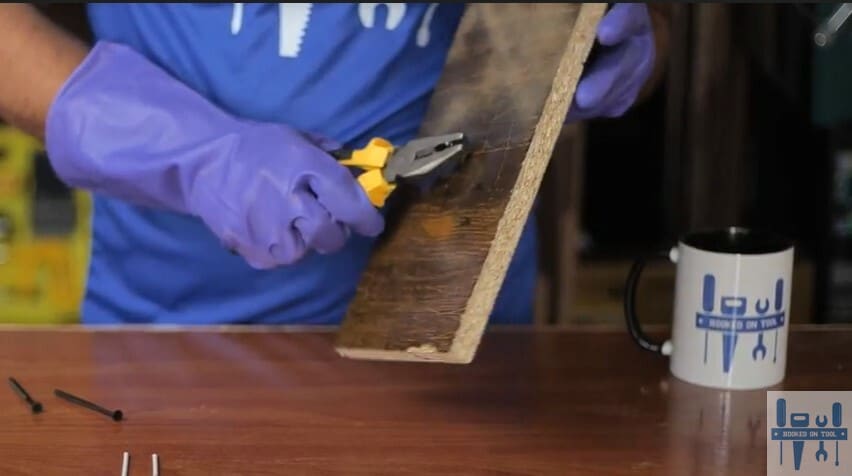
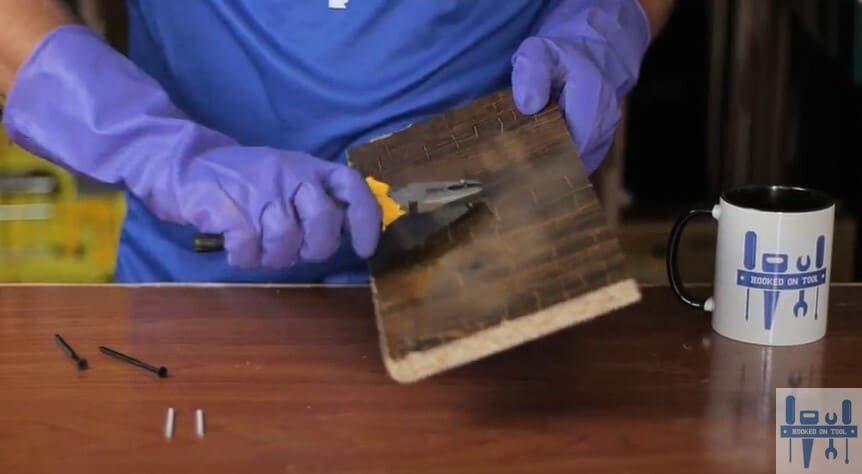
Step 2 — Firmly Grip The Screw
Now, grab your trusty pliers and hold the screw firmly. I am assuming that the top section of the screw is exposed and the screw is not broken off inside the plank. So, if you can see the top section of the screw, just hold it properly with the pliers.
On the other side of things, if you’re unlucky and the top section of the screw is not exposed, then you are in a rough spot. You can’t rely on the same method of gripping the screw right away. In this situation, you have two options.
You can either break the exposed end or file it down with a metal filer. That way, it will not look out of place, and a bit of epoxy or plaster will cover up the hole that might be visible. However, if you are committed to getting the screw out, then you will have to first clear up a bit of wood.
Either you can use a chisel or a hammer to intentionally break the top section of the wooden plank. I won’t recommend that you go with this method, and covering up the screws is a much better idea. So, have that in mind when you’re trying to get rid of the screws.
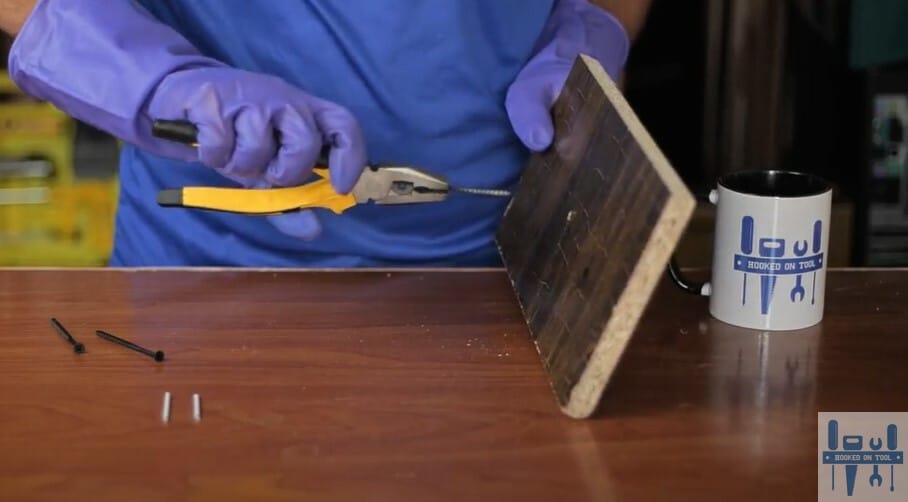
Step 3 — Loosen Up The Screw
Anyhow, after firmly gripping the screw with your pliers, just start rotating the pliers anti-clockwise. You don’t have to overcomplicate the situation, and you can just keep rotating the screw. Make sure that you’re maintaining pull pressure on the screw.
The threads will start to disengage as you rotate the screw that is lodged inside your plank. Hopefully, the hassle won’t be that much when it comes to removing the screw from the plank. Just keep rotating it for a couple of minutes.
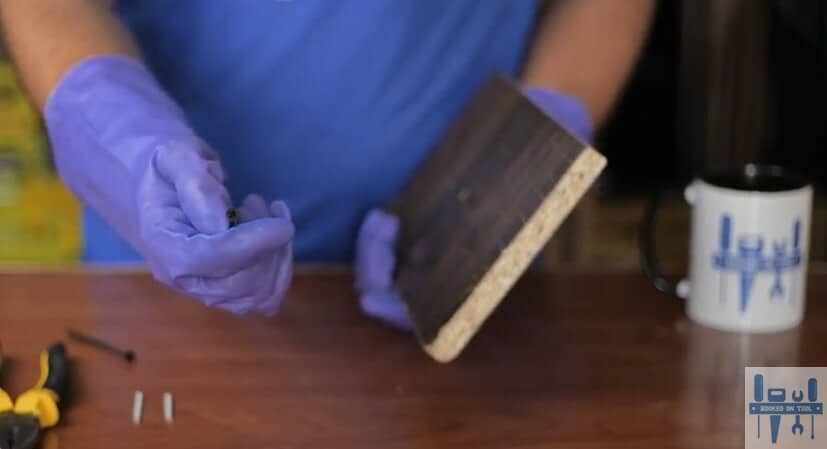
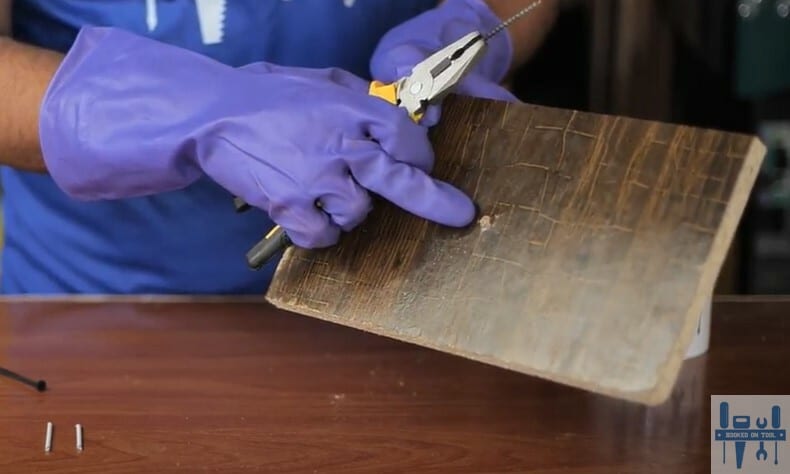
Step 4 — Pull It Out
A few turns are all that you need to loosen up the screw properly, and you can then just pull it out. Keep in mind that it will also pull a few chunks from the wooden piece. However, the damage should be pretty minimal if you’re able to unscrew the screw a few times.
So, before you start yanking on the screw, just give it a few good turns. That way, the threads won’t lock up with the wood, and the screw should disengage. Everything boils down to your patience, and you shouldn’t try to force the screw out of the wooden piece right away.
The key here is establishing a good grip on the broken piece. Otherwise, you will not be able to get rid of the screw. So, have that in mind, and you won’t have to worry as much about damaging the wooden plank when getting the screw out.
Step 5 — Clean Up The Mess
Lastly, to finish things up, you just have gotta get a damp cloth and remove the wooden traces and smaller particles. You can also use a brush to get rid of the wooden fibers. Some people also recommend that you need to sand down the insertion point.
So, if you’re in possession of a filer or a grinder or sandpaper even, just use that to even out the surface. It will take a bit of hassle on your end, but there aren’t any quick methods that you can use to skip this step.
Ignoring the final touch-up will only make your plank look damaged, and you won’t believe how far a bit of detailing can take your project. So, don’t hesitate to clean up as much as you can. I am confident that you’ll be much happier with the final result after getting rid of the smaller chunks that are sticking out.
One more thing that I will recommend here is that you need to get help from the local workshops to get through these projects. You can just reach out to the experts working there and work with them to get rid of similar problems. They will let you in on their unique tips, and you’ll learn a lot.
Note: Getting a stripped screw out of a wooden plank is not hard. However, getting a stripped screw out of a wooden plank without damaging it can be pretty challenging. So, if you’re new to the game, just be patient with the process. Trying to pull out the screw by force will do more harm than damage.
Instead, your only focus should be on rotating out the screw. That will disengage the threads, and the only complicated part is getting a good grip with pliers. You can even use a drill extractor bit and use that to get the screw out.
However, if the wooden plank is fragile and thin, then that will only create more hassle for you. Similarly, you can also choose to go with a wrench instead of pliers to get a similar response. Still, the grip strength won’t be all that great, and you might run into an issue or two while rotating the screw.
What will help you the most is hiring an expert. You can contact the experts in your local region and have them guide you on this matter. That way, you will avoid a ton of hassle and will also end up learning a lot from these professionals. So, don’t hesitate to get help when you’re in over your head.
The Takeaway
Stuck with a stripped screw in your cupboard or a wooden plank? Try following the things I’ve listed here, and you’ll be all sorted out. Getting through this extraction cycle is easier than you think. All that you need to do is to create a good grip with pliers and rotate the screw anti-clockwise.
Once there is a good wiggle to the screw, you can use some force to pull it out. However, yanking on the screw with the pliers from the start will only damage the wooden plank from the inside. So, avoid doing that if you’re getting any funny ideas about getting the screw out.
All that you need to do is to disengage the threads and then pull out the screw gently. This will still cause some damage, depending upon the severity of your issue. However, the damage will be pretty minimal when compared to simply yanking out the screw from the get-go.
Lastly, when you’re done, just clean up the plank and grind down any rough regions. That way, your plank will look much better and you can even rely on options like plaster or epoxy to cover up the broken sections.
Everything boils down to how you’re planning on addressing the issue.