
Going through the hassle of setting up a neodymium magnet and magnetizing the tip of your screwdriver might sound easy, but after a couple of months, I can guarantee that it will get annoying.
Wouldn’t you also want a permanent method that will help you permanently magnetize the tip of your screwdriver? How about using electromagnetic? Experts point out this method to be the superior option when permanently magnetizing the screwdriver for a decent pull.
Lastly, if you’re not sitting on a magnet and need a decent alternative to help you with the maintenance of your screwdriver, then let me help you out. Here are some details on how to magnetize a screwdriver without a magnet.
How To Magnetize A Screwdriver Without A Magnet?
All the materials that you need to magnetize your screwdriver without a magnet would already be in your shop. There is no need to worry about purchasing extra materials or any wastage when magnetizing the screwdriver without a magnet.
Materials Required
- Screwdriver
- Cloth
- Pliers
- Wire
- Battery
Safety
You’ll be working with a live battery, and having some gloves on is the bare minimum. You can also choose to go with foot protection or face protection if the workshop is a bit busy. You’ll never know when you might need them.
Step 1 — Clean The Screwdriver
Even though you could believe that when using an electromagnet, there is no need to remove the grime or clean the screwdriver, that is not the case! You still need to remove any metal fragments or other anything that can obstruct the procedure.
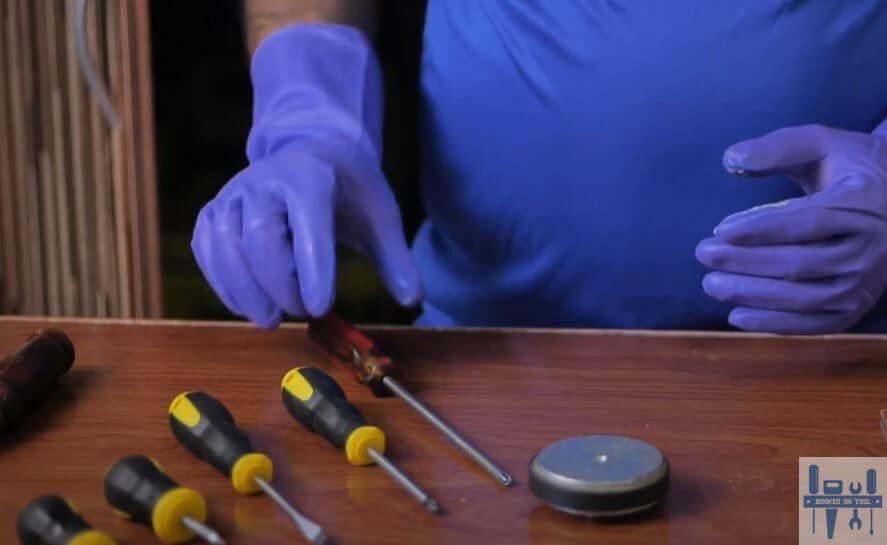
So, grab a cloth or a metal brush and start scrubbing away. Leave the screwdriver spotless. If the grime is lodged on the surface, you might have to use a metal brush to get rid of it. From there, just clean up the dust, and you’re sorted with a clean and shining screwdriver.
Step 2 — Wrap Copper Wire Around The Screwdriver
Now, hold the screwdriver in one hand, and start wrapping the copper wire around the screwdriver. You need to focus on the metal section only and go as close to the tip as you can without the wire slipping out.
The more turns, the stronger will be the pull strength from the screwdriver. So, try to create short loops close to one another to develop a decent electromagnet. Another thing that you need to ensure is that the wire is sticking to the surface of the screwdriver.
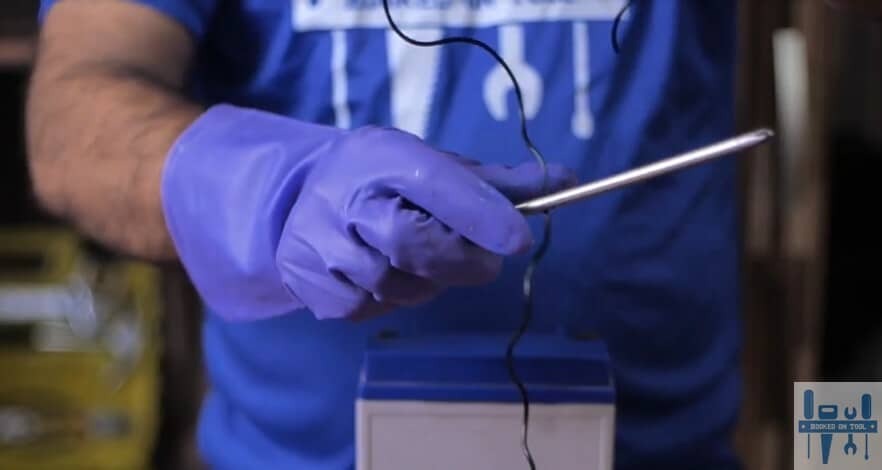
Step 3 — Run Power Through The Screwdriver
After creating the loops and putting them snuggly on the metal part of the screwdriver, you can use pliers to expose the copper inside the insulated wire. You’ll be using this exposed section to connect the wire to the battery.
You can start by first connecting one end of the wire with the positive end. Use your hand to hold it in place, and then you can put the screwdriver on your table before connecting the negative end.
Instead of directly connecting the negative end to the wire, you will have to tap it on the negative terminal five to seven times. If you keep the wire connected to the negative end of the battery, it might stain the screwdriver.
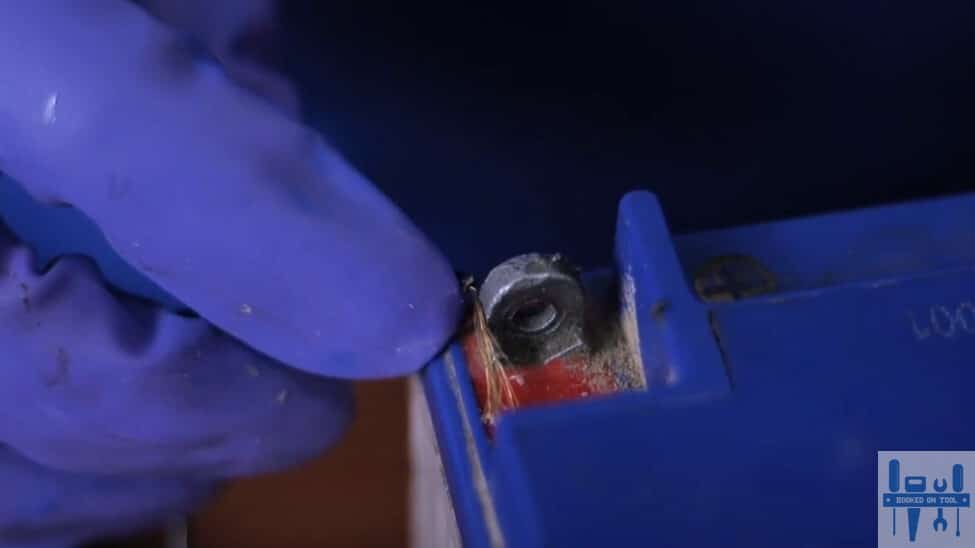
So, put more focus on this step especially. Otherwise, you will be left with a screwdriver that you can barely use in your projects. Hopefully, it won’t come to that, and you will be able to manage the power flow through the wire accordingly.
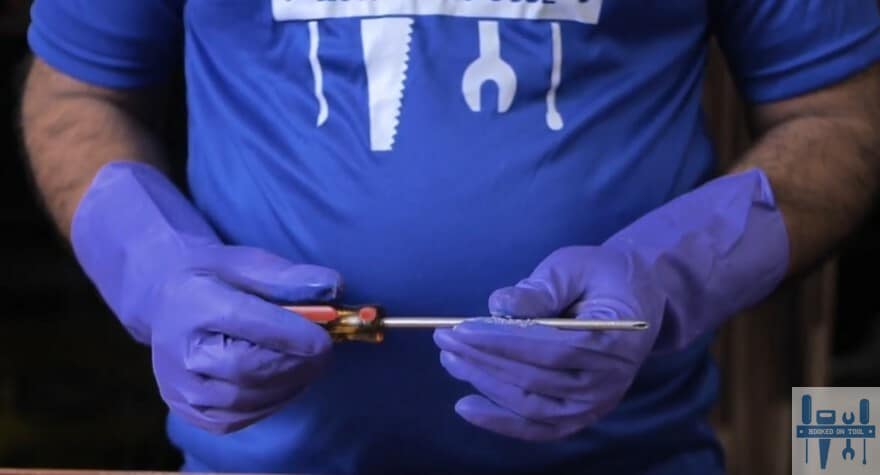
Step 4 — Test The Pull Strength
Lastly, you can finish up the magnetizing process by removing the wire and then using your screwdriver right next to some screws to test the pull strength. This is a permanent method, and you should be able to pull three to four screws if you follow the directions properly.
One of the major mistakes that I’ve found people making is they will use smaller batteries that don’t have any power to create the electromagnet. Using smaller batteries won’t yield any results, and your only option is to stick with a motor battery.
Note: If the wire is frayed or damaged, you might electrocute yourself while trying to create this electromagnet. It is recommended that you get a fresh wire piece and keep track of the exposed sections.
Believe me, the last thing that you want is to stain the screwdriver, as that won’t yield any results. Hopefully, following the instructions I’ve listed won’t be that difficult of a job for you. Just keep track of the safety, use the right battery, and only tap the negative terminal.
On the end note, I would also urge you to go to your local workshop if you’re not aware of the proper technique and method. Otherwise, you will just be holding yourself back, and the performance from the screwdriver will be subpar, to say the least.
The Takeaway
I’ve been dreading the maintenance of my screwdrivers for the last couple of weeks. I mean, it was all fun and games the first few times when I had a strong neodymium magnet. However, things got bland real quick when I lost it a few weeks ago.
Luckily, I’ve recently come to understand that I can actually magnetize my screwdrivers permanently using the electromagnetic method. All I needed was a wire and a battery to get started, and I had these materials lying down in the shop already.
One mistake that I made, however, that ruined one of my screwdrivers, was that I kept the wire connected to the negative end for a bit too long. This mistake did cost me my favorite screwdriver, but I did learn a valuable lesson. So, try not to repeat this mistake and only tap the negative end of the unit.
If you’re still struggling or can’t seem to get a good thing going with the wire and the battery, then there is no harm in asking your local experts. They will be thrilled to help you out and you don’t gotta worry at all on your end.