Everything is fun and games until you make a mess out of your DIY project. When I first started out as a novice, I didn’t imagine how hard it could be to work with plastic and metal. I mean, the finished product does look great when you’re able to create a stable bond between plastic and metal.
However, what about the situations where you mess up your measurements or don’t attach the plastic with metal probably. It can be beyond annoying to remove melted plastic from metal, and I had to spend weeks experimenting with different methods.
Usually, freezing over the plastic and then applying some pressure on the plastic is enough. But in the end, it all comes down to how serious the matter is. Still, you can browse through quite a few methods when it comes to removing melted plastic from metal.
How To Remove Melted Plastic From Metal?
If you’re new to DIY projects, familiarizing yourself with how to remove melted plastic from metal is crucial. Being proactive now can prevent you from having to deal with a lot of trouble later on because this problem is more widespread than you might imagine.
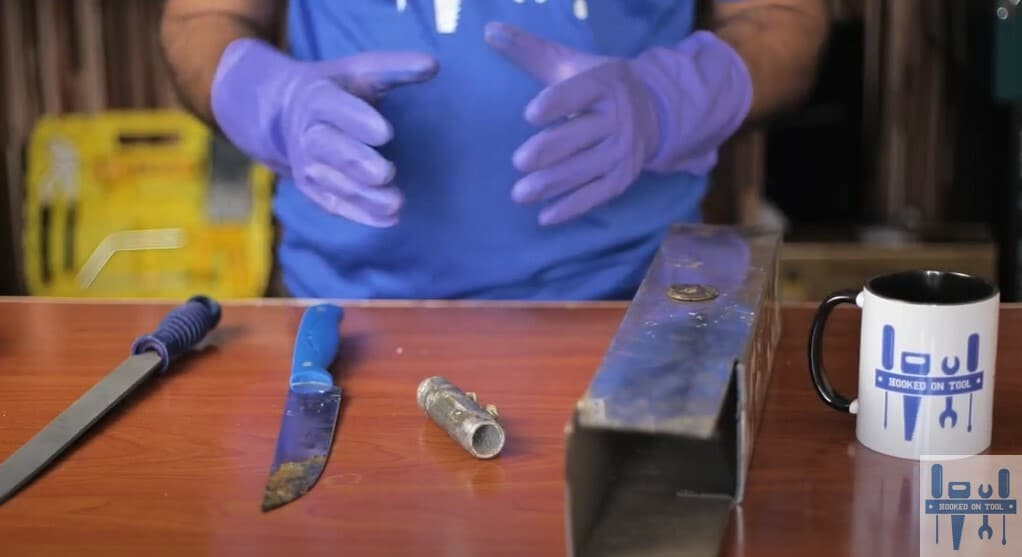
I personally use three methods when plastic gets stuck to metal rods, pipes, knives, or any other tool. These methods include freezing the plastic, using petroleum jelly, and using a paper cutter. So, if you ever get stuck in a similar situation, I am confident that you’ll be able to free up your metal objects.
Safety
When it comes to removing melted plastic from metal, there aren’t severe risks, but hand and feet protection is still mandatory. Hence, you can start right away if you purchase some rubber gloves and a good pair of work boots.
Method 1 — Use Ice
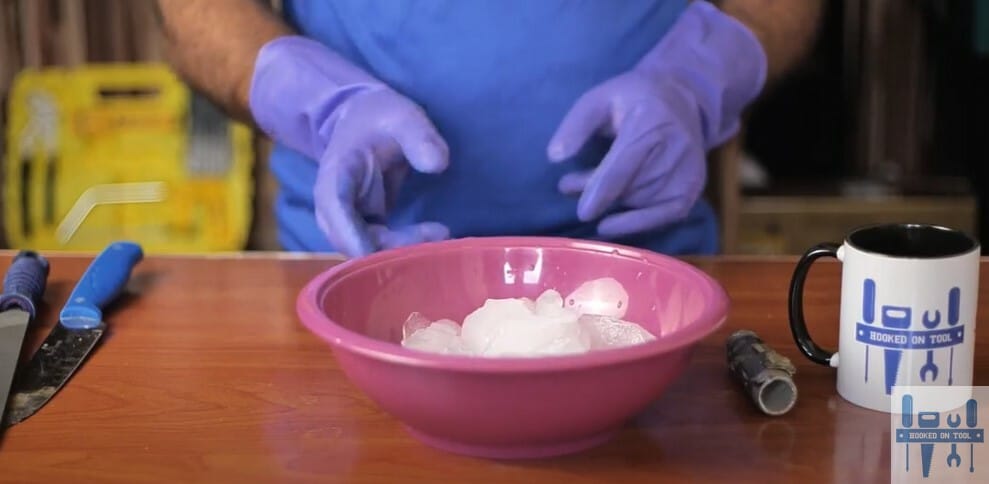
The simplest and most straightforward method for getting rid of the melted plastic from your metal pipes is to use ice. As long as the metal object that you’re trying to free up is small and can fit within a bowl, you’re all sorted out.
All you need here are basic materials like a plastic bowl, some ice, and the metal object that you wish to free up. Make sure a plastic bowl has adequate room for the metal pipe you want to free from the plastic before beginning by filling it with ice.
From there, just place the metal pipe into the ice-filled bowl, making sure that the ice completely encases the pipe. There is no essential need to add water to the bowl to balance the temperature, but some people enjoy to do so.
Personally, I think that adding water only creates a mess, and ice on its own will do a nice job in itself. So, don’t over complicate the situation for yourself, and only rely on ice when it comes to freezing up the metal pipe, and you’ll be sorted out.
You can start removing the plastic rod from the pipe after the metal pipe has been sitting in the bowl for a few minutes (I recommend letting it sit for around 15 minutes). At this point, the ice in the bowl should have stiffened the plastic, allowing you to remove it with your hands.
Put the bowl in the freezer and come back in 30 minutes if the plastic is still a little floppy after a few minutes of waiting. From there, you may rip the plastic from the metal pipe with your hands.
It will barely take you a few seconds at max, and then you can get started on your next project. It doesn’t take an expert to use this method, and if you’re new to DIY projects, just get started with some ice in a bowl.
I can guarantee that this will become your go-to method. However, the only con here is that you can only work with smaller metal pieces when using this method, and it is hard and inefficient to find a big tub and fill it with ice to accommodate larger pieces.
So, you might still need to learn a few more methods when it comes to removing melted ice from metal. Luckily, I’ve got you covered, and you can get started with the next method, which includes petroleum jelly.
Method 2 — Using Petroleum Jelly
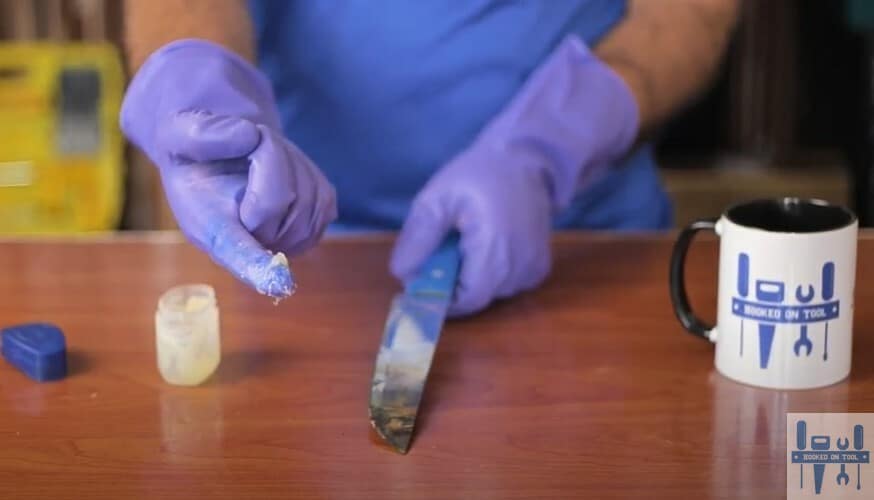
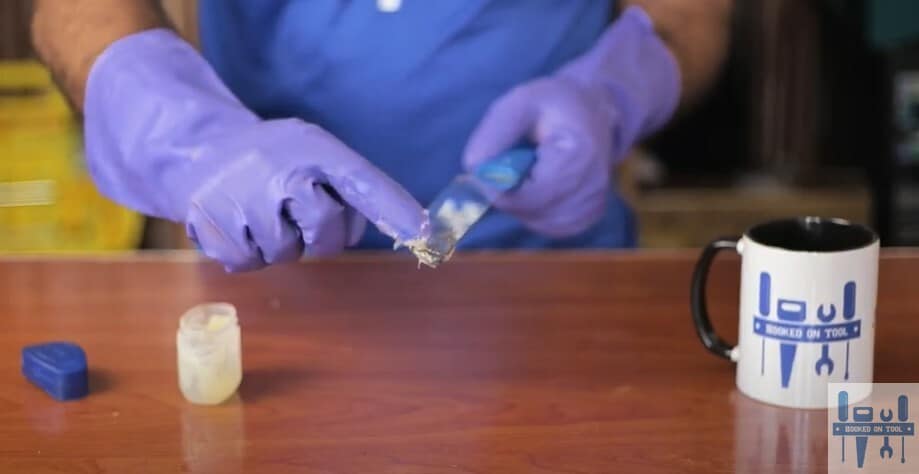
If you’re using a slightly longer tool or a metal knife even, using petroleum jelly is your best bet. Yes, it might be a bit messier than the ice method, but you will need a lot less prep work to get rid of the melted plastic. All that you need is a bit of petroleum jelly and patience.
Start by wearing rubber gloves (unless you want your hands to get messy), and then get a generous amount of petroleum jelly on your fingers. Next, you can start rubbing this petroleum jelly on the knife and make sure to cover all the plastic thoroughly.
Don’t try to be cheap here, as you’ll only welcome more hassle down the road. There are no issues with going above the recommended limit, but you should always avoid going below the recommended amount of petroleum jelly.
After covering all the plastic portions, let the knife cool for about five minutes before using a cloth to remove the melted plastic. There will still be a few traces of plastic, and you will need to use a little force.
However, if you follow through with this method correctly, then I am confident that the majority of melted plastic will get removed from the metal. From there, you can get yourself sandpaper and start rubbing away the traces.
The upside here is that you can rely on sandpaper to get rid of all the traces. Yes, it will roughen up the knife a bit, but that can be polished up again. Just make sure to be gentle when using the sandpaper, as you can scratch up the knife pretty well with it.
The only thing left to do is wipe away the debris with a clean, damp cloth once all of the melted plastic has been taken from the knife, and you are satisfied with the results. This process should take you no more than ten minutes to complete.
It will take some time to remove melted plastic, though, if there is too much of it. So, keep that in mind when you can’t seem to sort through melted plastic. A bit of patience goes a long way, just don’t rush to remove the jelly right away after you apply it.
Let the jelly soften up the plastic along with it, and you’ll have a much easier time getting rid of the melted plastic. Hopefully, you won’t have to bother with any other method when it comes to removing melted plastic from metal.
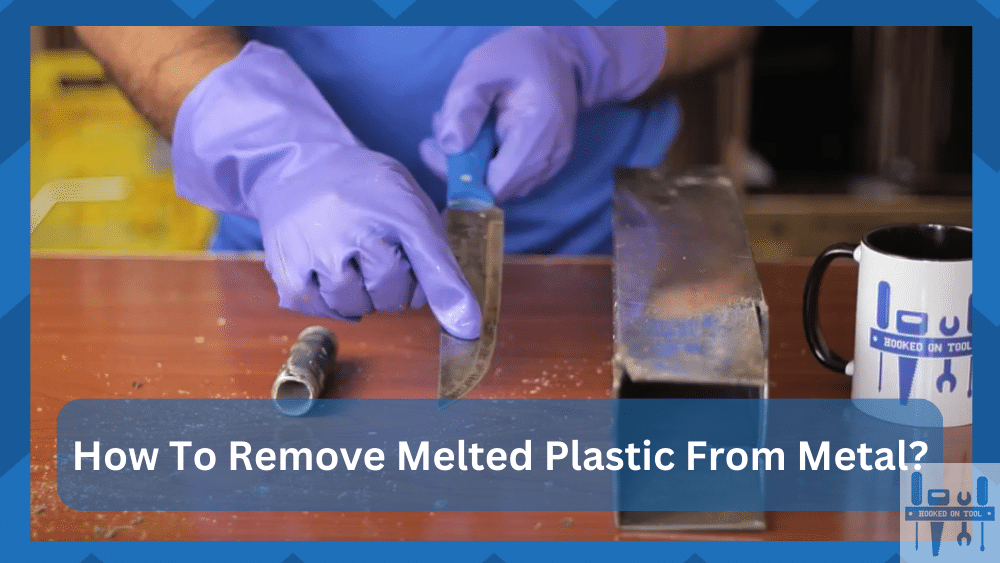
Method 3— Using Paper Cutter
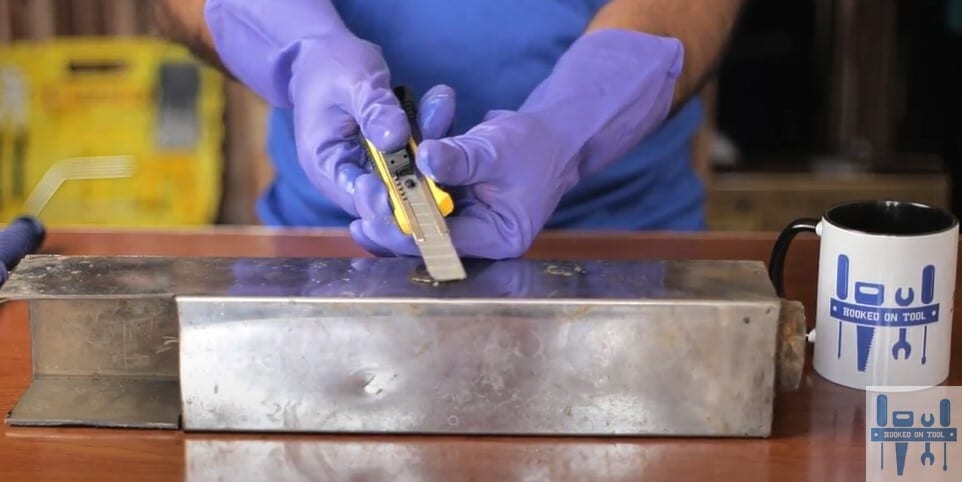
The last method that I’d recommend is using a paper cutter. This method is perfectly suitable for larger metal objects that are harder to manage. If you can’t really freeze out the plastic or don’t want to bother with petroleum jelly, then a paper cutter is perfect for you.
When working on building projects, professionals increasingly frequently employ this technique. Hence, if you’re also working on a large project, I’d advise using a paper cutter.
But it can also be a little risky because there’s a significant chance you’ll damage the metal. Hence, if you’re new to DIY projects and don’t want to jeopardize the finish’s integrity, be aware of that.
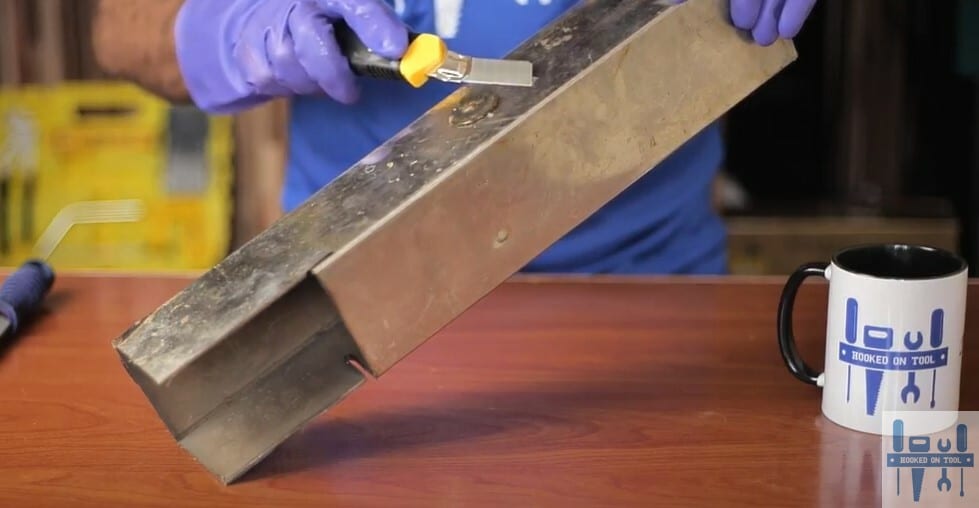
Your main focus should be going parallel to the metal bar and scraping around the plastic. If you try to get rid of all the plastic at once, that will only complicate the situation, and you might even damage your tools. So, take it slow and scrape around the side to remove the plastic in smaller chunks.
All that you’re trying to do here is to slowly make your way to the center. The chunks of melted plastic will keep stripping away as you’re using the paper cutter. One thing to keep in mind here is that this method of using a paper cutter will work only when the plastic is solidified.
If the melted plastic is still gooey, I’d suggest that you leave it to dry out for a couple of hours. From there, you can start getting rid of the excess with the paper cutter. Hopefully, everything will go well, and you will not have to bother as much with the paper cutter.
Lastly, to finish things up, you can take it back to the sanding routine. Just grab a sandpaper and start rubbing away the minimal traces of the melted plastic. It will not be that much of a hassle to get rid of the plastic, and you’ll be left with a perfectly clean metal bar.
Note: If you’re not sure about what method to use or are having trouble removing the melted plastic with the methods I’ve listed here, make sure to leave a comment below. I’ll be sure to help you with the issue.
Similarly, you can also go to your local workshops when you’re not able to get rid of the excess yourself. Spending a few hours with professionals will improve your understanding of how to remove plastic from metal. So, don’t hesitate when it comes to getting help from other professionals.
The Takeaway
Everyone can get through a DIY project, but it takes years of practice to develop a piece that looks clean and professionally finished. One of the more common problems that I see on online forums is “how to remove melted plastic from metal.”
If you’re stuck in a similar situation where the melted plastic will gunk up on the metal, then I’ve listed a few methods to help you sort out the project. Just start by freezing the plastic. This method is perfect for smaller pieces that can fit in a bowl.
From there, you can also use the petroleum gel method if the plastic is spread over a larger surface area. It will not be that much of a sting on your budget, and you can get amazing results by using petroleum jelly and then wiping everything with a cloth.
Lastly, all you need is a paper cutter to get rid of those massive pieces of melted plastic. Hopefully, that will not be too much of a hassle, and you can finish everything up with sandpaper. If you’re confused, don’t hesitate to mention your queries down in the comment section.