Hitachi is a Japanese brand that is renowned all across the world for manufacturing some of the best tools out there when it comes to applications that are quite extensive.
You want to be enjoying a better experience in terms of efficiency, durability, and speed at the same time.
It will further add to the value by offering an extensive range of tools that will fit any and every project.
So, if you’re looking for a one-stop solution to developing your first kit, going with Hitachi might just be the right option. You will not regret this decision, and these tools will last you for decades.
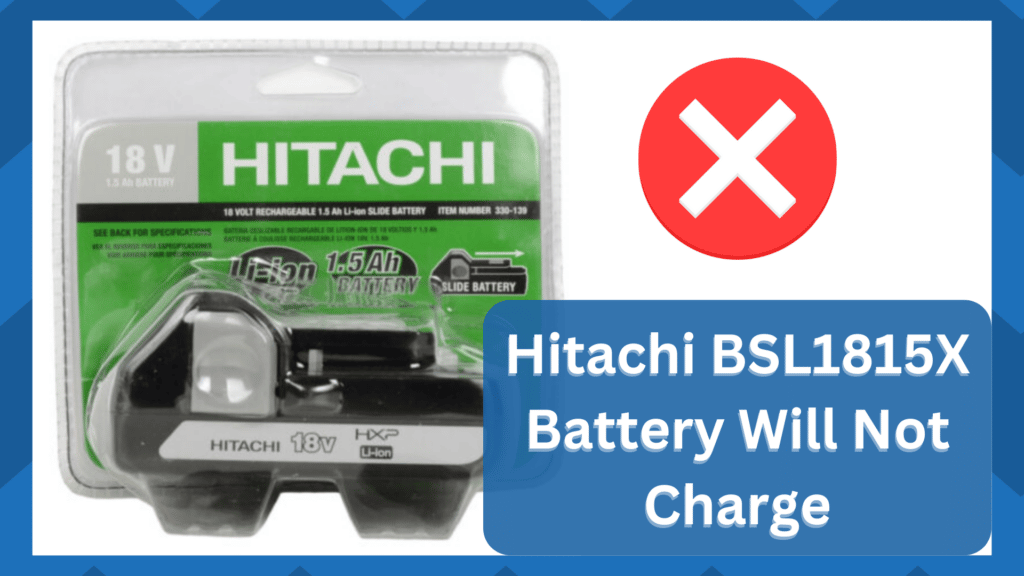
Hitachi BSL1815X Battery Will Not Charge
Not only are their tools highly durable and cost-efficient, but you also get some of the portable tools from Hitachi to be enjoying the perfection of comfort and convenience at the same time and use these tools for any applications and jobs, even on remote sites.
Hitachi BSL1815x is one such battery that you get to use with their cordless equipment, and here are a few things to check upon if it will not charge.
- Compatible Charger
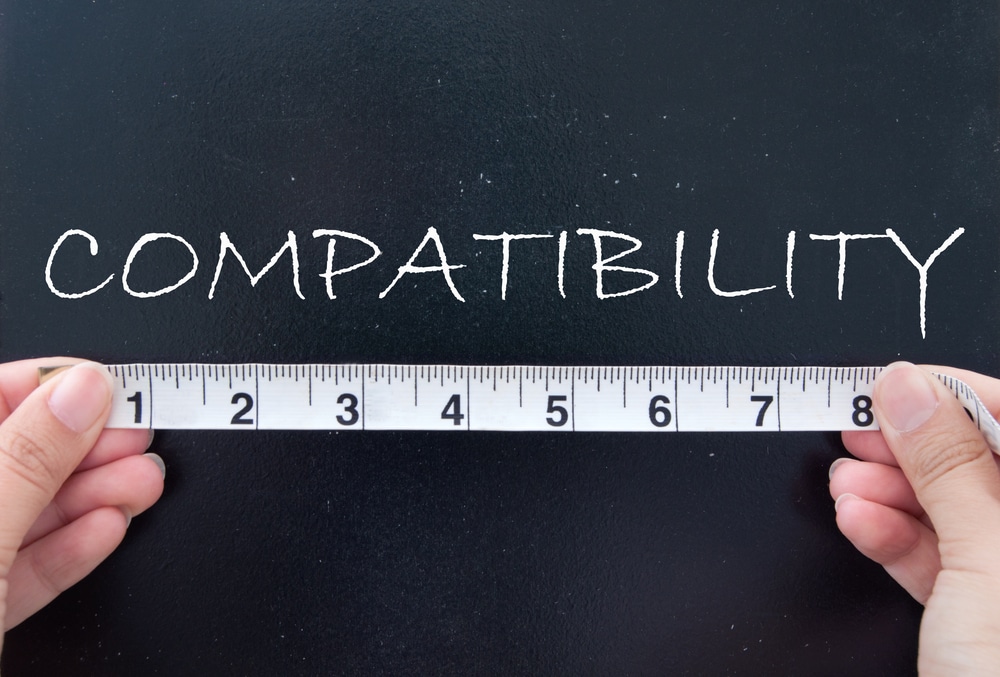
Hitachi BSl1815x is an 18-Volt battery, and you need to ensure that you are using an 18-Volt compatible charger with it to make it work out in the right manner, and there is nothing that you can miss on that part.
That is why you will need to ensure that you are not missing out on anything while getting the charger and check the charger specs in detail to ensure that you can keep enjoying the right experience with your battery and charger at the same time.
That is why you need to check on the charger first and ensure that you are using a compatible charger, and that will help you out in getting the charging issue fixed for good.
- Give it Some Time

If your battery was placed in the tool for too long, or it was simply not in use for an extended period, the battery can be deeply discharged, and that will cause you to have inconvenience with the normal charging process for sure.
That is why you need to give it some time, and it will take 10-15 minutes to gain the normal voltages that are required to make it all work. That should be the best deal for you to have the job done.
After waiting for a few minutes, the battery should start charging normally again.
After that, it will take the time that your battery usually takes to be fully charged, and once your battery is charged, you can disconnect it from the charger and use it on any of the Hitachi tools that you might be planning for.
- Get the Battery Checked
![]()
Lastly, the chances of your charger going bad or dying are pretty thin as compared to some problems with the battery since batteries are wearable components.
So, you will need to get the battery health checked optimally to ensure that you have the right battery and that it can be used in the future for charging and powering your cordless tools safely.
If there is some problem found with the battery’s health, it is better to get the battery replaced to have an optimal overall experience with the Hitachi tools that you might be using.
- Check Voltage From Main Source
The voltage from the main source can also play a huge role when you’re not getting any response from the main system.
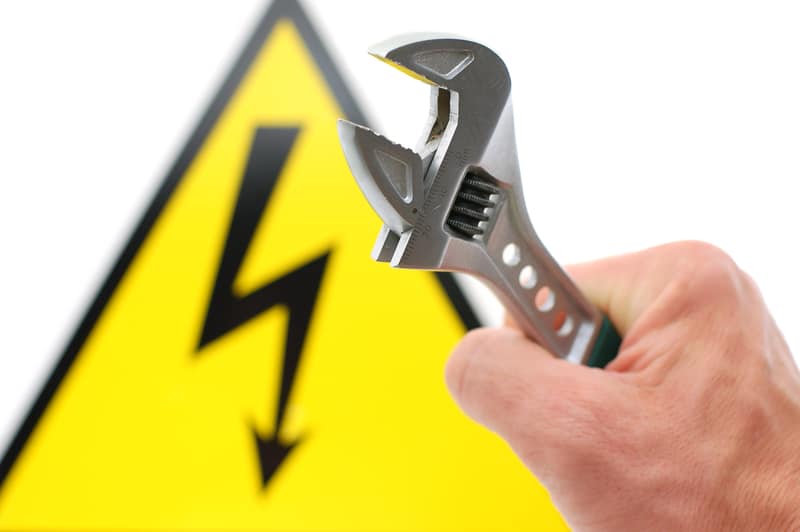
So, all that you need to do here is to check the outlet for issues. There might be issues with the connection points or power surges that can play into this situation.
So, you need to make sure that the charger you’re using is connected to the right outlet and that the power flowing from the system is optimal.
It will take a few minutes to check up on the power connections, and there are no quick methods here.
Devices like a multimeter can be great in these situations, and you can use them to get a better understanding of the situation.
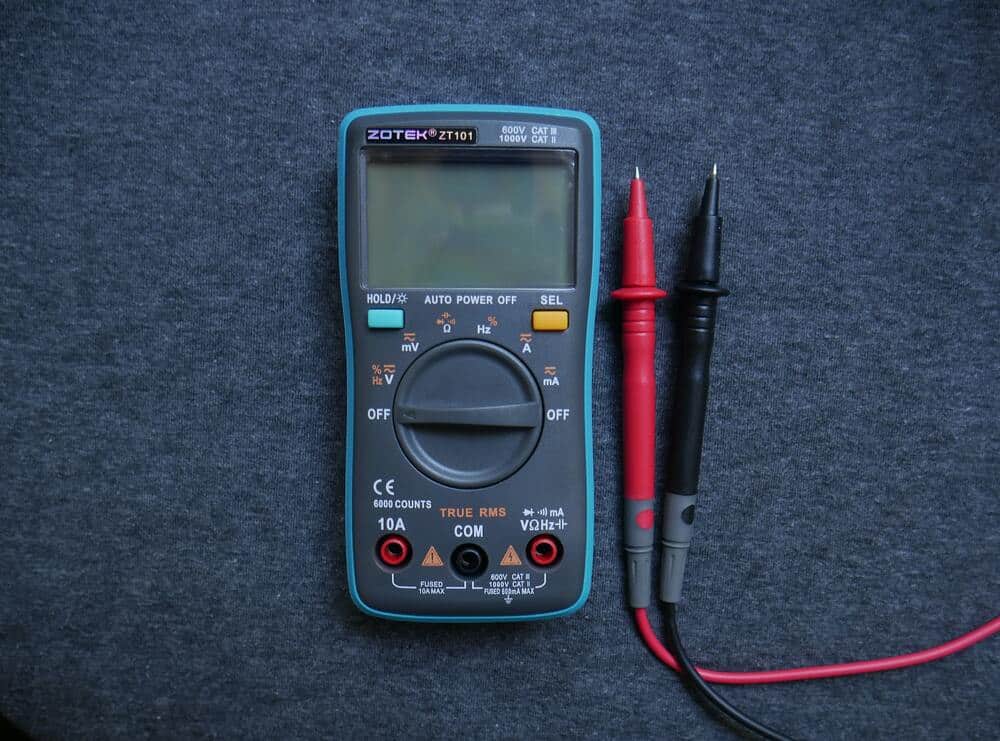
If you do find the voltage to be the main cause behind the error, then the best thing that you can do is to hire an expert.
Trying to fix the power connections yourself will only put your safety at risk, as there are just too many reports of owners electrocuting themselves because of voltage problems.
So, you might also be in the same situation, and fixing the voltage supply will have you sorted out in no time.
- Check the Engagement Of Terminals
At this point, you need to also check the adjustment of the battery in the charger. Sometimes, small objects can get trapped between the terminals, and you need to make sure that the contact points and the terminals are properly aligned.
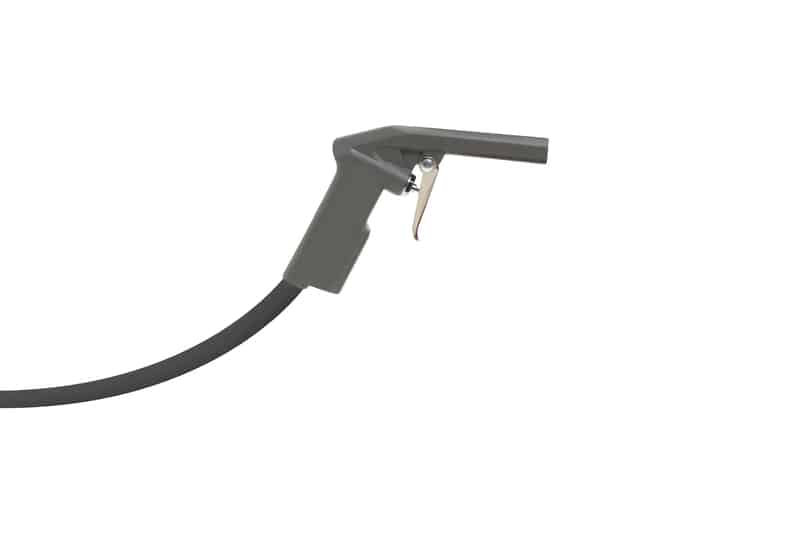
A good practice here is to blast the unit with compressed air and then go about adjusting the battery accordingly.
It will take a few seconds to fix the alignment, and you need to make sure that the battery is sitting properly in the compartment.
From there, you can go about connecting the charger with a power source, and it should start working. Hopefully, you will not have to deal with the same errors again.
- Try Cooling Down The System
Most of the time, this issue was underscored by owners that were trying to charge up their batteries right after removing them from the power tools.
Constant usage of the battery can create a ton of issues with the battery heating up, and giving it a few minutes to cool down is a good idea.
Depending upon the charger you’re using, the unit will also inform you that the battery is too hot or too cold to charge.
So, all that you can do is wait for the system to cool down and then go about adding it to the charger.
Putting the battery in the shade for about 20 minutes will be more than enough to address this situation. From there, you can also touch it to see if the temperature of the battery pack has stabilized.
As long as the unit is cold to the touch, it is safe to use in the battery charger, and you will be able to charge the unit.
- Jump The Battery
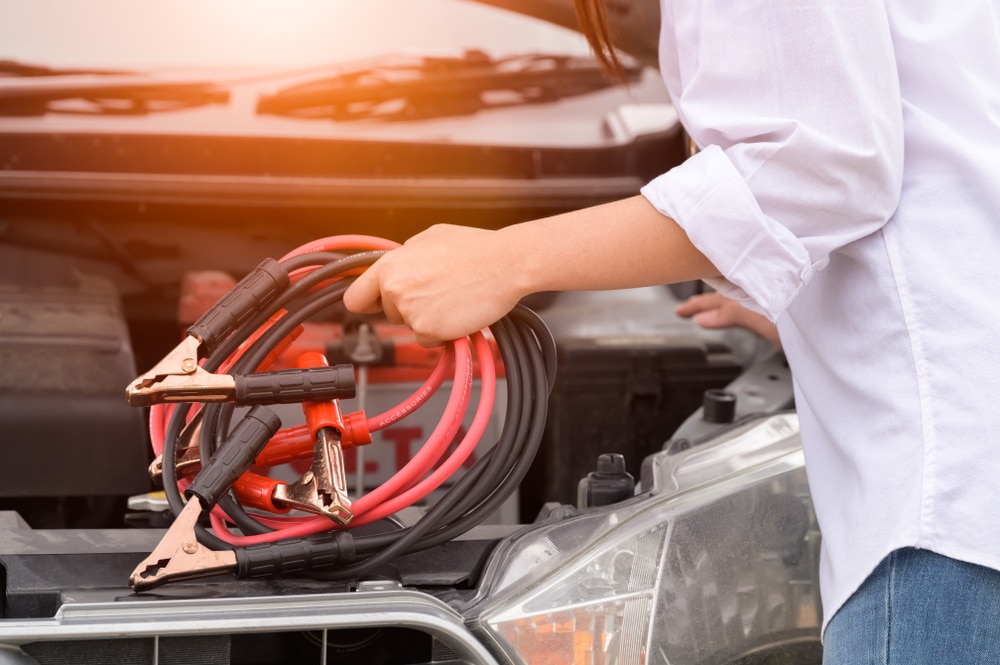
If you have a habit of using the battery below the 20 percent charge status, then the issue is that the battery is completely drained out.
There are no extensive steps that you can follow here to fix the unit except to jump-start the battery with a charged one.
All that you need in this situation is a pair of wires and a battery pack that is fully charged. From there, you can connect the terminals of both battery packs together, and that will be more than enough.
You will not have to deal with more complications down the road if the hardware is in good shape.
- Ask Hitachi Support

Lastly, you should just call it a day and reach out to the official Hitachi support for help on this matter.
They will be more than happy to guide you through these issues, and you will not have to work on the fix on your own. Moreover, if the unit is defective, you can always demand a fresh piece.
It all comes down to how you’re planning on going about fixing the situation.
Seeking help from a certified professional is more than enough to help you navigate the majority of issues with the battery pack.
So, reach out and explain your situation to the dealer, and he will be on your case in no time.
Wrapping Up

Struggling with the Hitachi BSL1815X battery not charging? Try going through the list of troubleshooting methods mentioned here to get ahead of these errors.
Almost all the fixes here are easy to implement, even when you don’t have extensive knowledge or expertise.
So, there is no need to get alarmed, and you will be able to fix the unit pretty easily if you keep track of the hardware issues.
As long as you’re sure that the hardware is in good shape, you’re in control of the situation. Simply checking the compatibility and adjustment of the battery will do the trick for you.

However, if you find the charger or the battery itself to be in rough condition, then you’re out of luck.
There are no quick methods that can help you with the battery, and you will have to take the time to reach out to the dealer about this issue. The smarter thing here is to claim the warranty.
There is a chance that you were sent a defective system. You’re not liable for any of these damages, and the dealer will help you with a fresh piece in no time.
So, be sure to inform the dealer about these issues, and he will take charge of the situation. From there, you can go about fixing the unit accordingly.
eb1412s 14.4v will not charge what can i do