Craftsman is a popular company known for offering quality and innovation to their customers through their amazing products. They provide their users with a whole lineup of equipment that can be used in lawns, gardens, DIY projects, or even on construction sites.
You will be sorted with the best equipment when sticking with this brand. It has been dominating the market for years and will continue to do so for many more. So, if you’re planning on spending your money on an upgrade, sticking with Craftsman might not be that bad of an option.
It all comes down to how you’re planning on using the budget, and the owners were incredibly happy when sticking with this unit.
As long as you take care of the care requirements, you won’t have to worry about a single issue. However, ignoring the maintenance will lead to a ton of errors down the road.
How to Fix 19.2 Volt Craftsman Battery Won’t Charge?
In order to fully operate, power tools usually require some sort of power source through which they can get the required power.
However, certain users have been getting issues while charging their batteries. According to them, their 19.2 Craftsman battery won’t charge.
In case you have also been going through something similar, then this article should be of great help to you.
Using the article, we will be giving you a list of all possible ways you can fix the issue for good. So, without wasting any more time further, let’s get right into it!
- Check the Charger
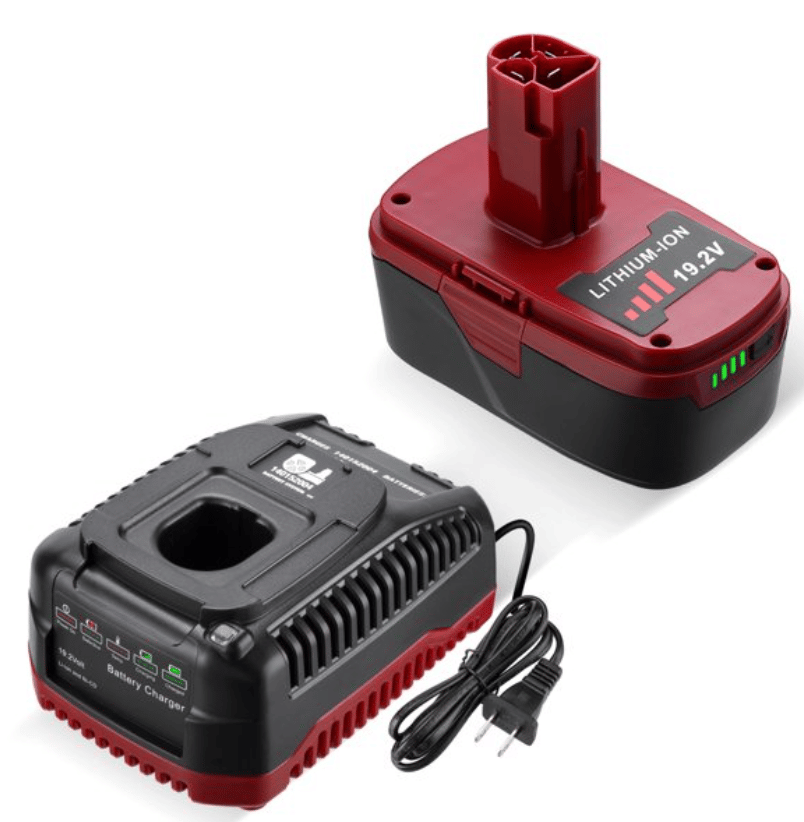
It could be that the reason why you are experiencing difficulties while trying to charge the batteries might have something to do with the charger. Apart from the batteries, the charger is the device that is responsible for helping charge your batteries.
In case of a faulty charger, the batteries won’t charge at all. We recommend that you start by checking the battery and wiggling it around. Check to see if you spot any kind of light flashing around when you give the battery a wiggle.
Similarly, you can also check if there is any sort of visual queue or if the light flashes once you put the battery on charge. If you don’t notice any of the following, then it is highly likely that the problem resides with the charger.
Alternatively, you can try using a spare charger just to see if the battery is charging or not. If it does, then we’re afraid you will have to get your charger replaced.
- Adjust Temperature

Sometimes, all that you have to do with this unit is to adjust the temperature side of things. It will take a bit of effort on your end, and you can try to limit the issues by making sure that the temperature is at room level. That way, the battery will pick up and charge accordingly.
Most of the time, the issue is with the battery overheating. This is especially true for owners that like to go through demanding projects without any breaks.
So, if you’re in the same boat, try limiting the usage and take a few breaks every now and then. This should help you get a better response out of the system, and you will not have to deal with as many complications.
It all comes down to how you’re planning on addressing the situation, and letting the battery cool down in a shaded area might not be that bad of an option.

Next, there are also instances where the issue is with the battery being too cold. Now, these instances are not as common, but you can still link ignored storage conditions to these issues.
So, if you’re in the same boat and can’t seem to figure out the situation at your end, just focus on adjusting the temps.
Here, you should bring the battery inside and try keeping it at room temperature for a few minutes. After about 20 or so minutes, you can place the battery back in the charger, and it should respond accordingly.
- Try Jumping The Battery
Jumping the battery is not a bad option either. If you have a habit of pushing your units beyond the recommended limit, then managing them can be pretty difficult, to say the least. You will not be able to secure any performance out of the battery when it is fully drained.
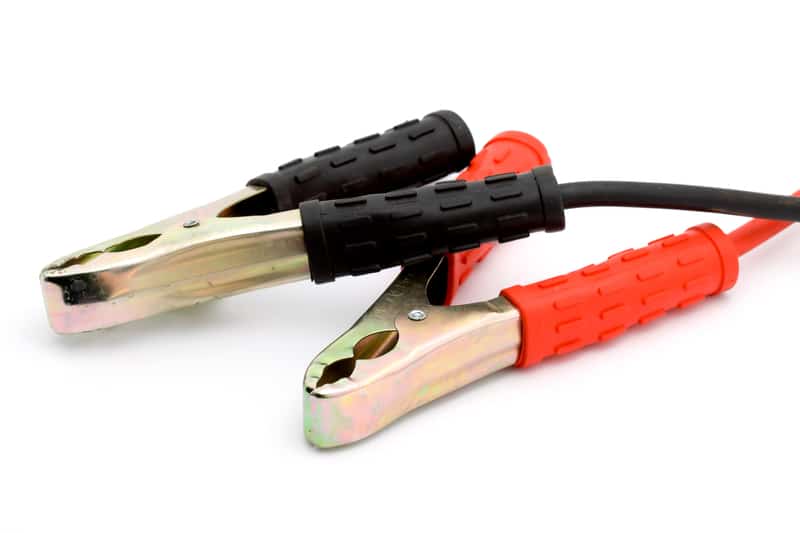
The only reasonable thing that you can do here is to grab a charged battery and then connect that with the dead battery using a pair of wires.
You just have to focus on connecting the terminals, and then you can leave the battery as is for a few minutes.
After about half an hour, you can then place the battery back into the charger, and the charger will be able to pick up the battery. So, if you’re dealing with a situation where the battery is just deeply discharged, just follow through with these pointers.
This is also true for situations when the battery is sitting out in the cold for a few hours. So, if you forgot to put the battery in the storage box, then you will also experience these errors.
- Make Sure The Power Supply Is Optimal
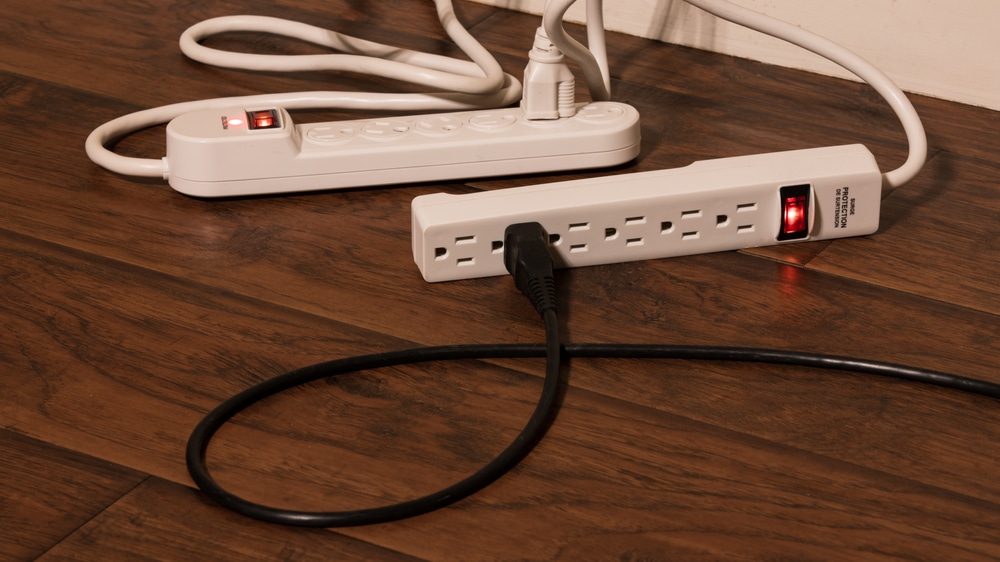
Next, you need to also take a peek at the power supply. If the hardware is in perfect shape when it comes to the charger as well as the battery, then it is the power source that is to blame here.
So, if you’re stuck in the same errors, then you need to go about adjusting the units accordingly. You can first rely on a different outlet, and that will have you sorted.
However, if you’re still not sure about the situation and the power connections are in poor shape, then you will have to rely on a technician for help.
There are no quick methods around it, and it all coms down to the maintenance of the power connections.
So, be sure to keep all that in mind when you can’t seem to secure a robust response from the system. Hopefully, you will not have to deal with more errors down the road.
Just be sure to have the power connections checked once every six months. That way, you will not have to deal with any extensive errors.
- Check For Defects

After you have made sure that the problem is not with the charger itself, then the next logical thing to check would be the batteries. Even if you have been taking care of the batteries, they tend to run into issues over time which can lead to them not being able to charge.
It could be that your batteries are shot. You can try checking the batteries using a multimeter. All you have to do is to connect the battery with a multimeter and check for continuity.
If the multimeter successfully detects continuity, then your battery should be operational.
If you aren’t receiving any output from the battery, then your batteries are most likely faulty. Still, before you decide to replace the batteries, there are a few things that you can check.
- Getting it To a Repair Shop

If you are having a hard time trying to fix the battery by yourself, then what you can do is to try and get the battery to a local repair shop.
By having a professional take a look at the battery, he should be able to tell exactly what is wrong with it and what can be done to fix it. He should also be able to filter out whether it’s the battery or the charger that is giving the issue.
- Replacing the Whole Battery
In case you haven’t had any luck at all, then your last option would be to get the whole battery replaced with a newer one.

Before you decide to do so, what you can try is to contact customer support for help. If the battery is under warranty, then you should be able to get a replacement unit for free.
The Bottom Line:
19.2 Volt Craftsman battery won’t charge? For all of those who are currently facing this issue, we highly recommend following the instructions that we have mentioned in the article for a quick and easy fix.
Hopefully, you will not have to deal with any extra hassle, and fixing the unit will come easily to you.
It all comes down to how you’re planning on addressing the situation, and going with the basic troubleshooting methods is usually the right idea.

However, this doesn’t apply to situations when the battery cells are damaged, or the battery is swollen.
So, if you see any hardware issues with the unit, it is a smart idea to leave the job to the professionals. You can either reach out to the experts working the support channel or ask the customer support experts to guide you here.
Either way, you need to seek pointers from the experts, and they will make your life much easier. Hopefully, you will not have to worry about purchasing a new system, and managing the device will come pretty easily to you.