
So there’s this thing we all know about: Your saw starts biting into wood and then suddeny it doesn’t. It don’t mean it jams or stalls. It just drags.
It push back with more resistance then before. It seem like the sawdust turns to paste, the finish isn’t looking so smooth. So what do you do?
Check the power. Check the battery. Looks good.
Looks fine. What’s wrong? Likely nothing but a blade.
How to Change Blade on Worx Saw
The Hidden Dangers of Dull Saw Blades
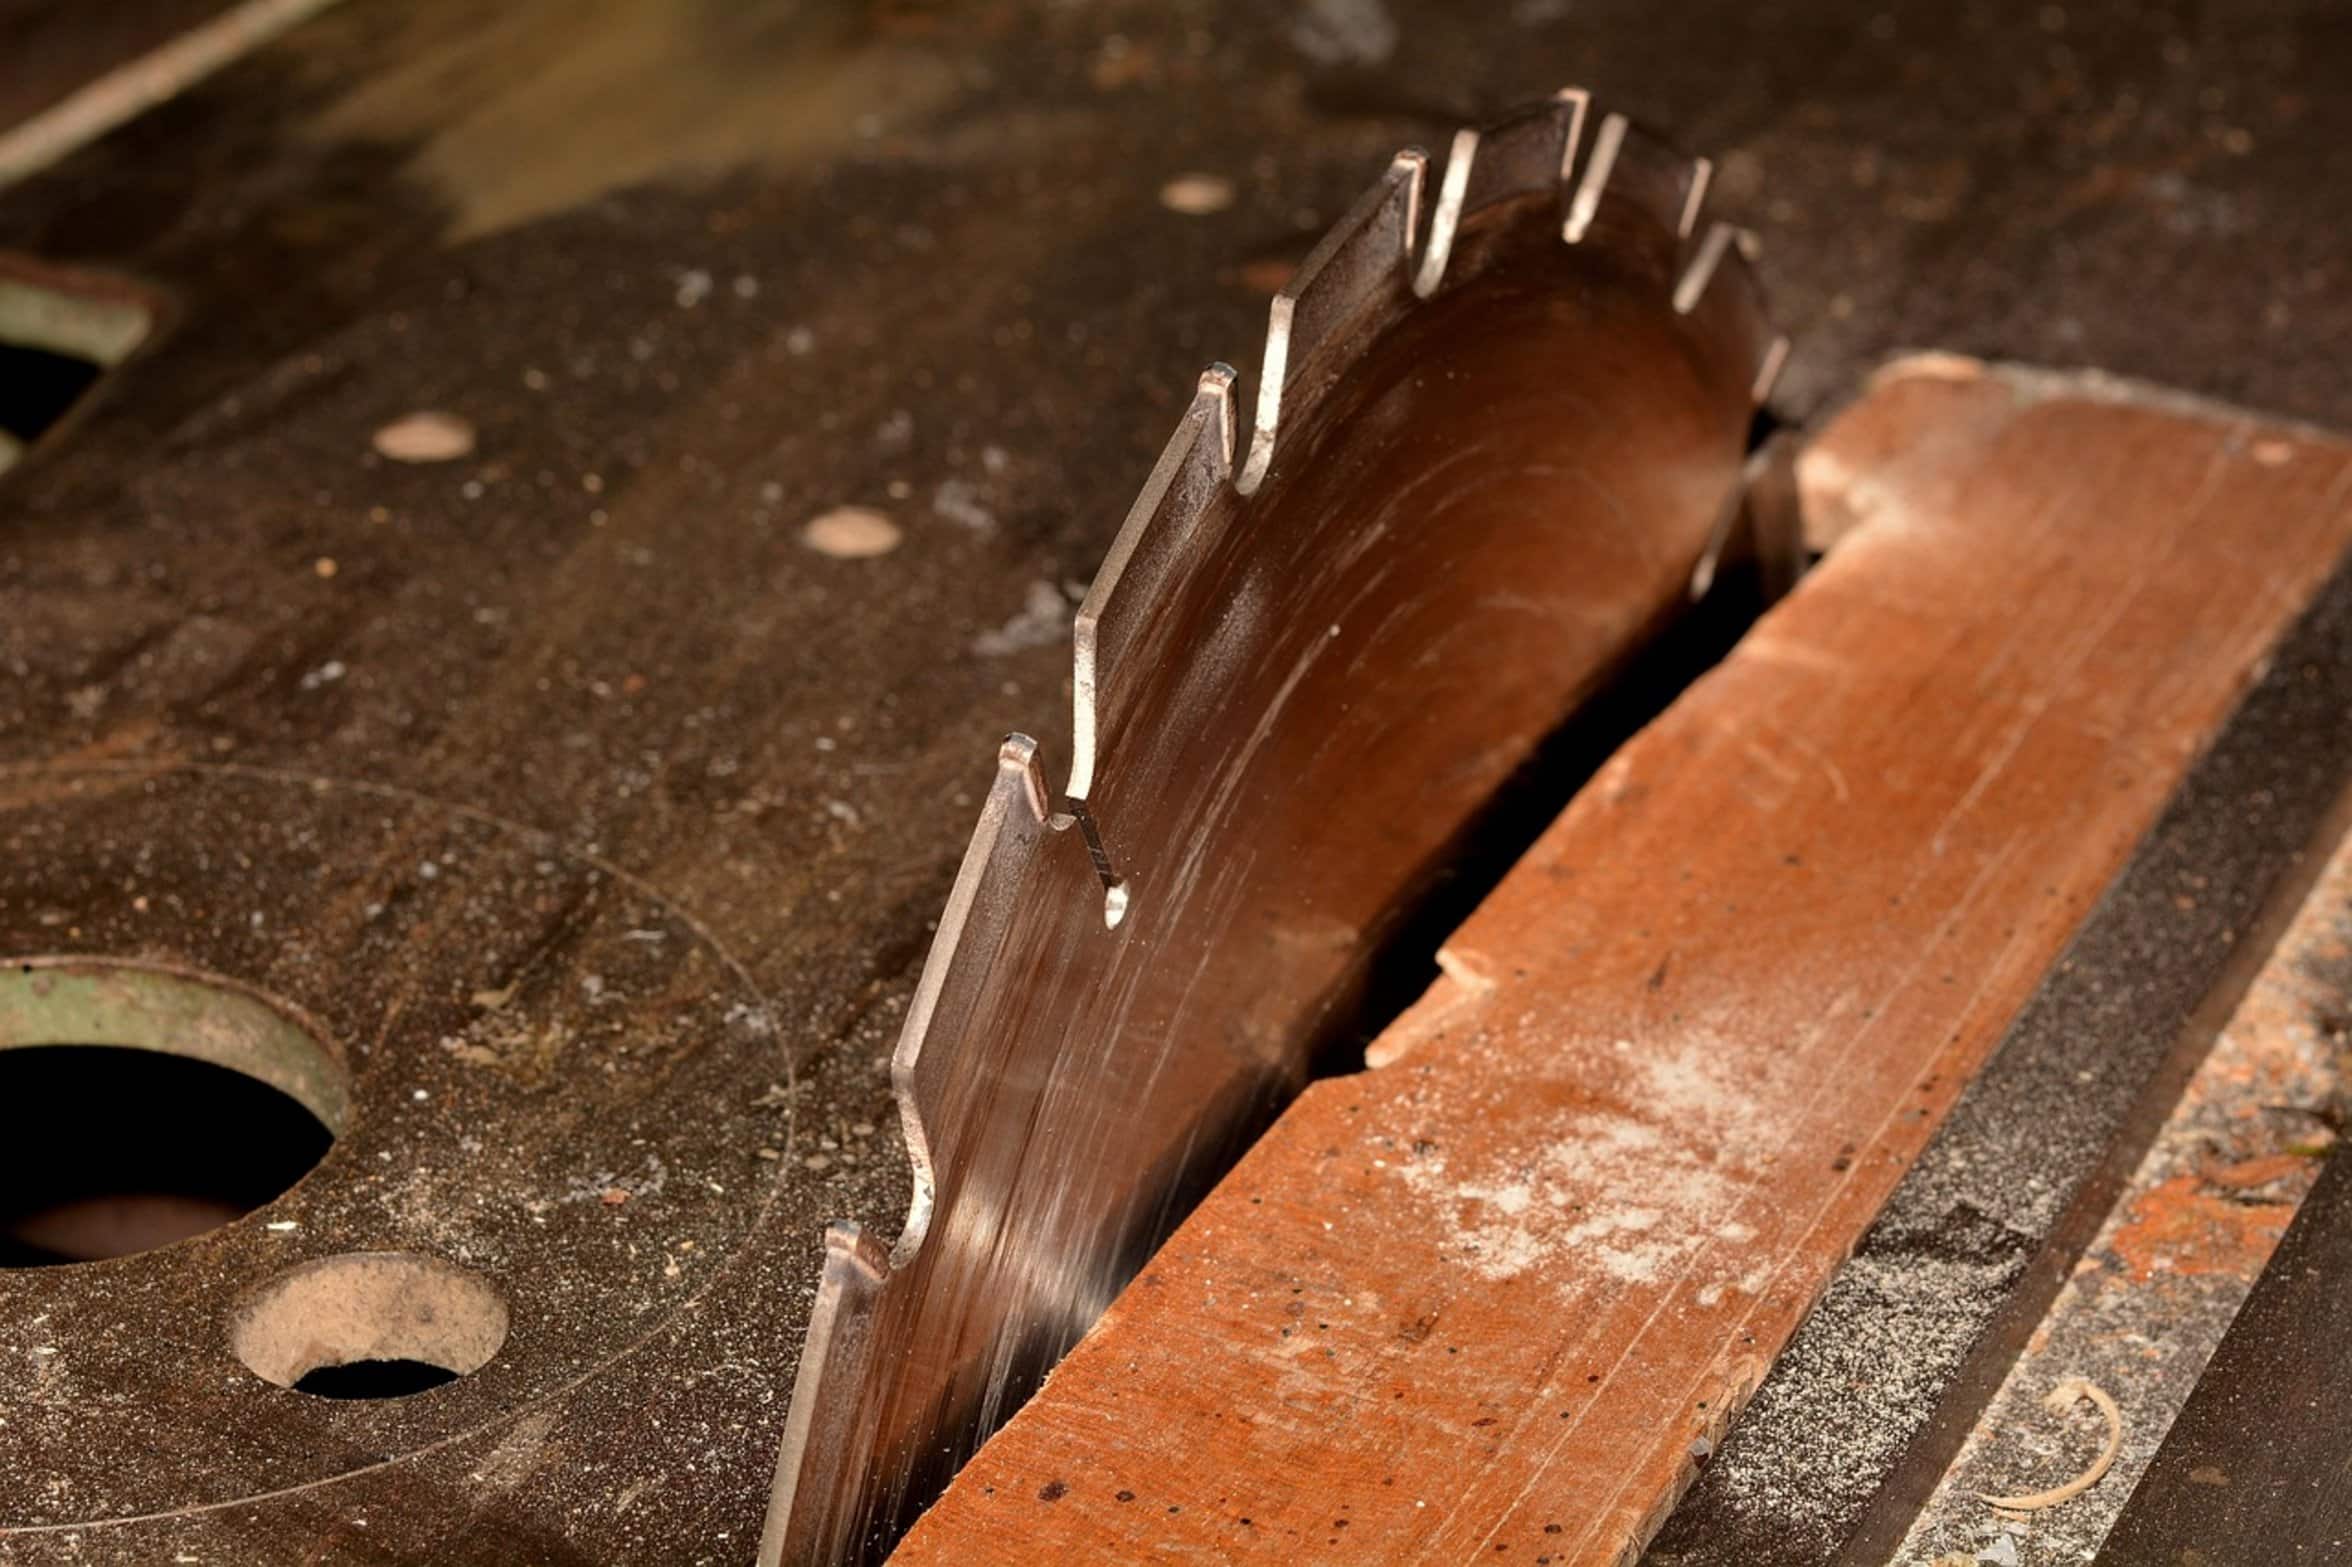
But why would a dull blade be bad? It is a danger to you because it forces you to push harder, which leads to frustration and potential for injury from kickback, burns, and more. Keeping your Worx saw blades sharp are the biggest bang-for-the-buck maintenance task you can do.
And it only costs pennies while saving you hours of regret. Most homeowners think saw blade are throwaways. Get a pack of five generic ones.
Use them until teeth is gone. Toss ‘em out. Not a bad deal if you’re cutting some cheap plywood occasionally.
But it’s absolutely worthless if you’re trying to build something that actualy matters. Use an LXT cordless circular saw or a compact miter saw with a fresh blade and you’ll see what I mean. The saw become lighter.
The cut is cleaner, the wood doesn’t fight back. And changing the blade is nothing more than basic skill; do it wrong and you might screw up your tool, or, worse yet, screw up your fingers. So get to know how things work first.
Safety First: Disconnecting Power Sources
Then pick up that wrench. Prioritize safety above all else. No, that’s not boilerplate advice, but it can be the difference between a fast exchange and a visit to the ER.
Remove battery pack, or unplug the tool. Don’t rely on the trigger lock. Don’t think the switch is off.
Assume nothing; people gets burned. Until you physically disconnect the power source, treat each tool like it’s live. On a corded Worx tool, unplug it from wall.
On an LXT battery-powered tool, pull the battery out and place it across the room. That distance give you peace of mind. Never reach close to the blade while the power source is anywhere in grabbing distance.
Locating and Using the Spindle Lock
Now we’ll get to the blade retention mechanism. Most Worx tools uses either hex key or spindle lock systems. Find the spindle lock button located on side of the motor housing.
It’s that button that secures the spindle in place and keeps the arbor from turning as you loosen the bolt. Push it firmly down. Depending on which way your blades were set, you may have to turn them a bit to line up the lock pin to hole in the spindle.
Loosening the Retaining Bolt
When it’s lined up turn the retaining bolt using the included wrench (or hex driver). To loosen, turn counterclockwise. To tighten turn clockwise.
Sometimes this bolt is stubborn, particulary if the last guy used a socket wrench that strip the threads. Don’t go too hard, apply steady pressure. If it won’t budge look for a second nut or locking tab that may be getting in way.
Cleaning the Spindle Before Installation
Take out the old blade and look at the spindle. Is it clean? Remove any gunk, pitch, etc. Then install new blade.
Why does this matter? Often it’s just not done. But if the spindle have dirt on it, it may make the new blade not sit level on the spindle.
What happens then? The blade vibrate. Vibrating destroys your cut quality and also tears up bearings in motor.
Correct Blade Orientation and Installation
Position the new blade on the arbor so teeth are facing the way the arrow is pointing on the motor housing. If you don’t, the blade will either fight the motor or, in the worst case, fly off the motor. The teeth should face direction the motor spins.
Check it before proceeding. It only takes a second and would of saved you from catastrophic failure. First thread the retaining bolt back in by hand.
That align the threads. If you cross thread the bolt, you will mess up the spindle and have to take it to service center. When it’s properly threaded back in, snug it down tight but don’t overdo it.
It’s not an engine in a car. Just snug it enough so that when it’s running it won’t back out. Let go of the spindle lock.
Final Checks and Test Run

With your fingers, turn the blade by hand and see if it turns freely without hitting anything. If it doesn’t spin freely, stop. Check your alignment again.
If it does spin freely, congratulations, you are good to go. Plug the cord back in or put the battery back on. Now run it in the air a bit and then do a test cut in some scrap wood.
Any funny noises? No, good. It should be quiet and smooth cutting.
If you feel like it’s grinding and being rough, you skipped something somewhere along the way. But then there’s the blade. A sharp blade makes the tool new again.
It makes work easier. It makes you more accurate. It takes just minutes and produces big results.
So next time you see some burn marks or drag on wood, don’t blame the motor. Blame the blade. Change it out, do this, and start building with confidence again.
Trust me, both your eyes and your Worx saw will thank you for it.